




You can import your logins from Brave into ExpressKeys using the ExpressKeys browser extension or the macOS app.
Jump to…
Import your Brave logins on desktop (CSV method)
Import your Brave logins using your Android device
Import your Brave logins using your iOS device
Import your Brave logins on desktop (CSV method)
In the ExpressKeys app for macOS and the ExpressKeys browser extension, you can import your data from Brave using a CSV file.
1. Export your logins from Brave
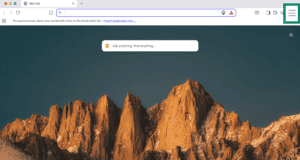
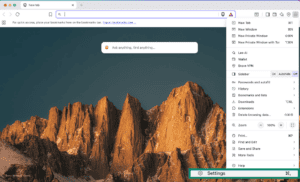
- Open Brave and click the hamburger menu (☰).
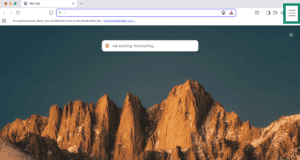

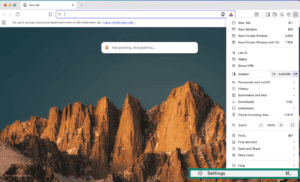
- Click Settings.

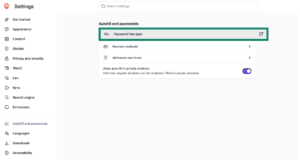
- Click Autofill and passwords > Password Manager.
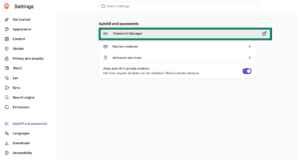

- Click the hamburger menu (☰).
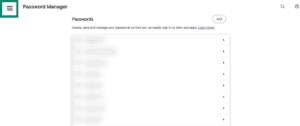

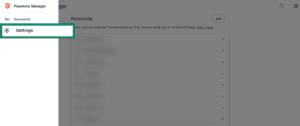
- Click Settings.
- Next to Export passwords, click Download file.
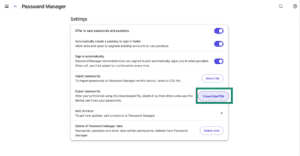

- Enter your device password and save the CSV file to your computer.


2. Import your logins into ExpressKeys
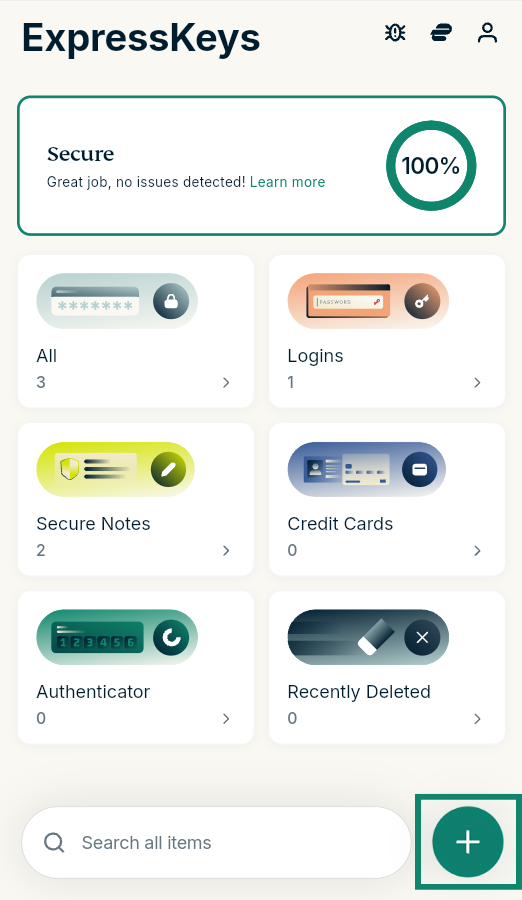
- Open the ExpressKeys browser extension or the macOS app.
- Click the plus (+) icon.
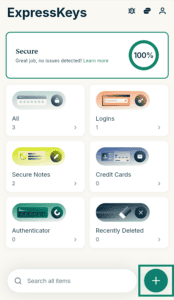

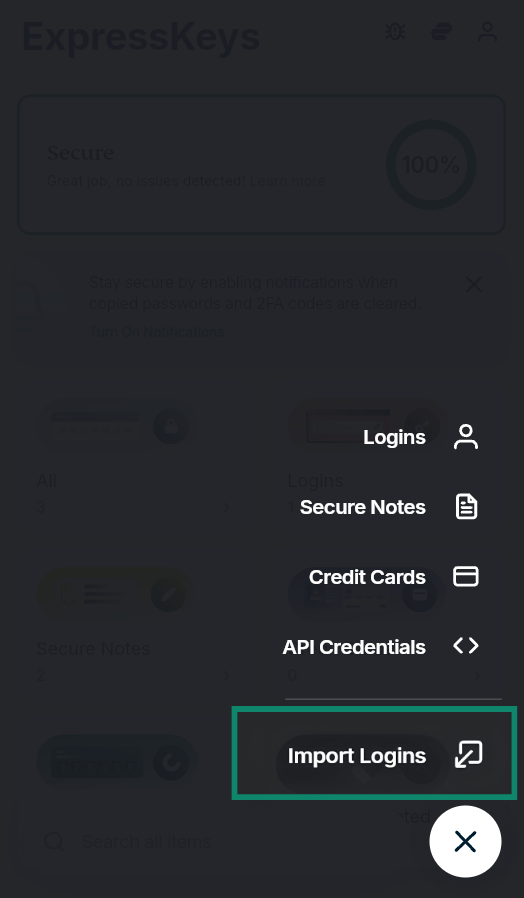
- Select Import Logins.
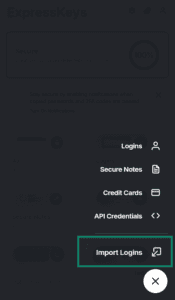

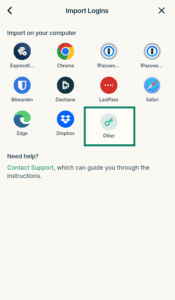
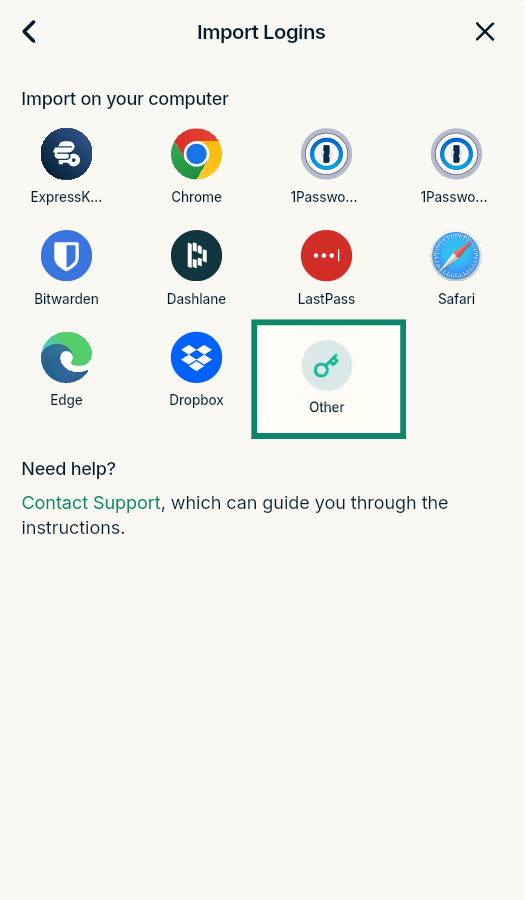
- Select Other.
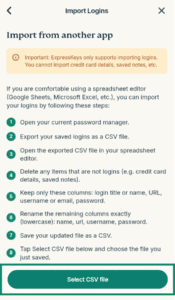
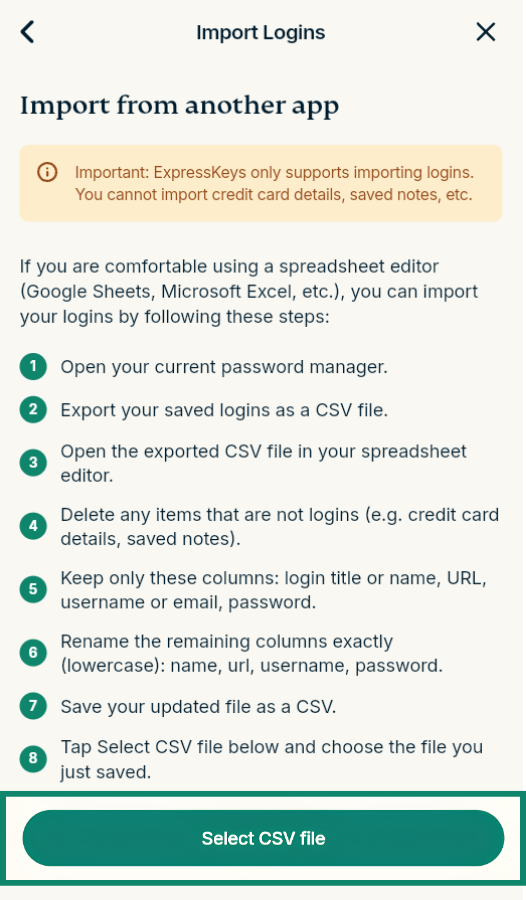
- Click Select CSV file and select the CSV file you exported from Brave.

- Wait for the import to finish.
3. Delete your logins from Brave
Brave will continue to prompt you to fill your logins for sites or services, interfering with ExpressKeys. To prevent this, delete your logins from Brave.
Important: After you delete your logins from Brave, you cannot recover them. Make sure to import all your logins from Brave into ExpressKeys before you delete them.
To delete all your logins at once, follow these steps:
- In Brave, click the hamburger menu (☰).
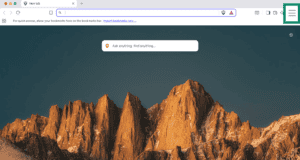
- Click Settings.
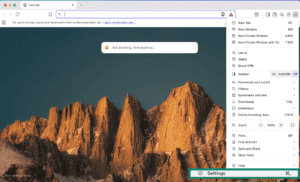
- Click Autofill and passwords > Password Manager.
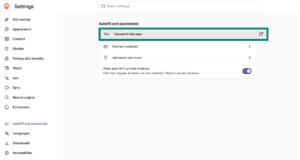
- Click the hamburger menu (☰).
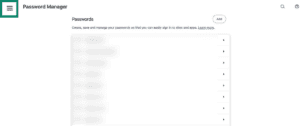
- Click Settings.
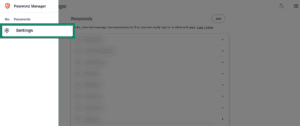
- Next to Delete all Password Manager data, click Delete.
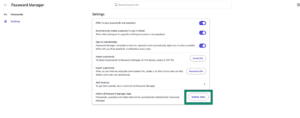


To delete your logins individually, follow these steps:
- In Brave, click the hamburger menu (☰).
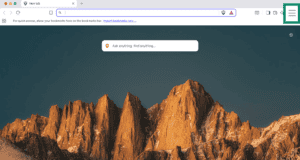
- Click Settings.
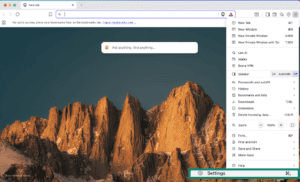
- Click Autofill and passwords > Password Manager.
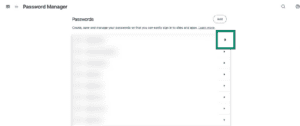
- Click the arrow (>) next to the login you want to delete.
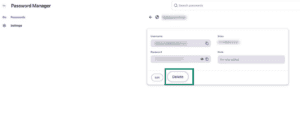
- Click Delete.


To prevent Brave from auto-filling names, emails, and addresses, follow these steps:
- In Brave, click the hamburger menu (☰).
- Click Settings.
- Click Autofill and passwords, then turn off the toggle next to Allow auto-fill in private windows.
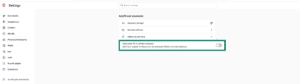

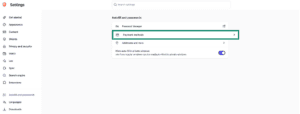
- Click Payment methods.

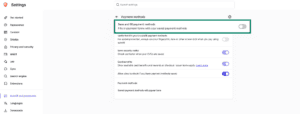
- Turn off the toggle next to Save and fill payment methods.
- Click the arrow (<) to go back, then click Addresses and more.
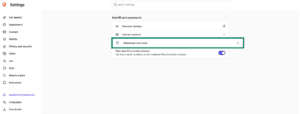
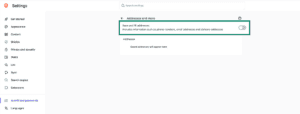
- Turn off the toggle next to Save and fill addresses.


Need help? Contact our Support Team for immediate assistance.
Import your Brave logins using your Android device
Brave does not allow exporting logins on Android. Follow the steps above to import your logins using your computer.
Need help? Contact our Support Team for immediate assistance.
Import your Brave logins using your iOS device
Brave does not allow exporting logins on iOS. Follow the steps above to import your logins using your computer.
Need help? Contact our Support Team for immediate assistance.