






You can set up Web Protection on Firefox and any Chromium-based browser (like Chrome, Edge, and Brave) where you use the ExpressVPN browser extension. To install the browser extension, visit the Chrome Web Store or Firefox Add-ons.
You can enable or disable individual Web Protection features, manage allowed and blocked sites, and view your weekly blocking statistics directly in the ExpressVPN browser extension. A more detailed breakdown of your blocking statistics is also available in the ExpressVPN+ user portal.
Jump to…
Enable (or disable) Web Protection
Web Protection is disabled by default. To turn on Web Protection features, follow these steps:
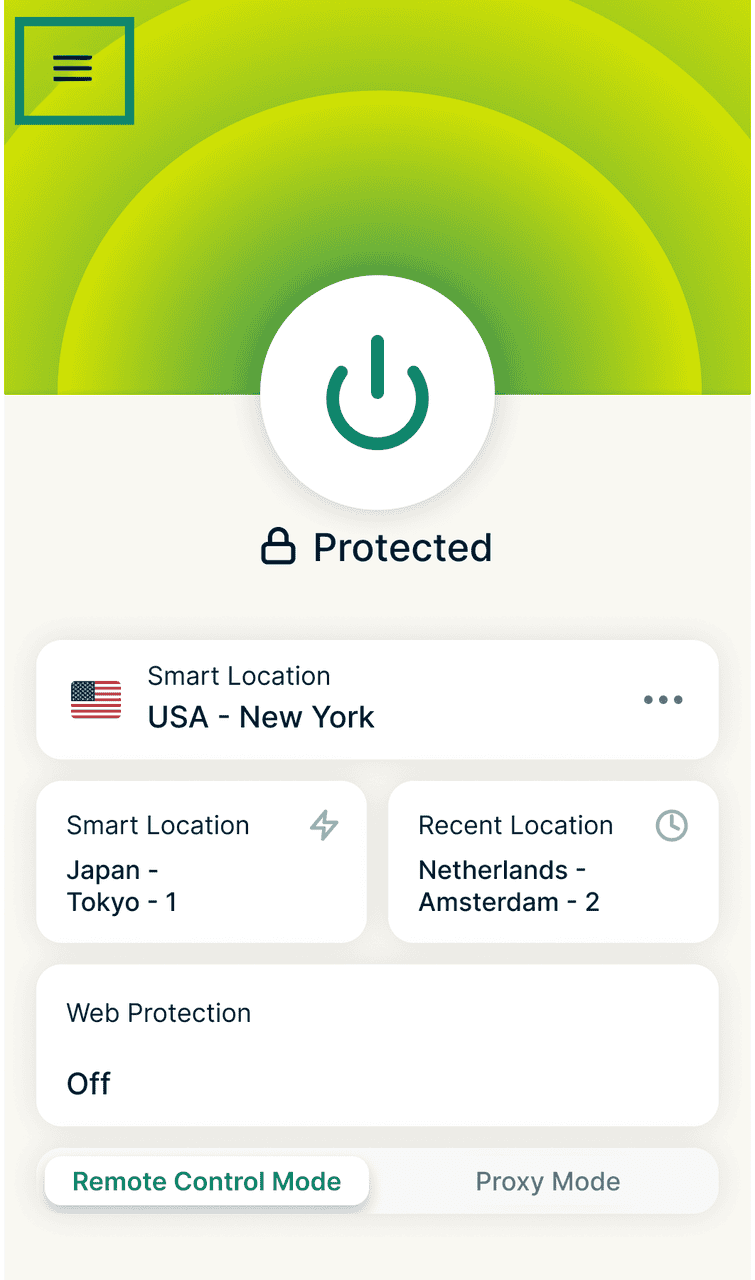
- Open the ExpressVPN extension and click the hamburger menu (

 ).
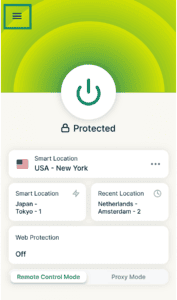

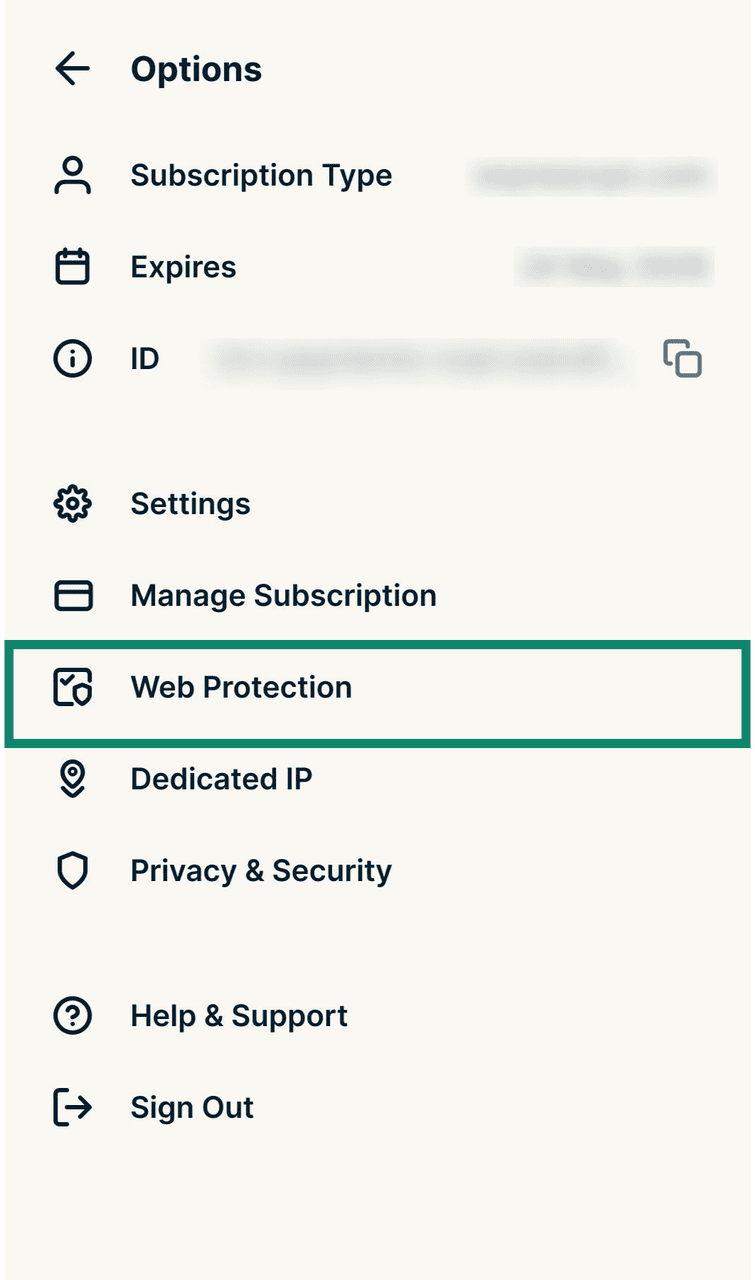
- Click Web Protection.
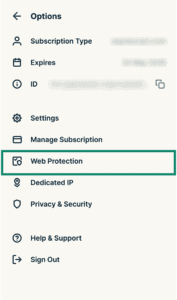
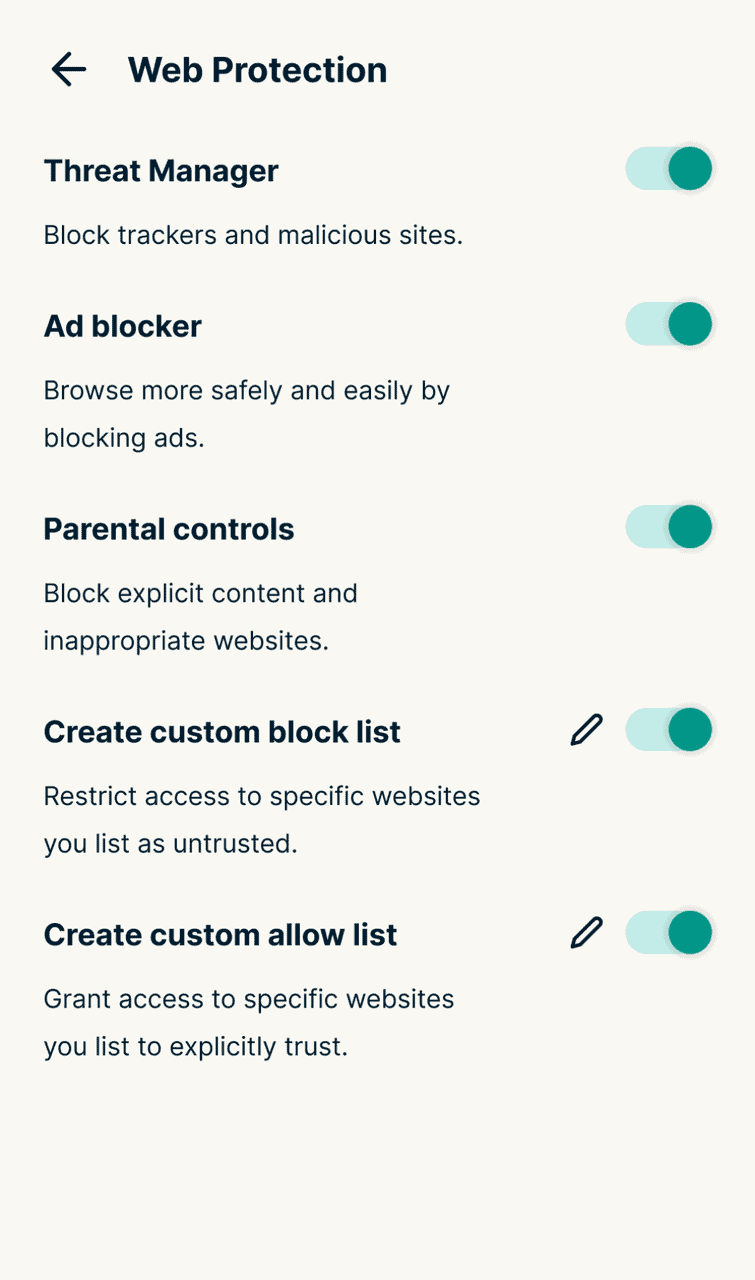
- Toggle the features on or off to fit your needs. The available features include:
- Threat Manager: Blocks trackers and malicious sites.
- Ad blocker: Blocks ads on pages you visit and in search results.
- Parental controls: Block adult content and sites.
- Create custom block list: You create a list of sites you want Web Protection to always block regardless of the rest of the settings.
- Create custom allow list: You create a list of sites you want Web Protection to never block regardless of the rest of the settings.
Once enabled, your browser extension’s home screen will show Web Protection as On, along with the number of sites blocked.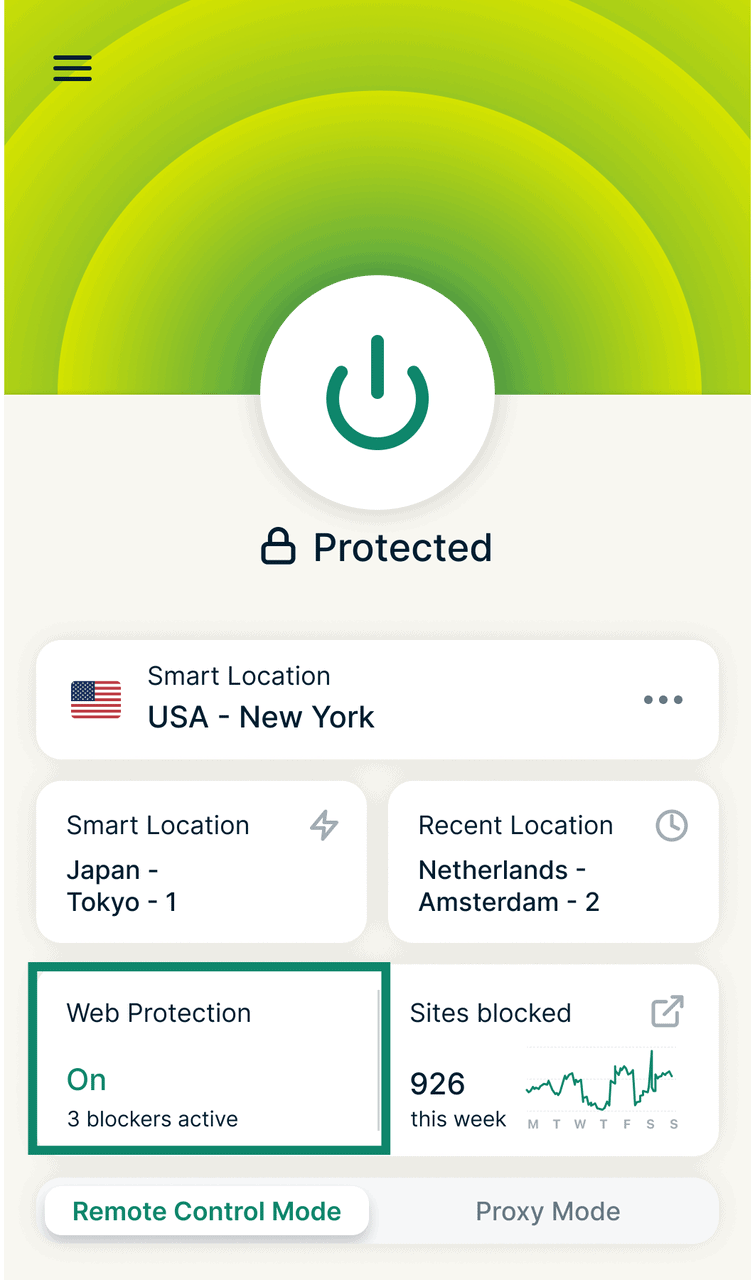
When Web Protection detects a potential threat and blocks a site based on the setting you have enabled, you will see a “This site looks unsafe and has been blocked” page. The page will include a short explainer of why Web Protection blocked the page and give you the option to Go Back and leave the page or Proceed Anyway if you believe the page is safe.
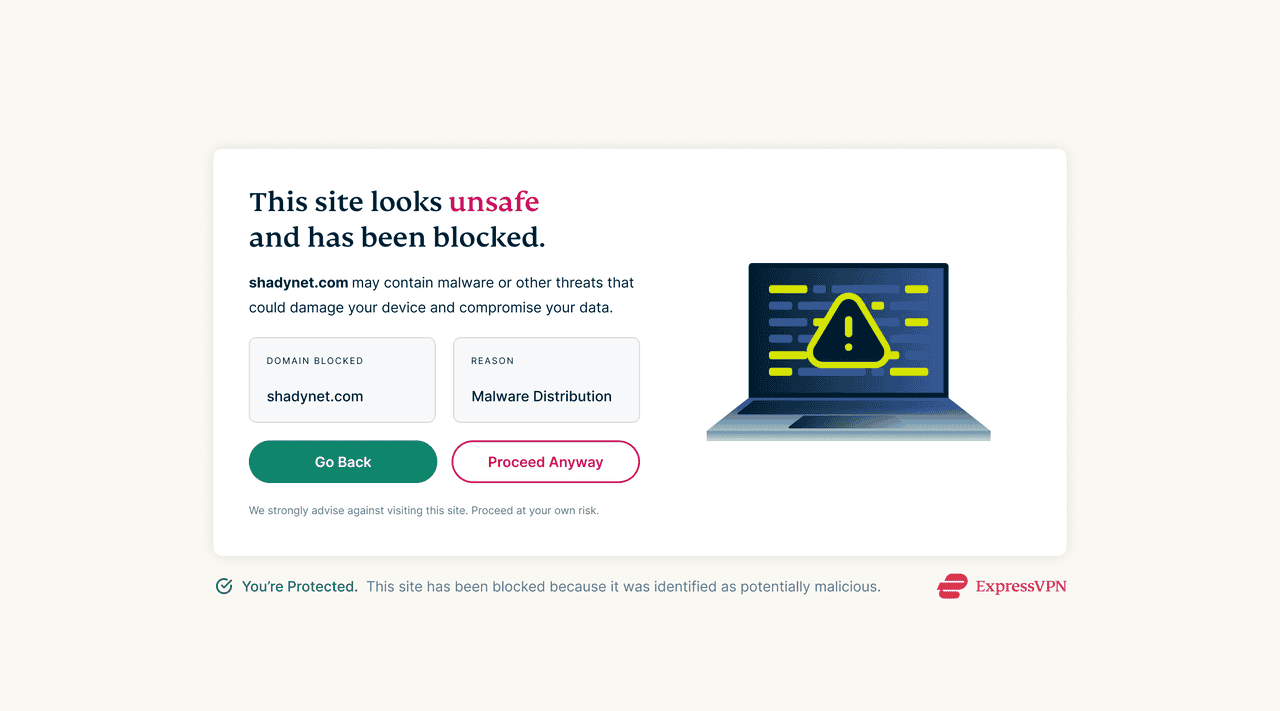
Note that clicking Proceed Anyway allows access to the site in the current tab only. Web Protection will block it again if you visit in a new tab or another session. If you do not want Web Protection to block this site, add it to your allow list.
Need help? Contact the ExpressVPN Support Team for immediate assistance.
Create and manage custom lists in Web Protection
Web Protection allows you to create a custom allow list and block list of websites that are always allowed or blocked, regardless of the rest of your protection settings:
- Custom block list: Web Protection will block any URL or domain you add to this list. You’ll receive a warning when visiting these sites and can choose whether or not to proceed.
- Custom allow list: Web Protection will always allow you to open any URL or domain on this list, without warnings.
Create a custom block list
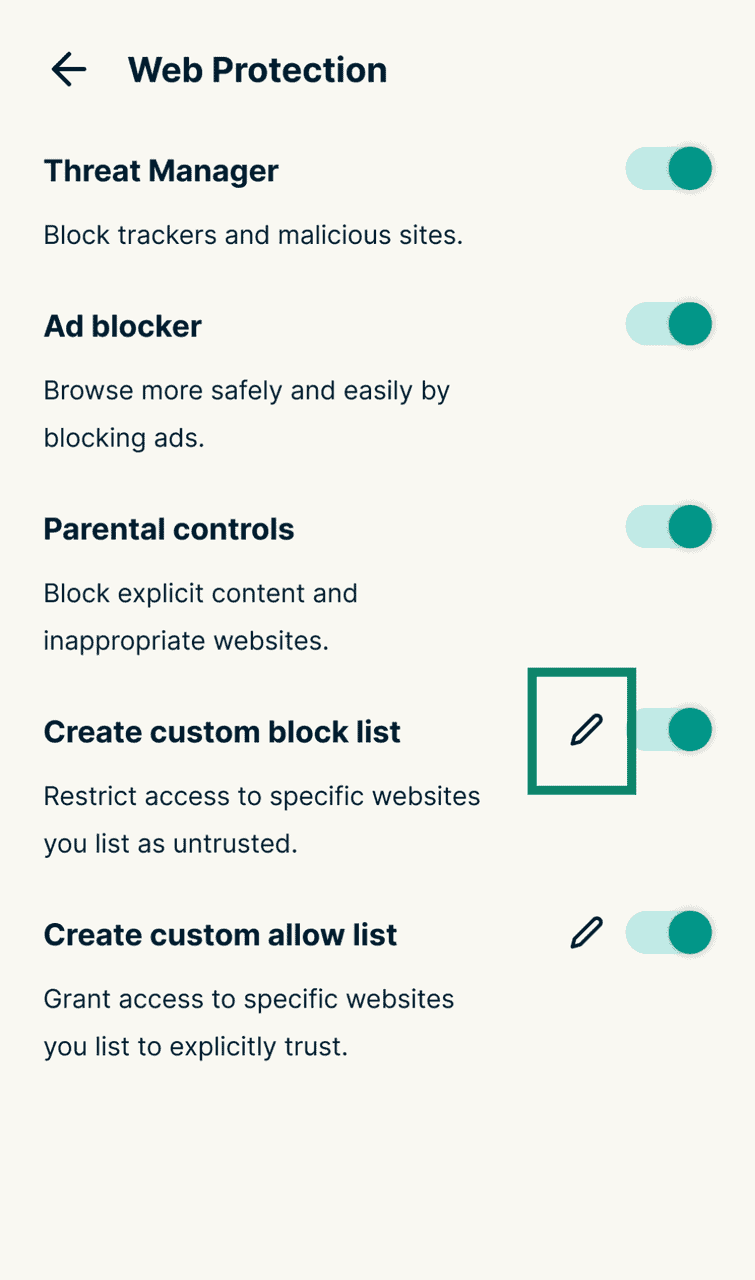
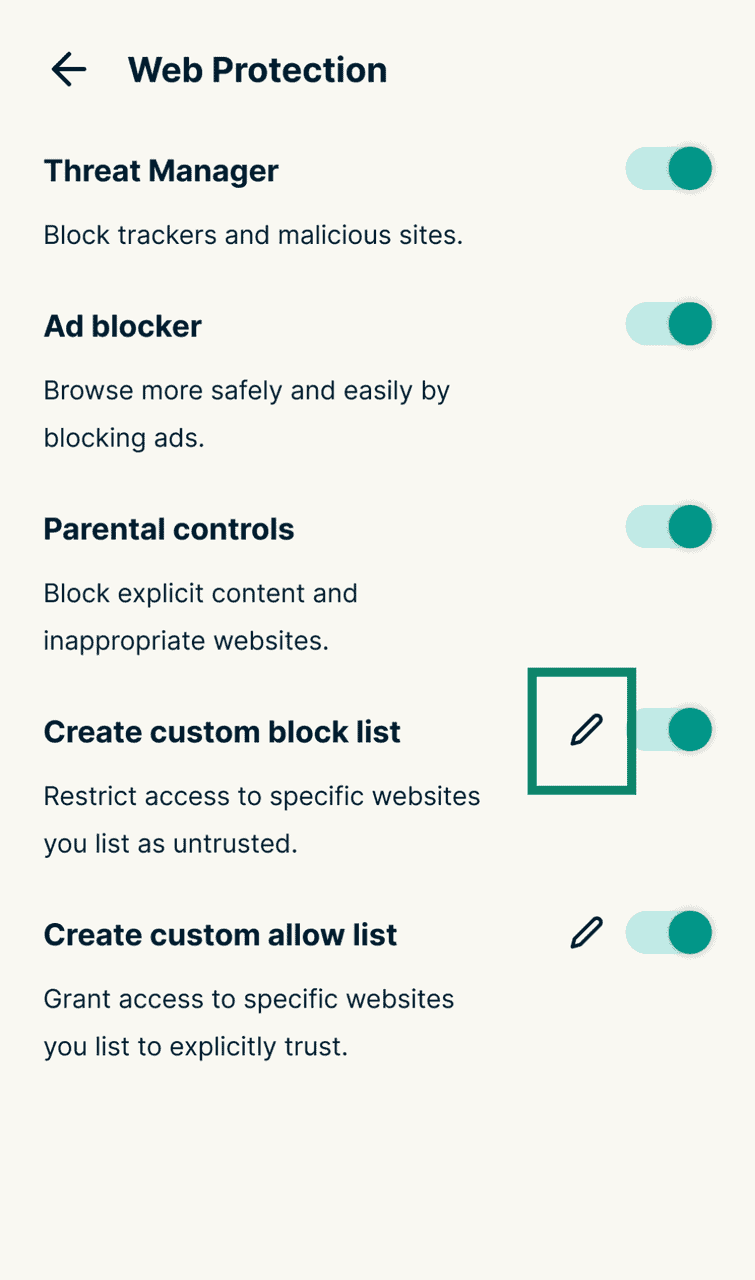
- In the Web Protection window, toggle the switch next to Create custom block list to enable the setting.
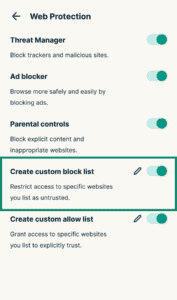
- Then, click the Edit (pencil) icon next to it.
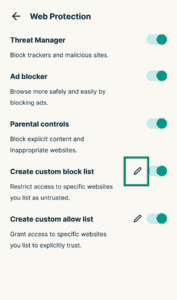
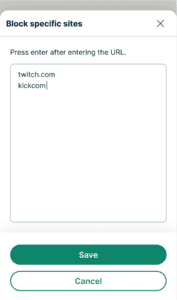
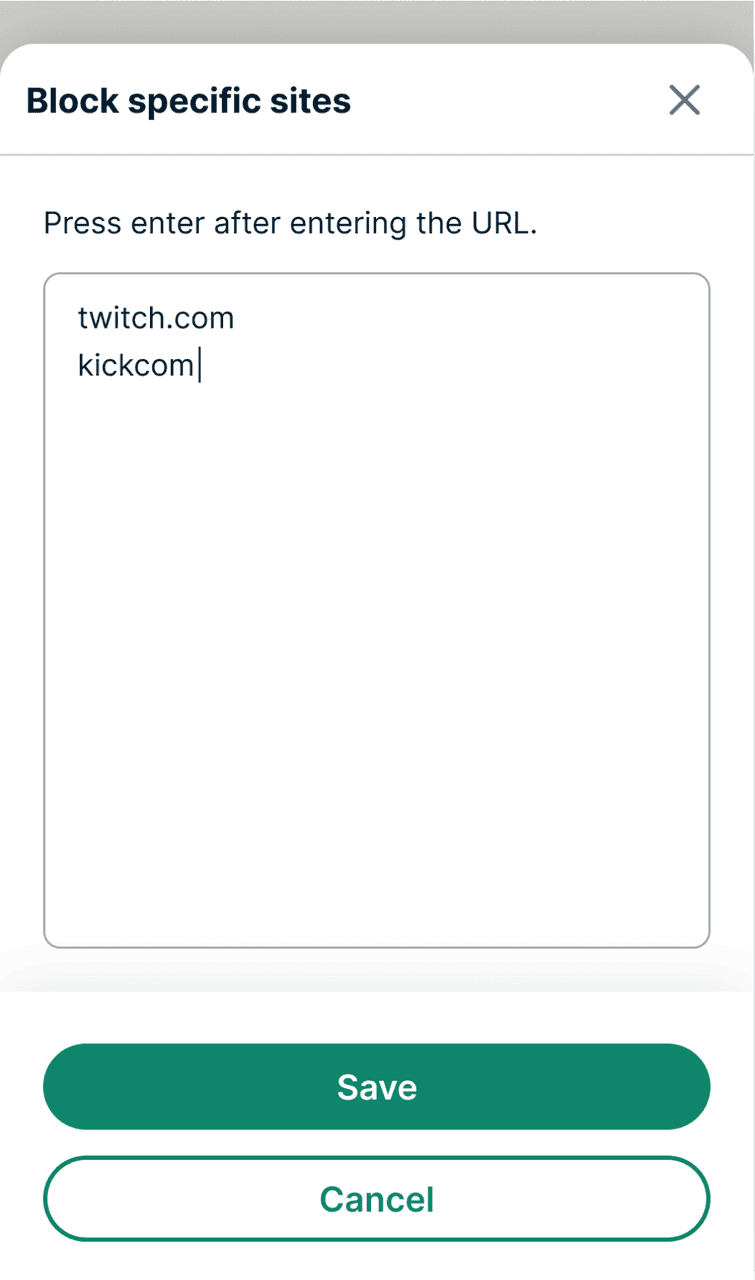
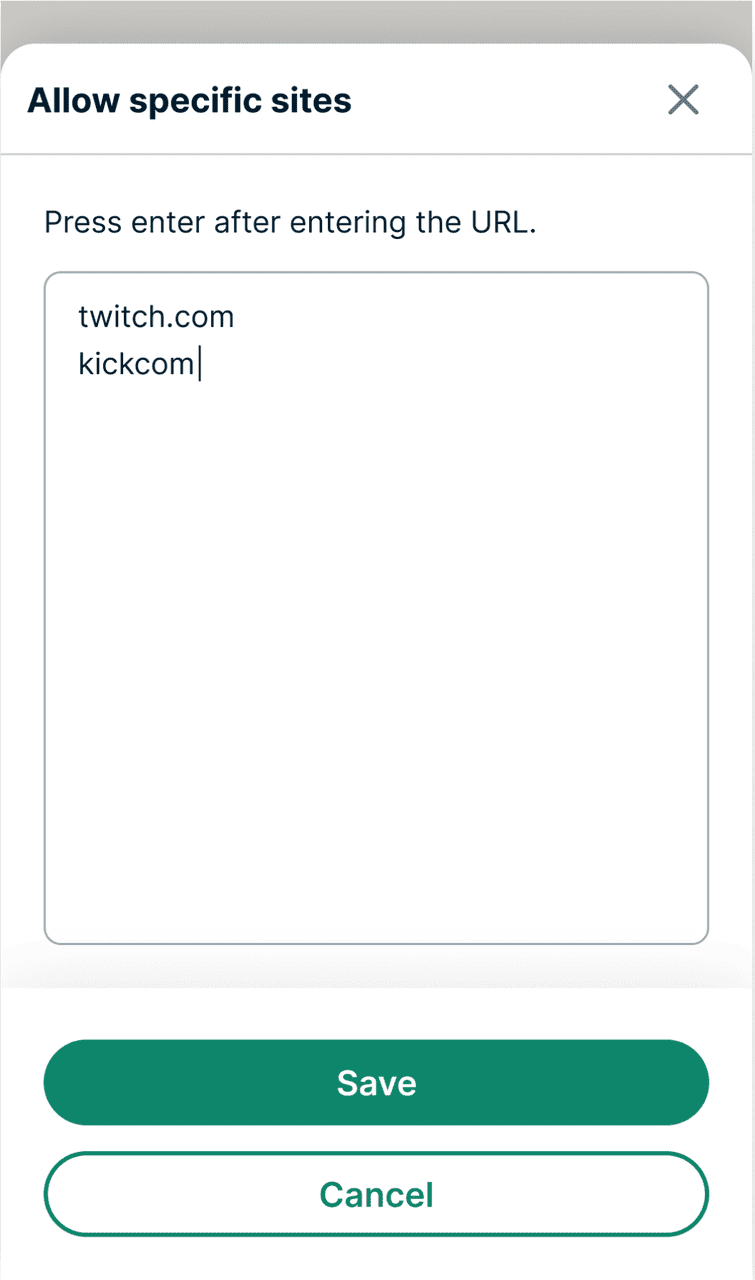
- Enter the URLs of the websites you want Web Protection to block. Press enter after each to add more URLs. Once done, click Save.
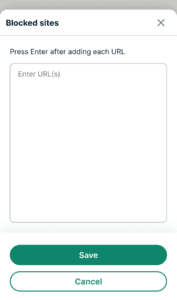
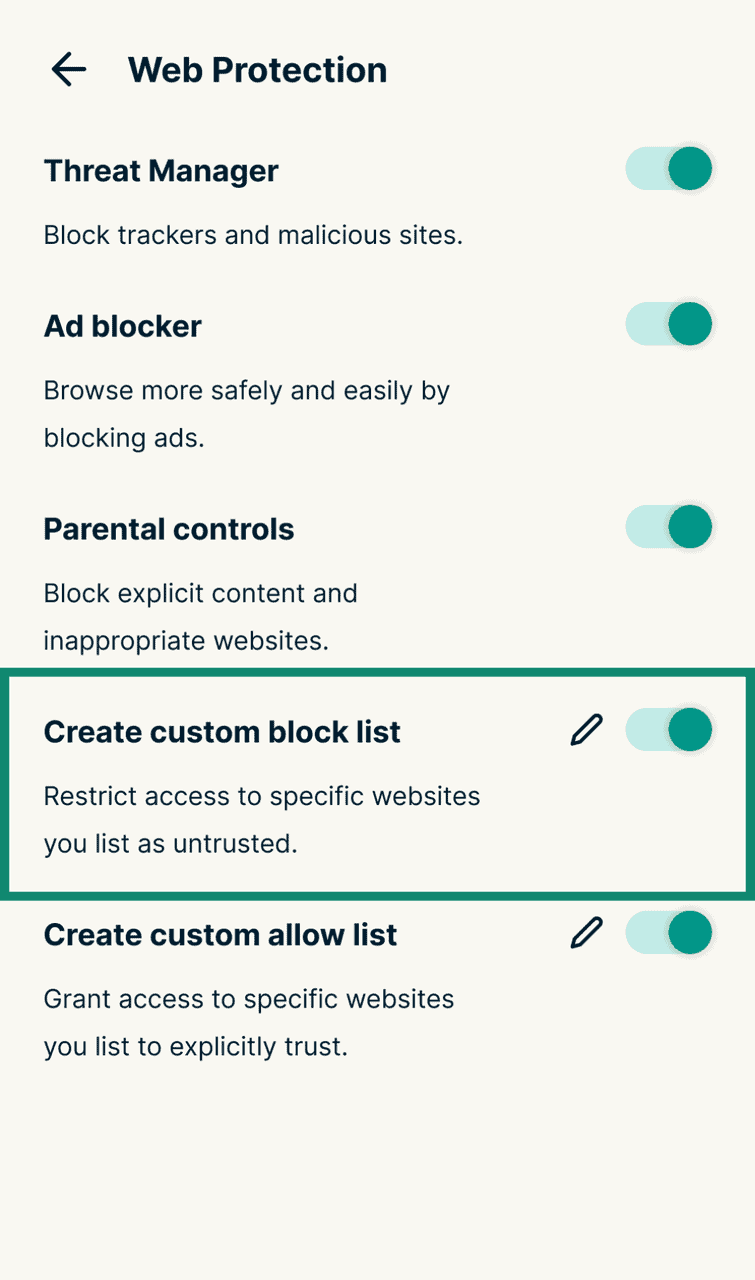
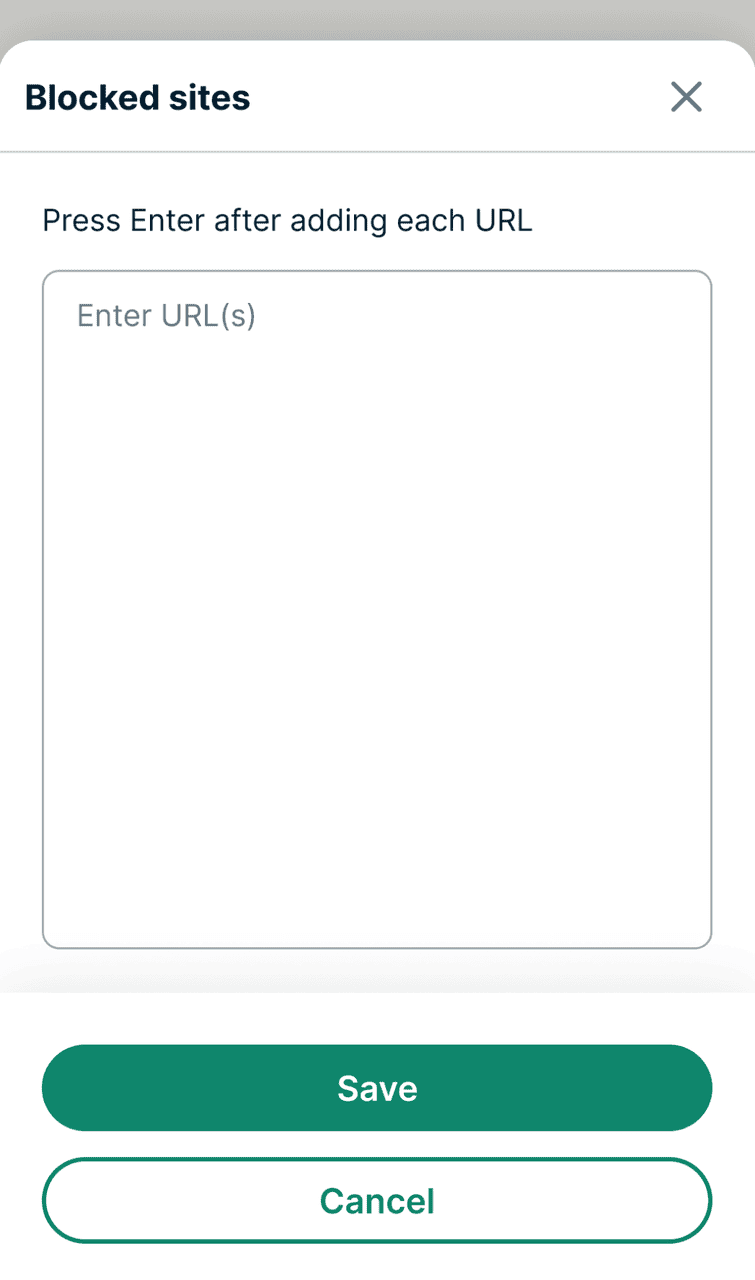
That’s it! Web Protection will now block these websites when you try to visit.
When Web Protection blocks a site from your custom block list, you will see a “This site is blocked” page, with a brief explanation that “You added [the blocked site] to your blocklist.” You will also see an option to Go Back and leave the site or Proceed Anyway if you deem the site safe.
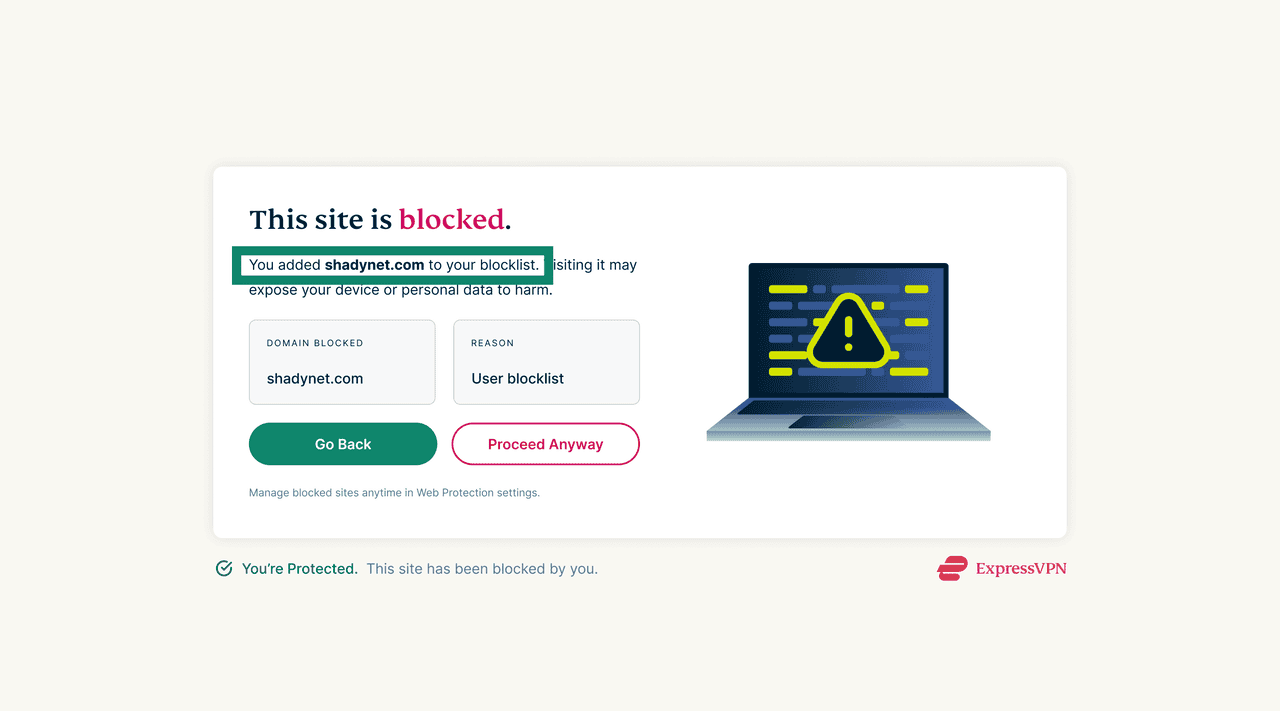
Note that clicking Proceed Anyway allows access to the site only in the current tab. Web Protection will block it again if you visit in a new tab or session. If you do not want Web Protection to block this site, remove it from your block list and add it to your allow list.
Edit a custom block list
To add or remove items from your block list:
- On the Web Protection window, click the Edit (pencil) icon next to Create custom block list.
- Use backspace to delete the sites you want to remove from the list or press enter to add a new URL. When done, click Save.
Create a custom allow list
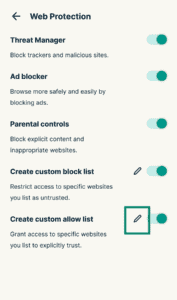
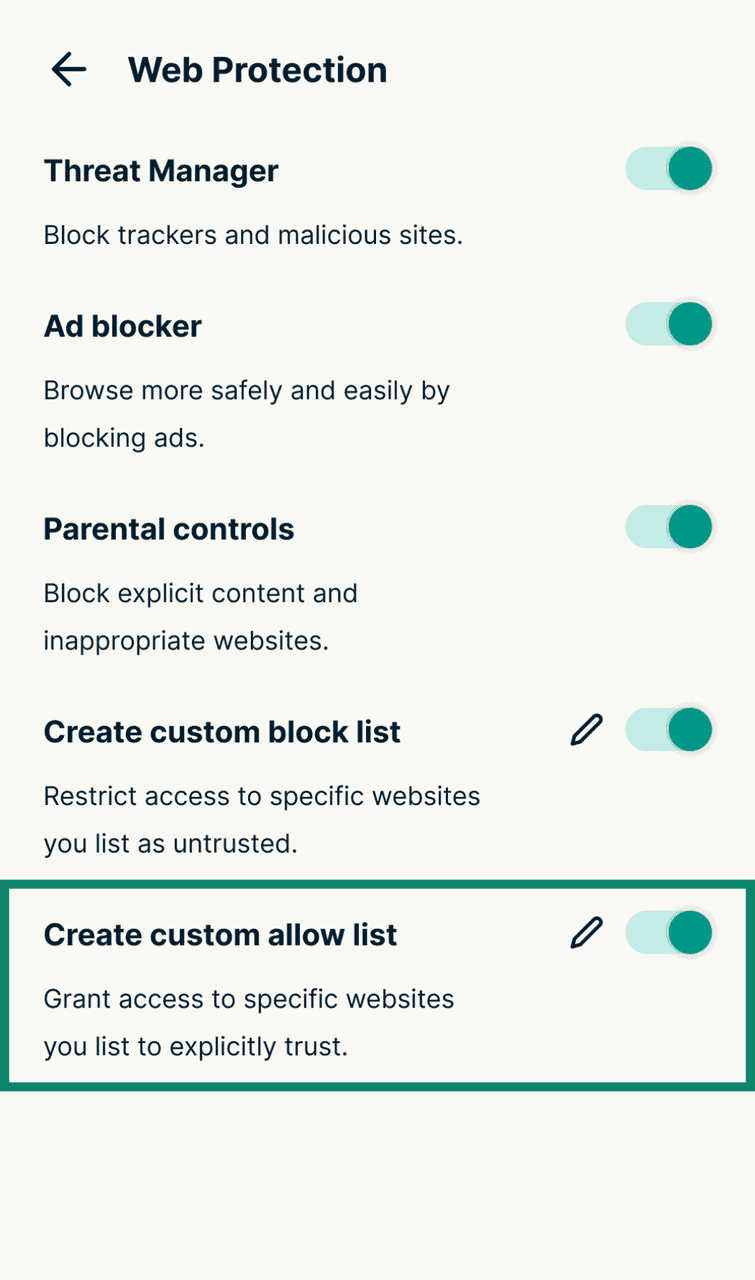
- In the Web Protection window, toggle the switch next to Create custom allow list.
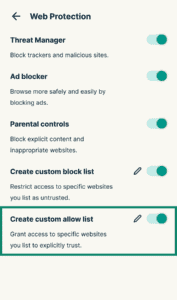
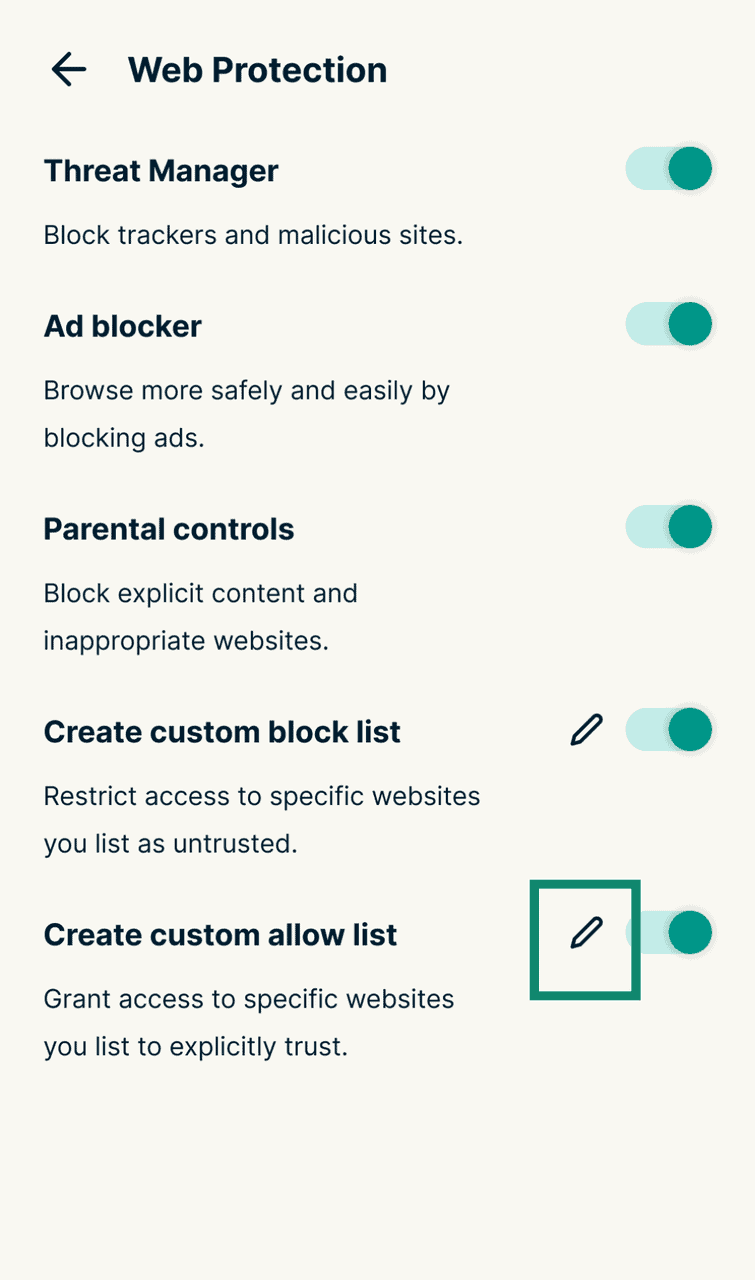
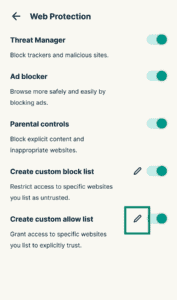
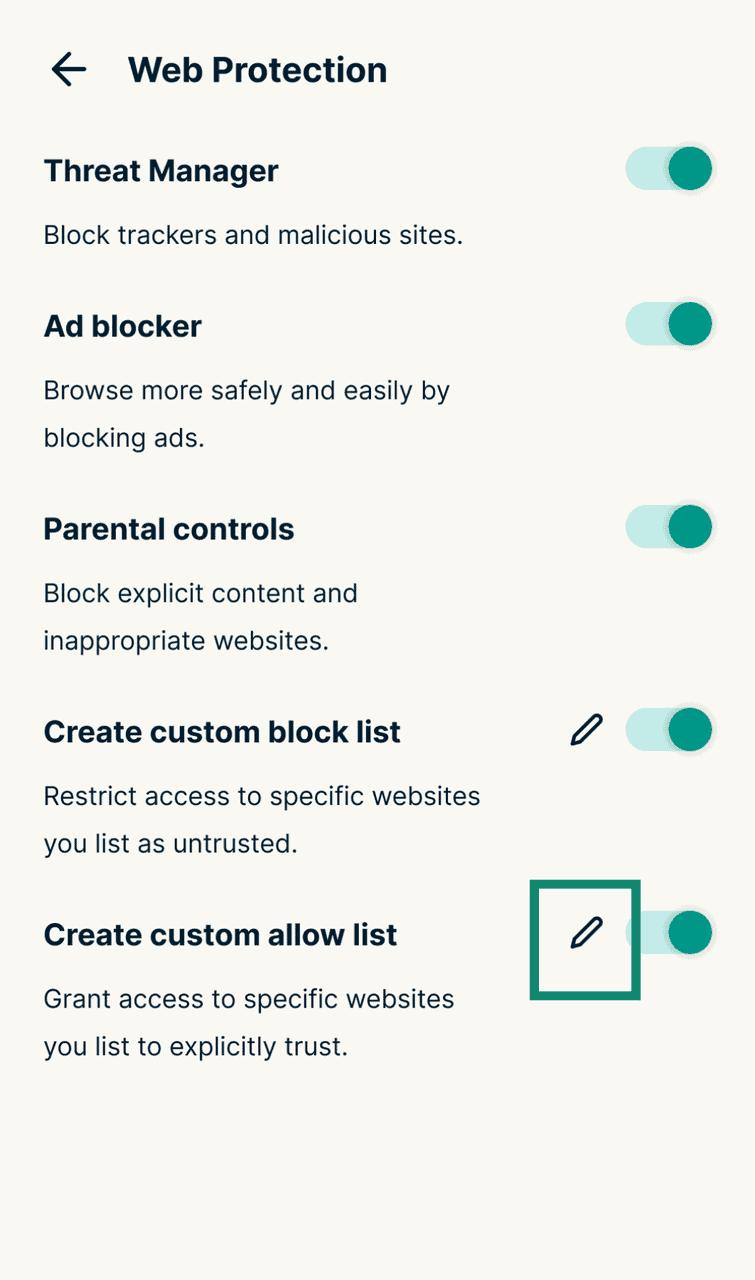
- Select the Edit (pencil) icon next to Create custom allow list.
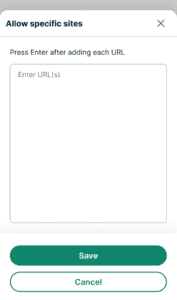
- Enter the URLs of the websites you want Web Protection to always load. Press enter after each to add more URLs. Once done, click Save.
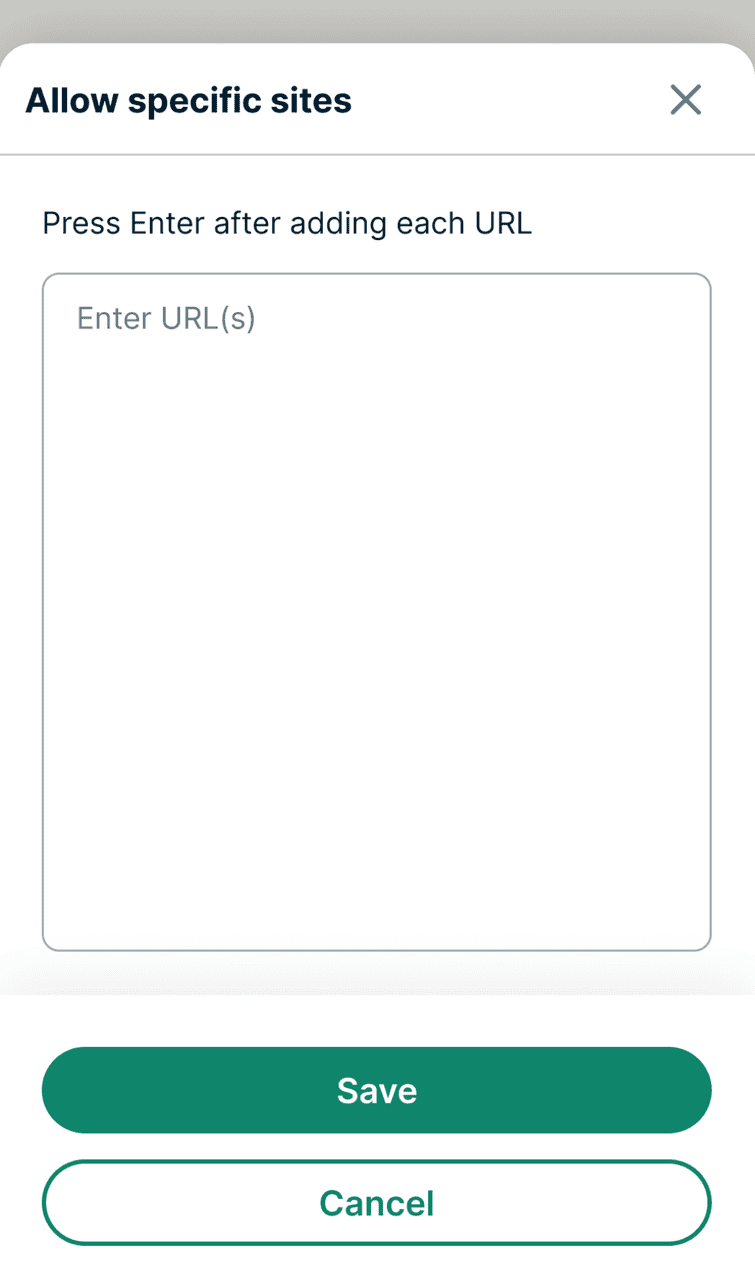
Web Protection will never block these websites, even if your protection settings would normally block them.
Edit a custom allow list
To add or remove from your allow list:
- On the Web Protection window, click the Edit (pencil) icon next to Create custom allow list.
- Use backspace to delete the sites you want to remove from the list or press enter to add a new URL. When done, click Save.
Need help? Contact the ExpressVPN Support Team for immediate assistance.
Check Web Protection details
Web Protection keeps track of the number of sites it has blocked. You can review these statistics in your ExpressVPN extension or the ExpressVPN+ portal.
ExpressVPN browser extension
The ExpressVPN browser extension shows you how many sites in total Web Protection has blocked for the week, with a graph displaying how blocking activity varies throughout the week.
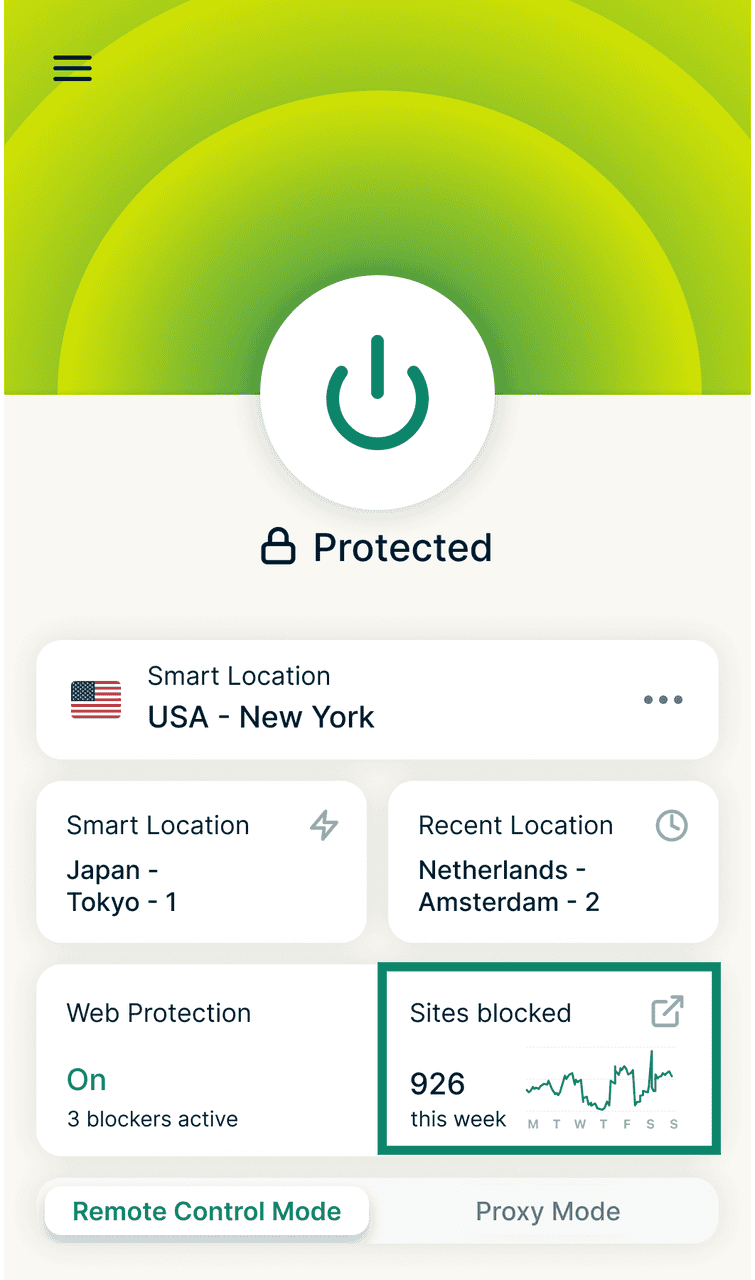
For a more detailed view, click the Sites blocked widget, and you will be taken to the Web Protection page in your ExpressVPN+ portal.
ExpressVPN+ portal
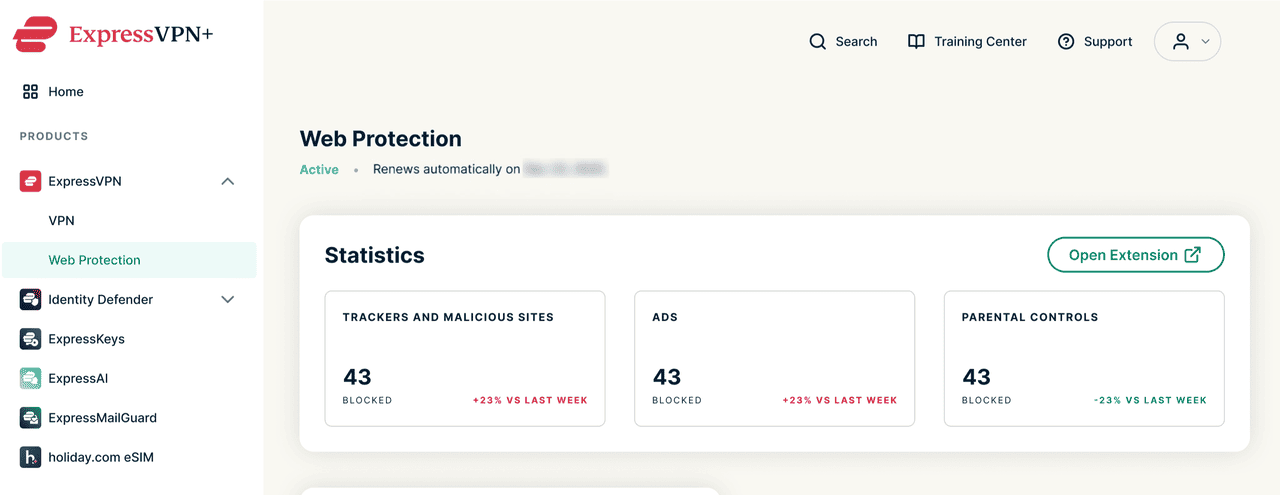
The Web Protection page in your ExpressVPN+ portal shows you a breakdown of what it has blocked, broken down into three categories: trackers and malicious sites, ads, and adult content sites. To see these numbers:
- Go to the Web Protection page in the ExpressVPN+ portal.
- Review the numbers of sites blocked (arranged by category) under Statistics.

Need help? Contact the ExpressVPN Support Team for immediate assistance.