





Your ExpressVPN+ portal supports passkeys, so you can sign in using your device’s built-in security, like face unlock, fingerprint unlock, or PIN, instead of typing a password.
This guide explains how to add passkeys for your ExpressVPN+ account. The steps are the same on both mobile and desktop devices.
Jump to…
Create a passkey when you sign in
If your device supports passkeys, you will be prompted to create one the next time you sign into the ExpressVPN+ portal.
- Log into your ExpressVPN+ dashboard with your existing credentials as usual.
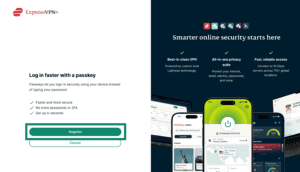
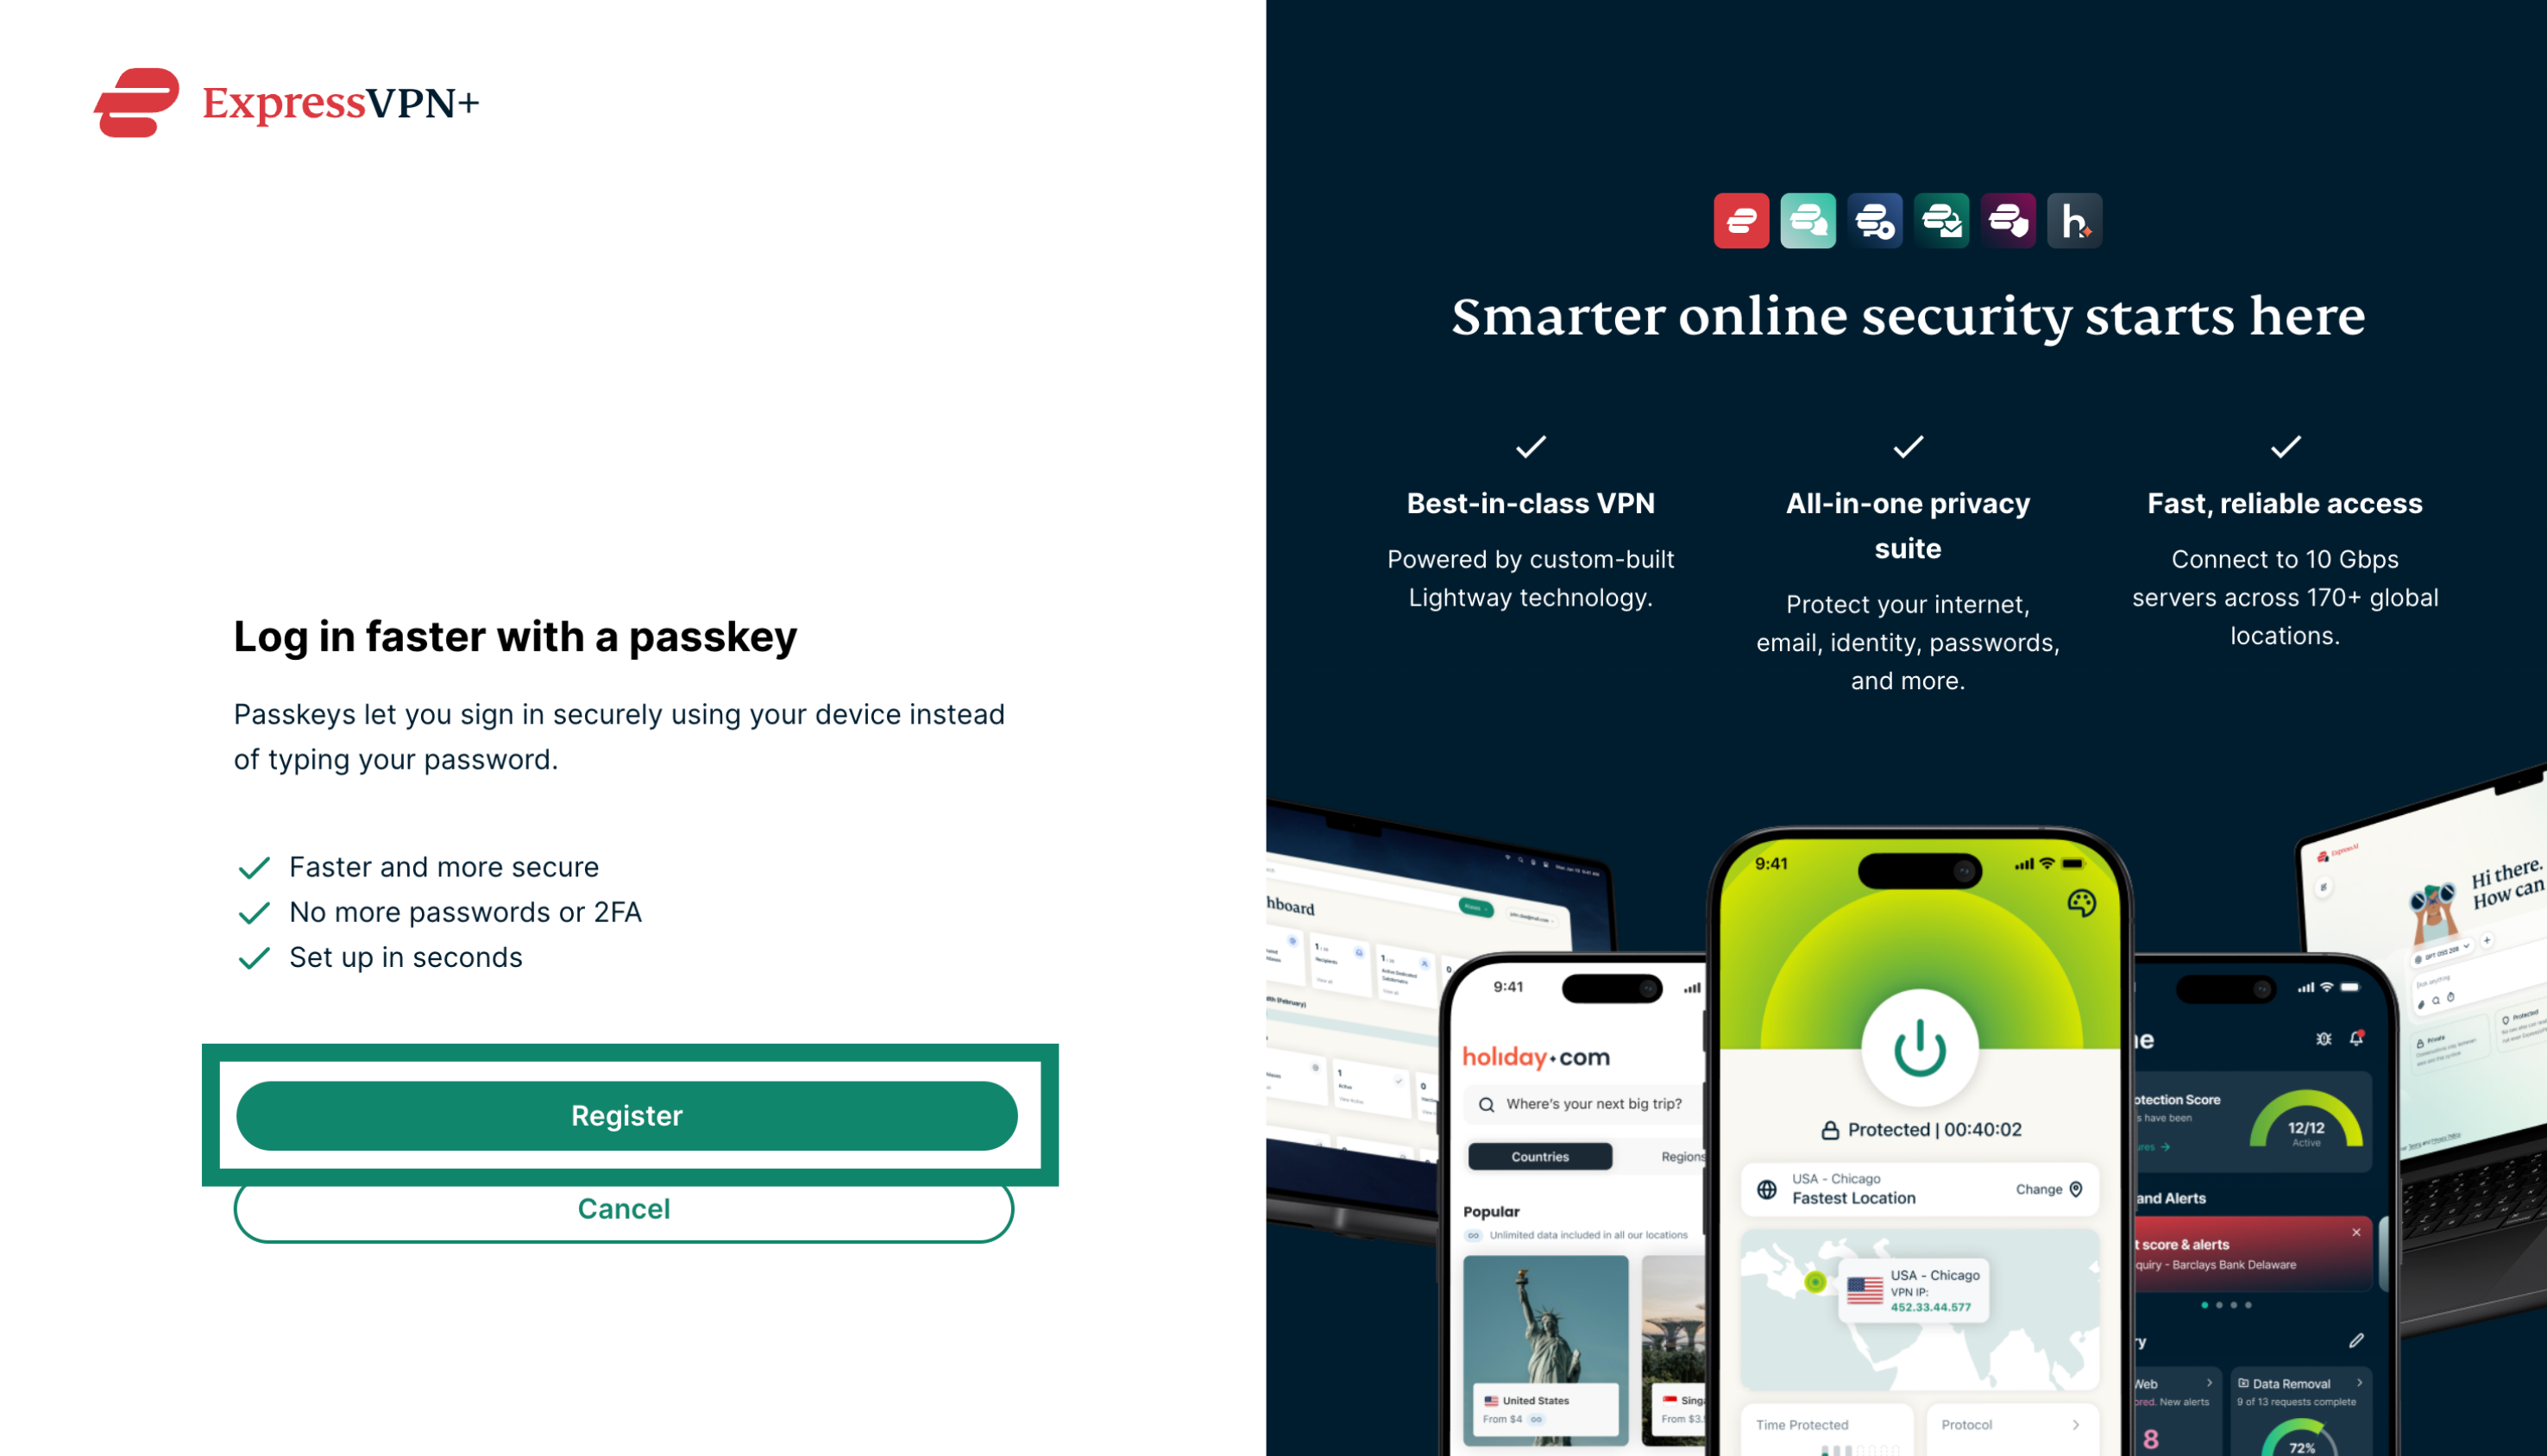
- When prompted, select Register to create a passkey. You may be asked to re-authenticate by entering your password or a verification code sent to your email.

- Next, follow your device’s prompt to confirm with your fingerprint, face, PIN, or security key.
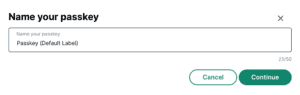
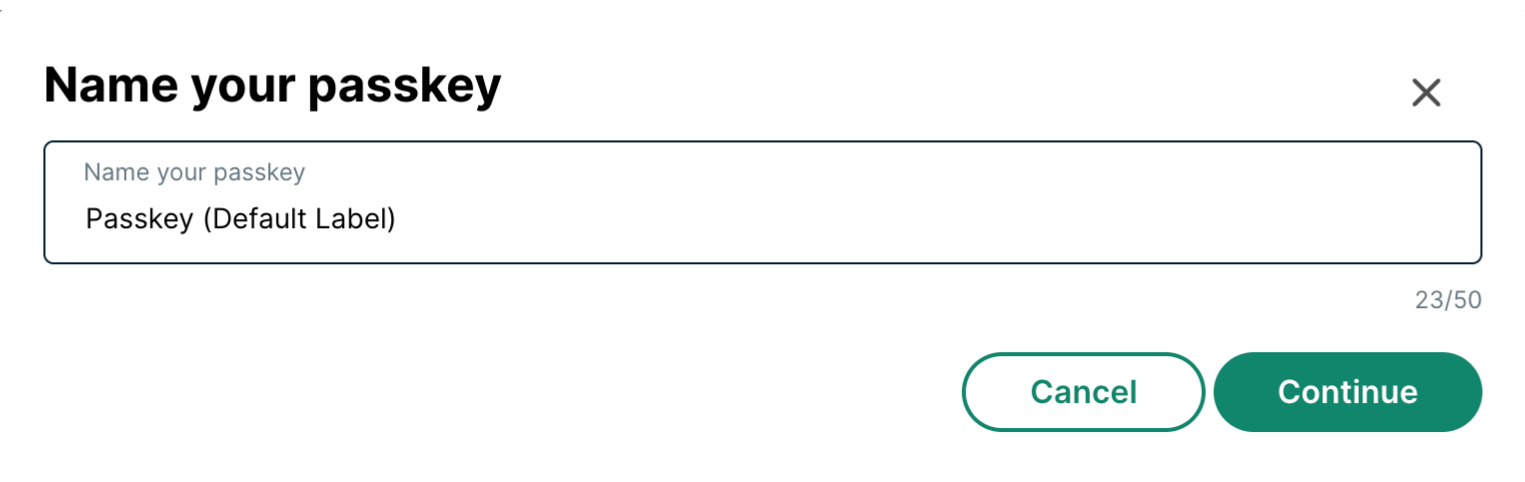
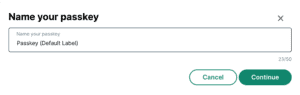
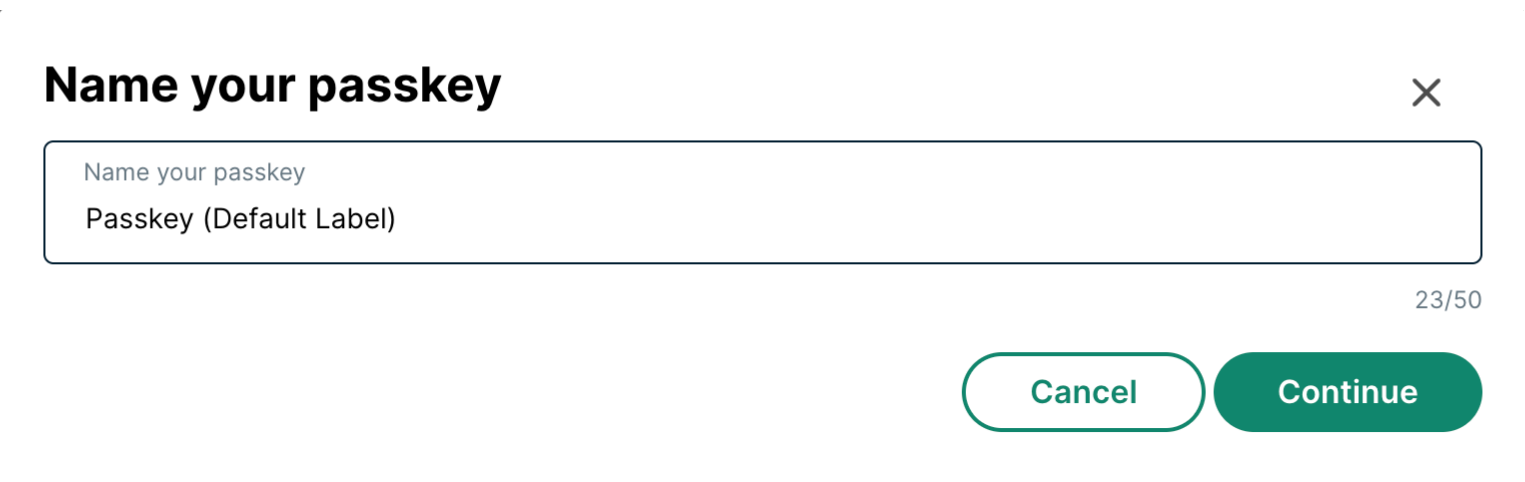
- Name your passkey and select Continue.

- Once created, you will be taken to your ExpressVPN+ portal.
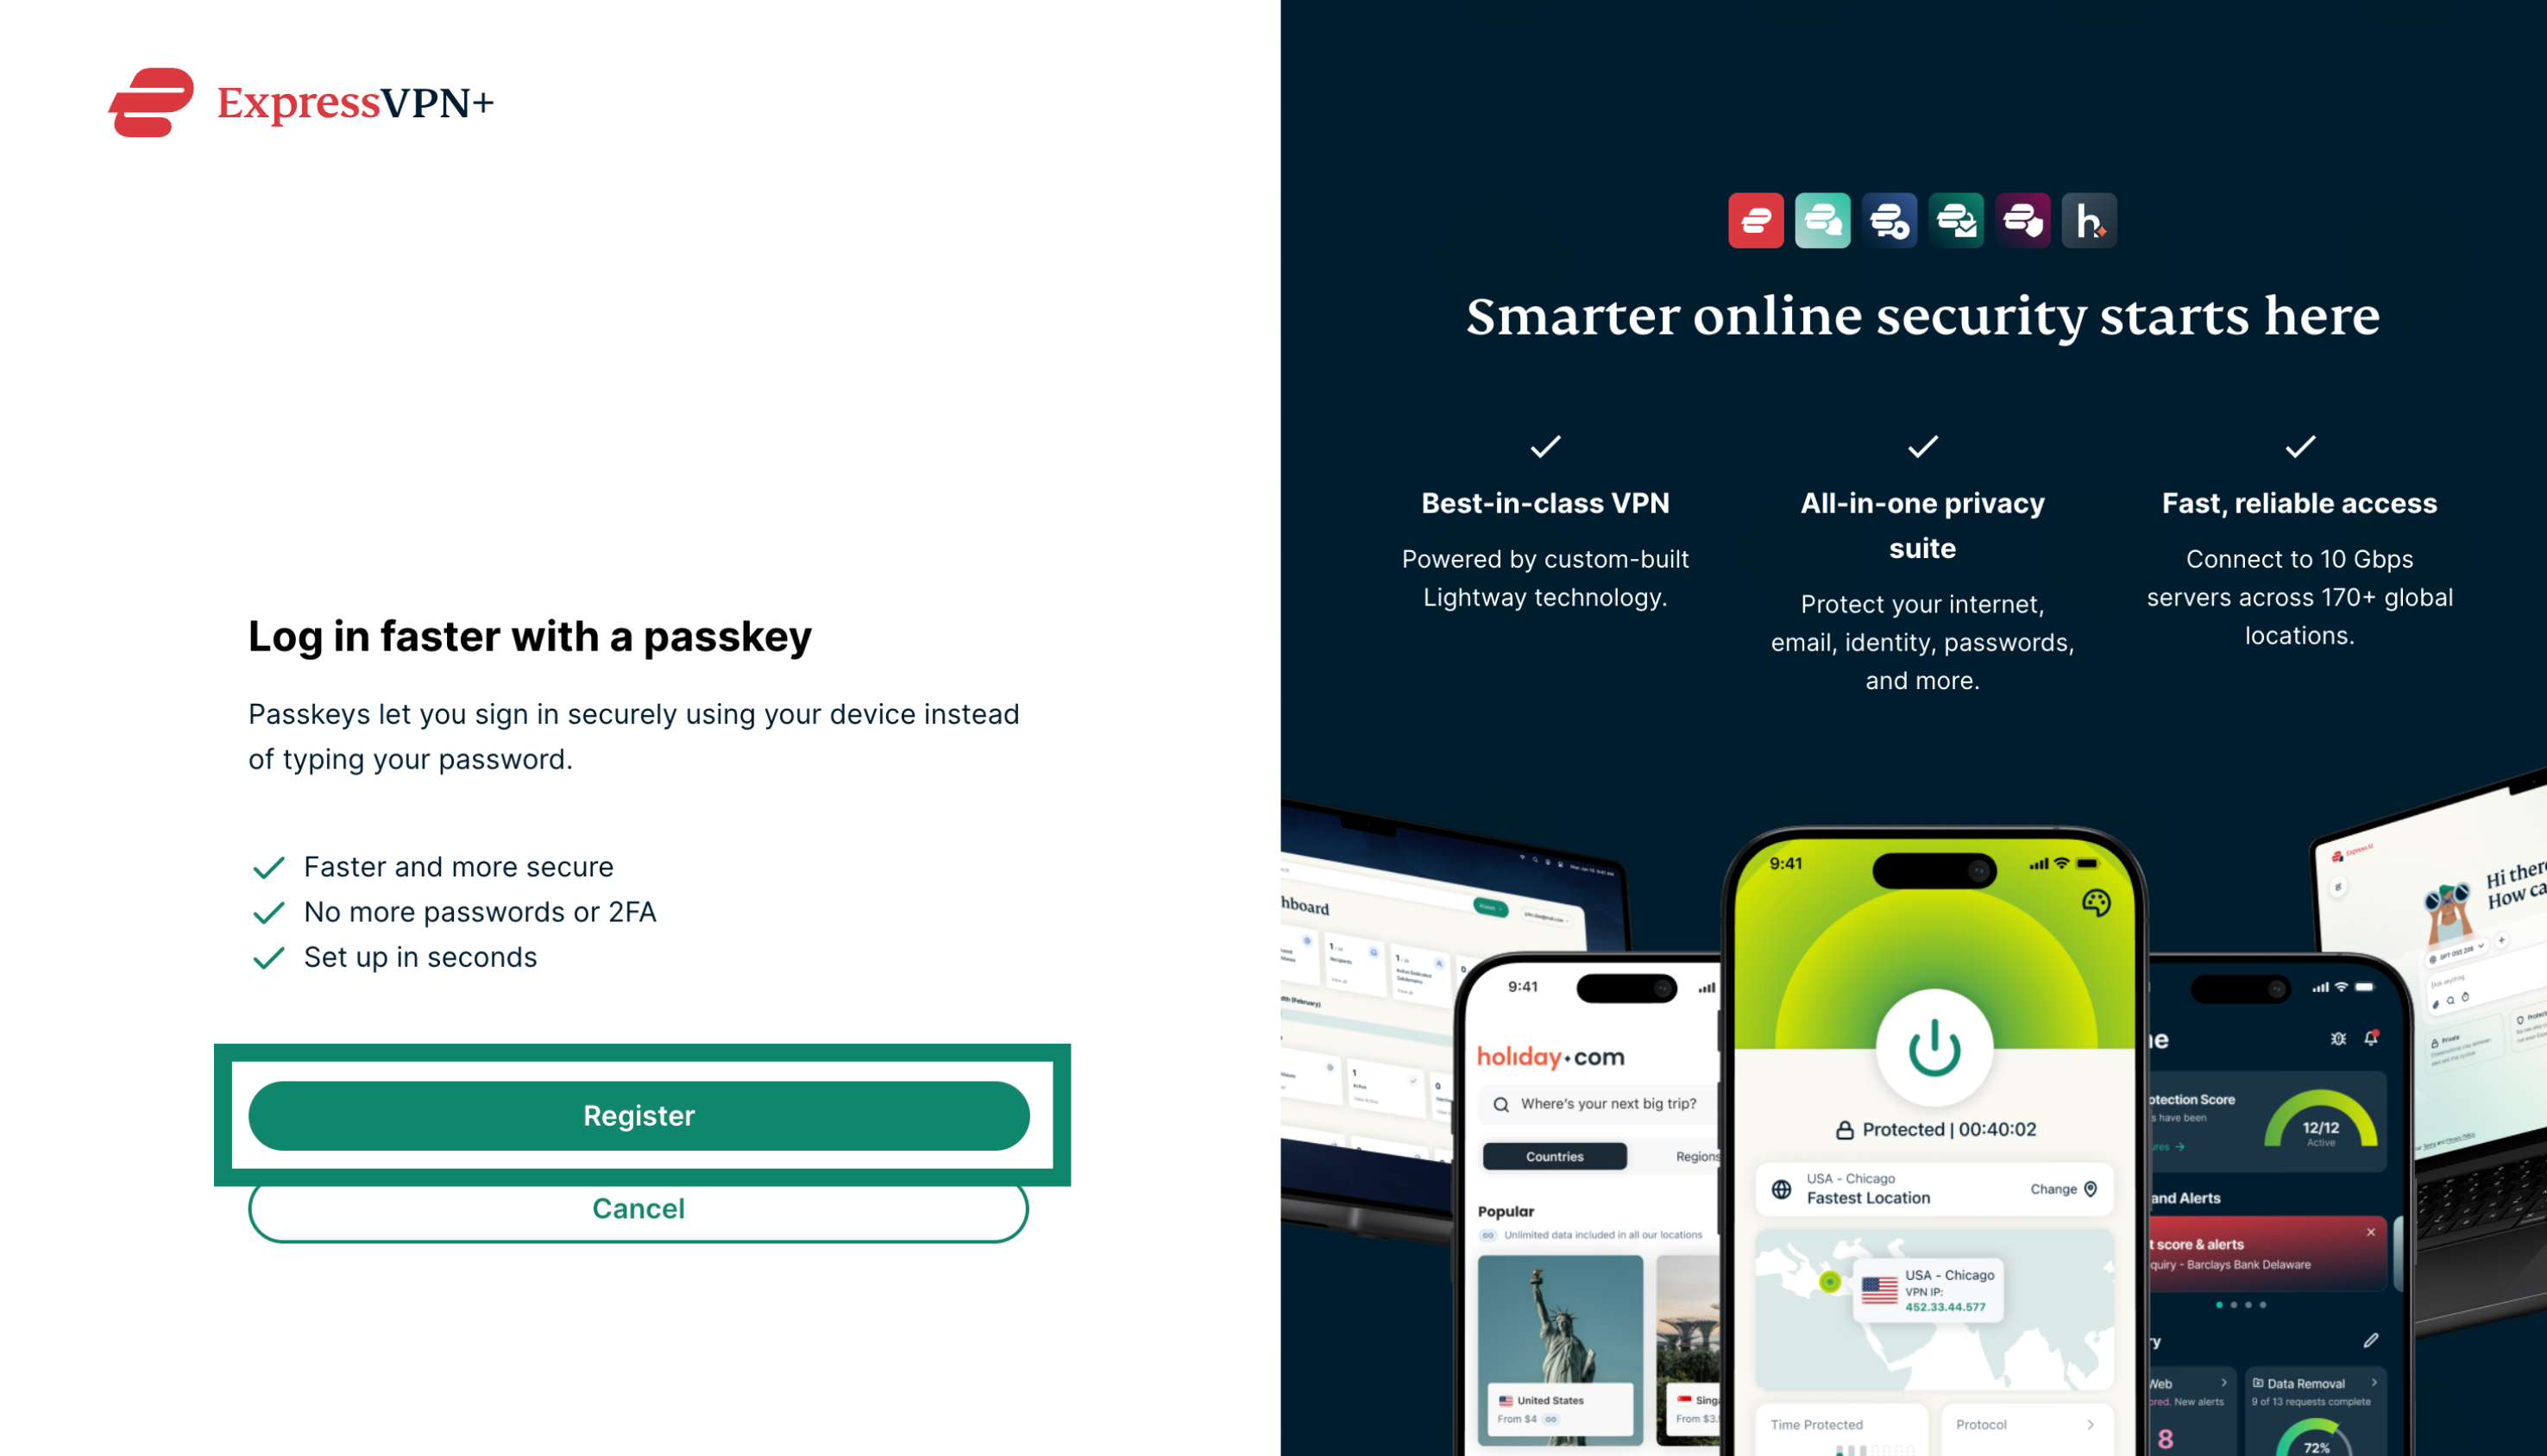
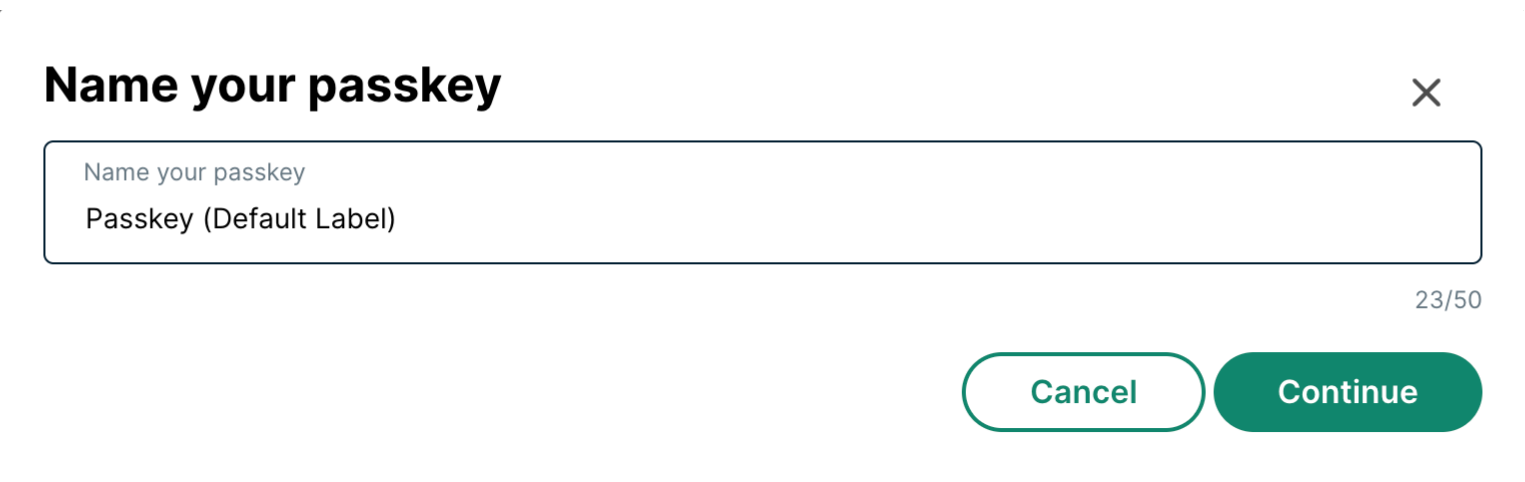
The passkey is saved to this device, and you can use it to sign in going forward.
Note: Passkey support depends on your device and browser. If your device does not support passkeys, you will not see this prompt, and you will continue signing in with your email and verification code or password as usual.
Need help? Contact the ExpressVPN Support Team for immediate assistance.
Create a passkey when you first sign up
If you are a new user creating an ExpressVPN+ portal account, you will see a prompt to create a passkey after you confirm your username and password.
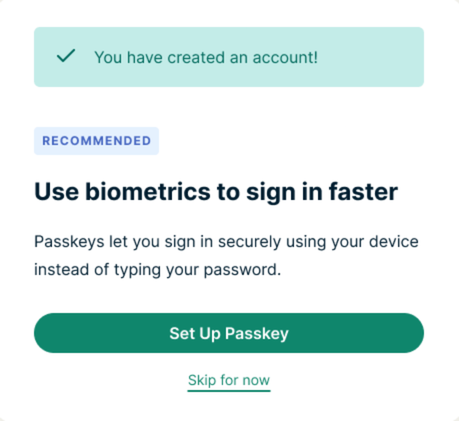
- When prompted, select Set Up Passkey.
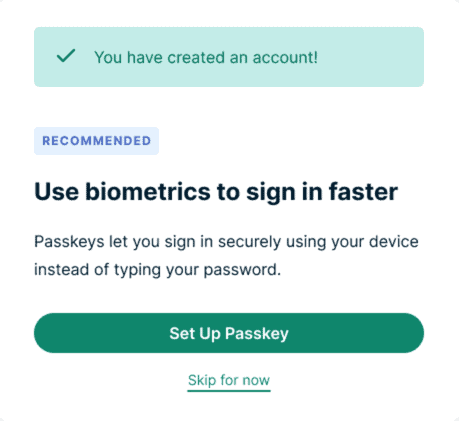

- Follow your device’s prompt to confirm with your fingerprint, face, PIN, or security key.
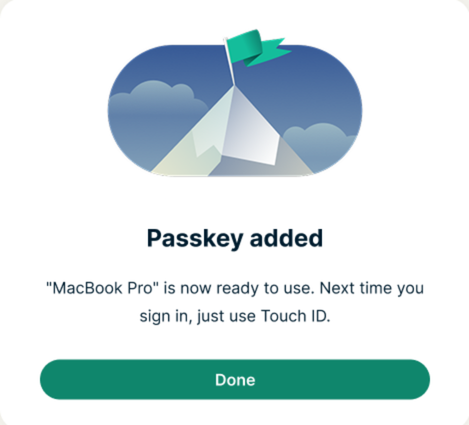
- Once created, you will see a “Passkey added” message. Select Done to continue with the setup.
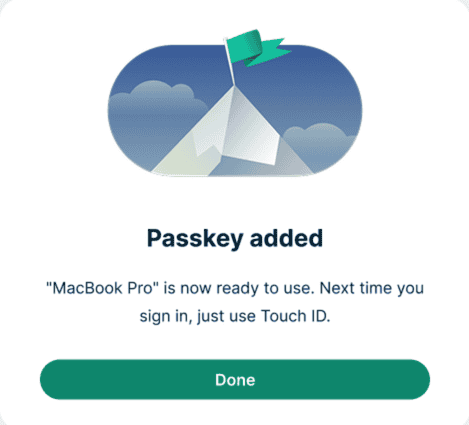

Need help? Contact the ExpressVPN Support Team for immediate assistance.
Set up a passkey in your ExpressVPN+ settings
If you do not see a prompt at signup or sign in, you can still add a passkey any time from your account settings.
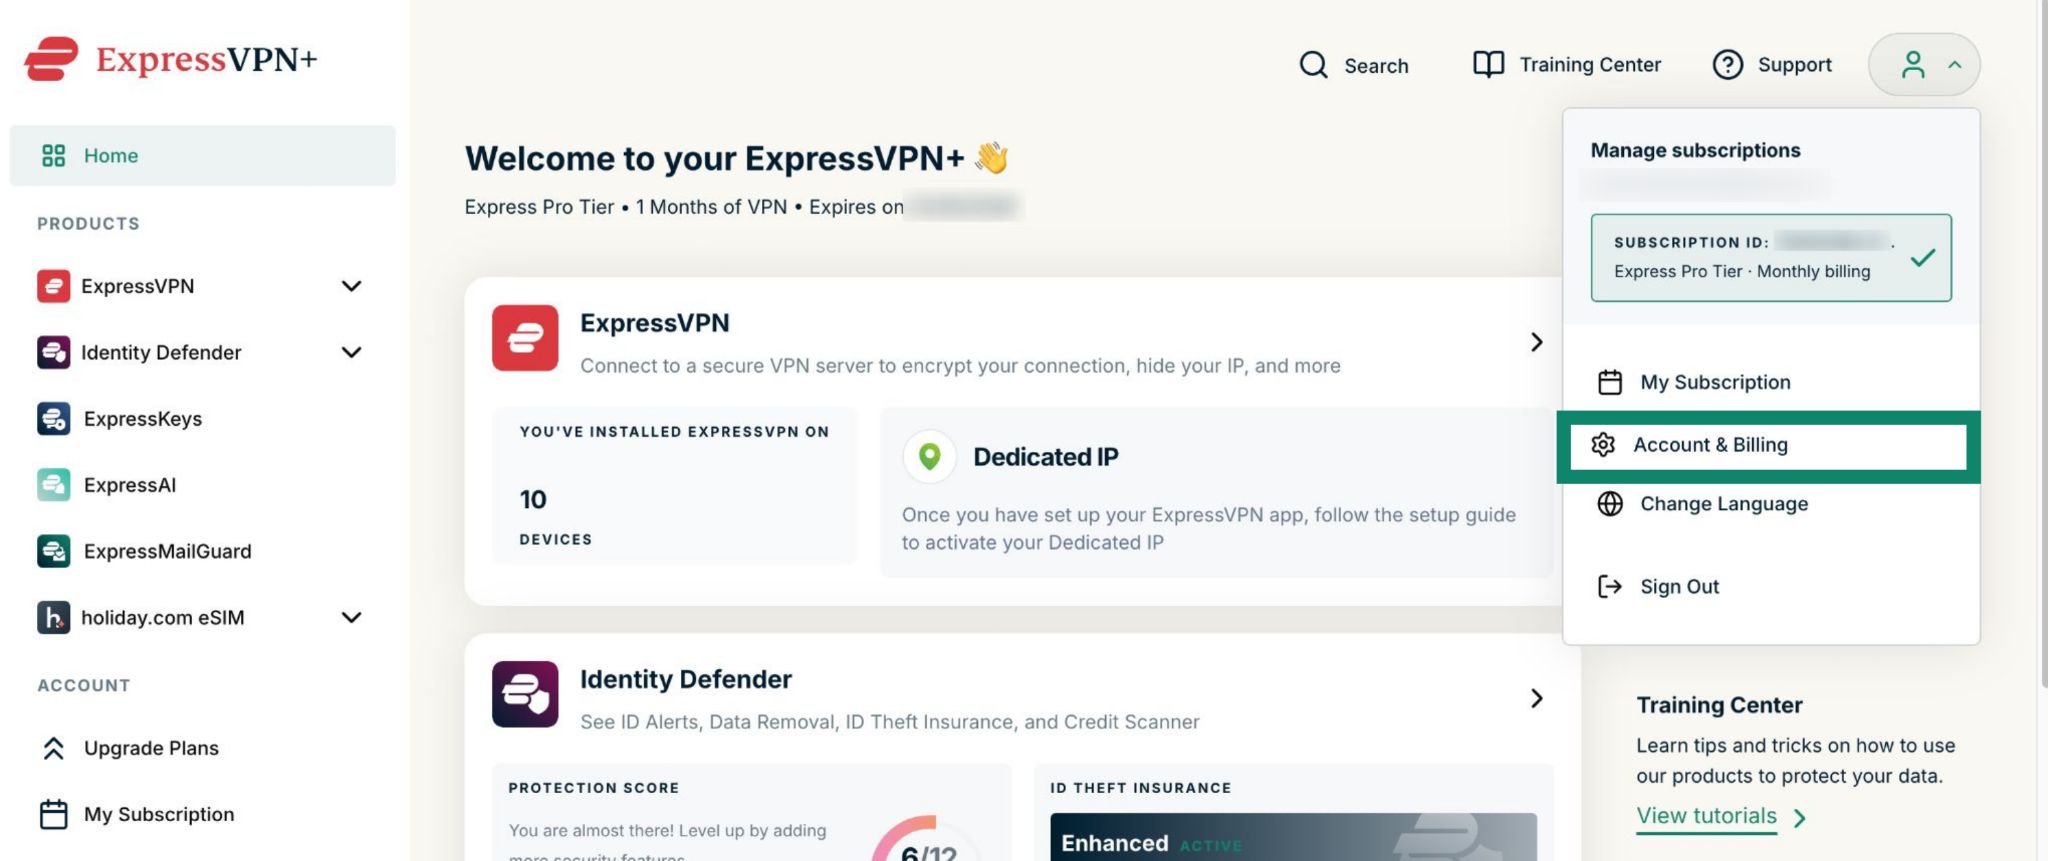
- Log into your ExpressVPN+ dashboard.
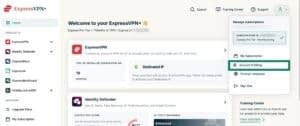
- Select Account & Billing.

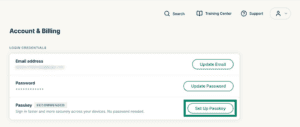
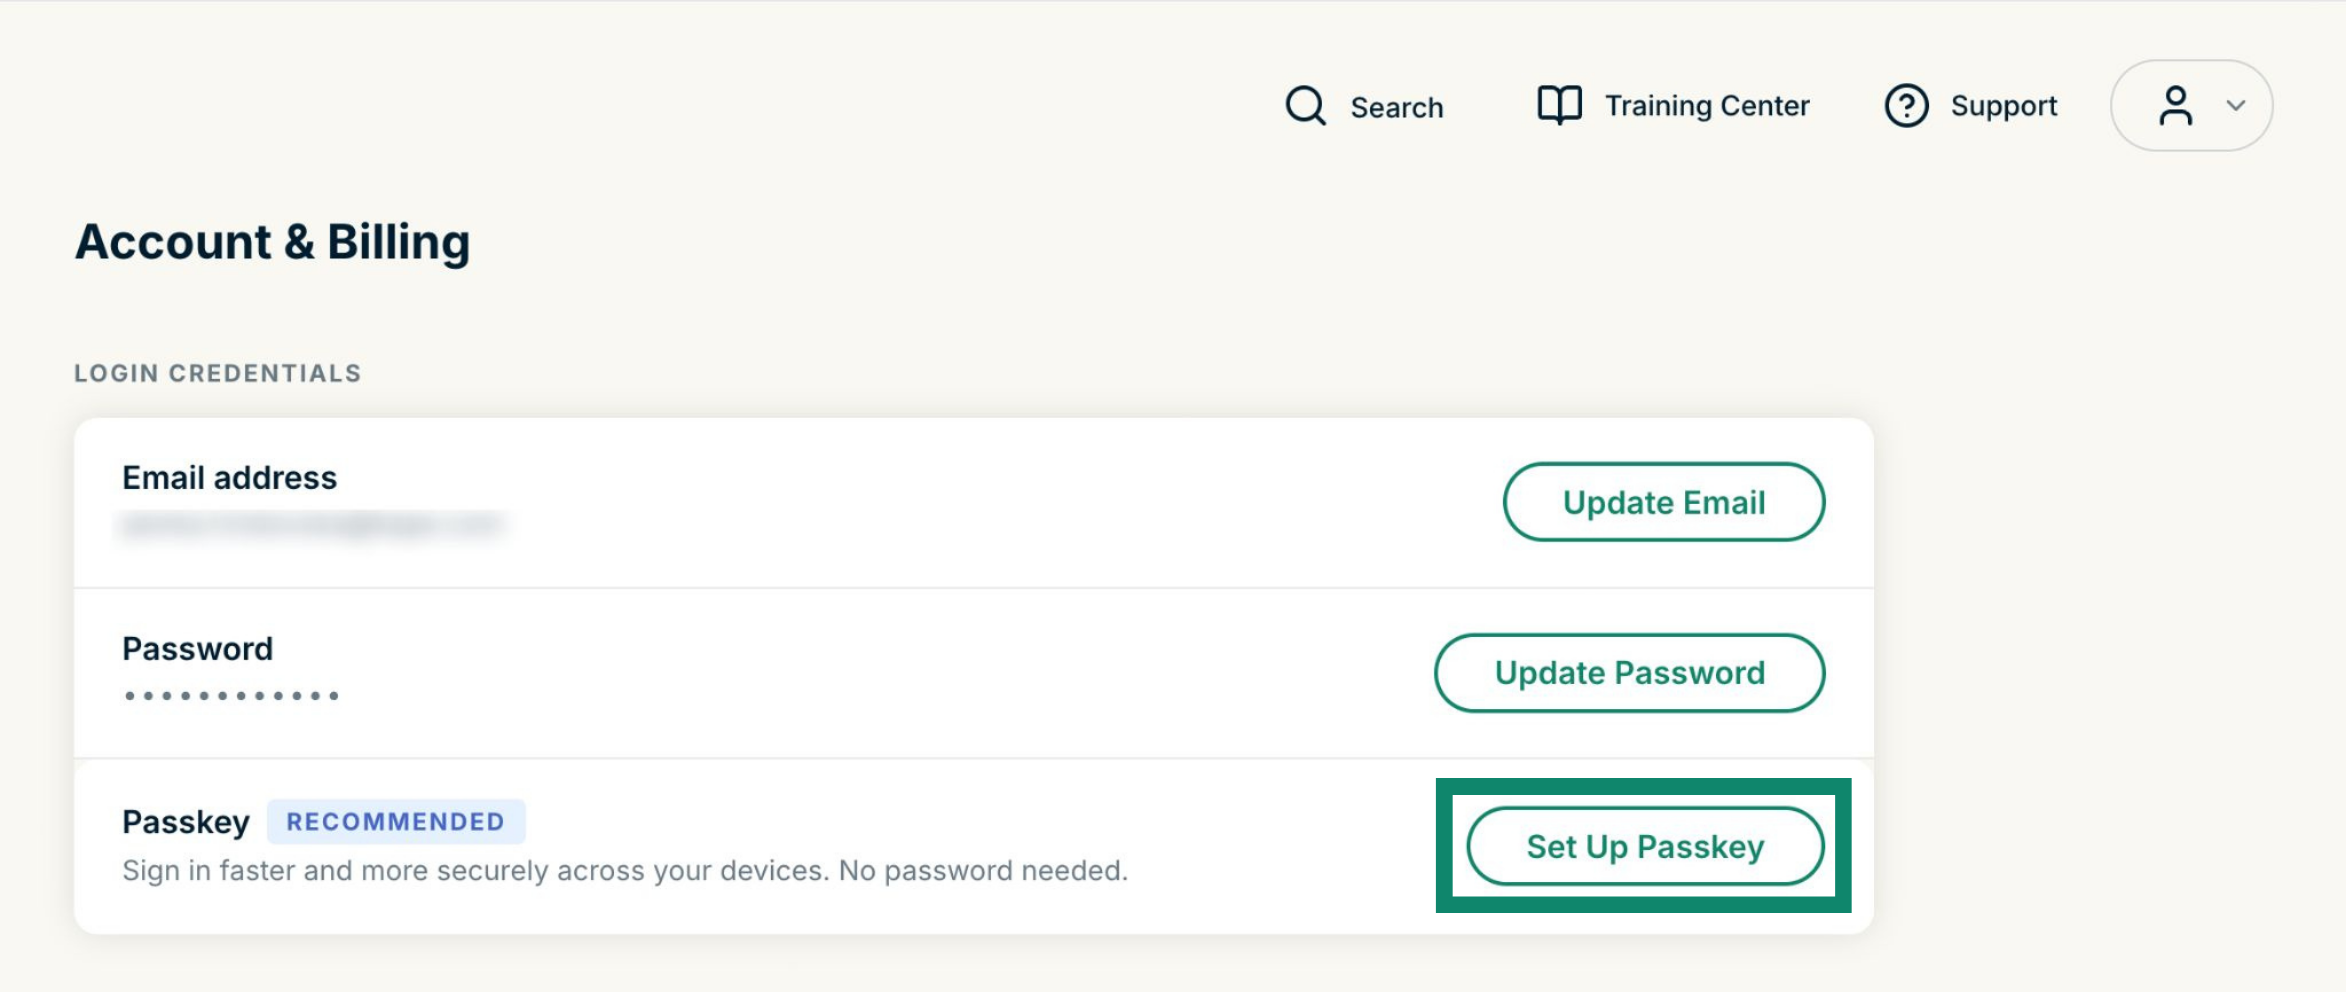
- Select Set Up Passkey.

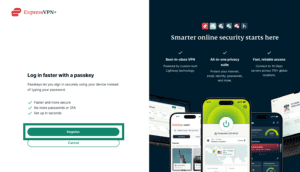
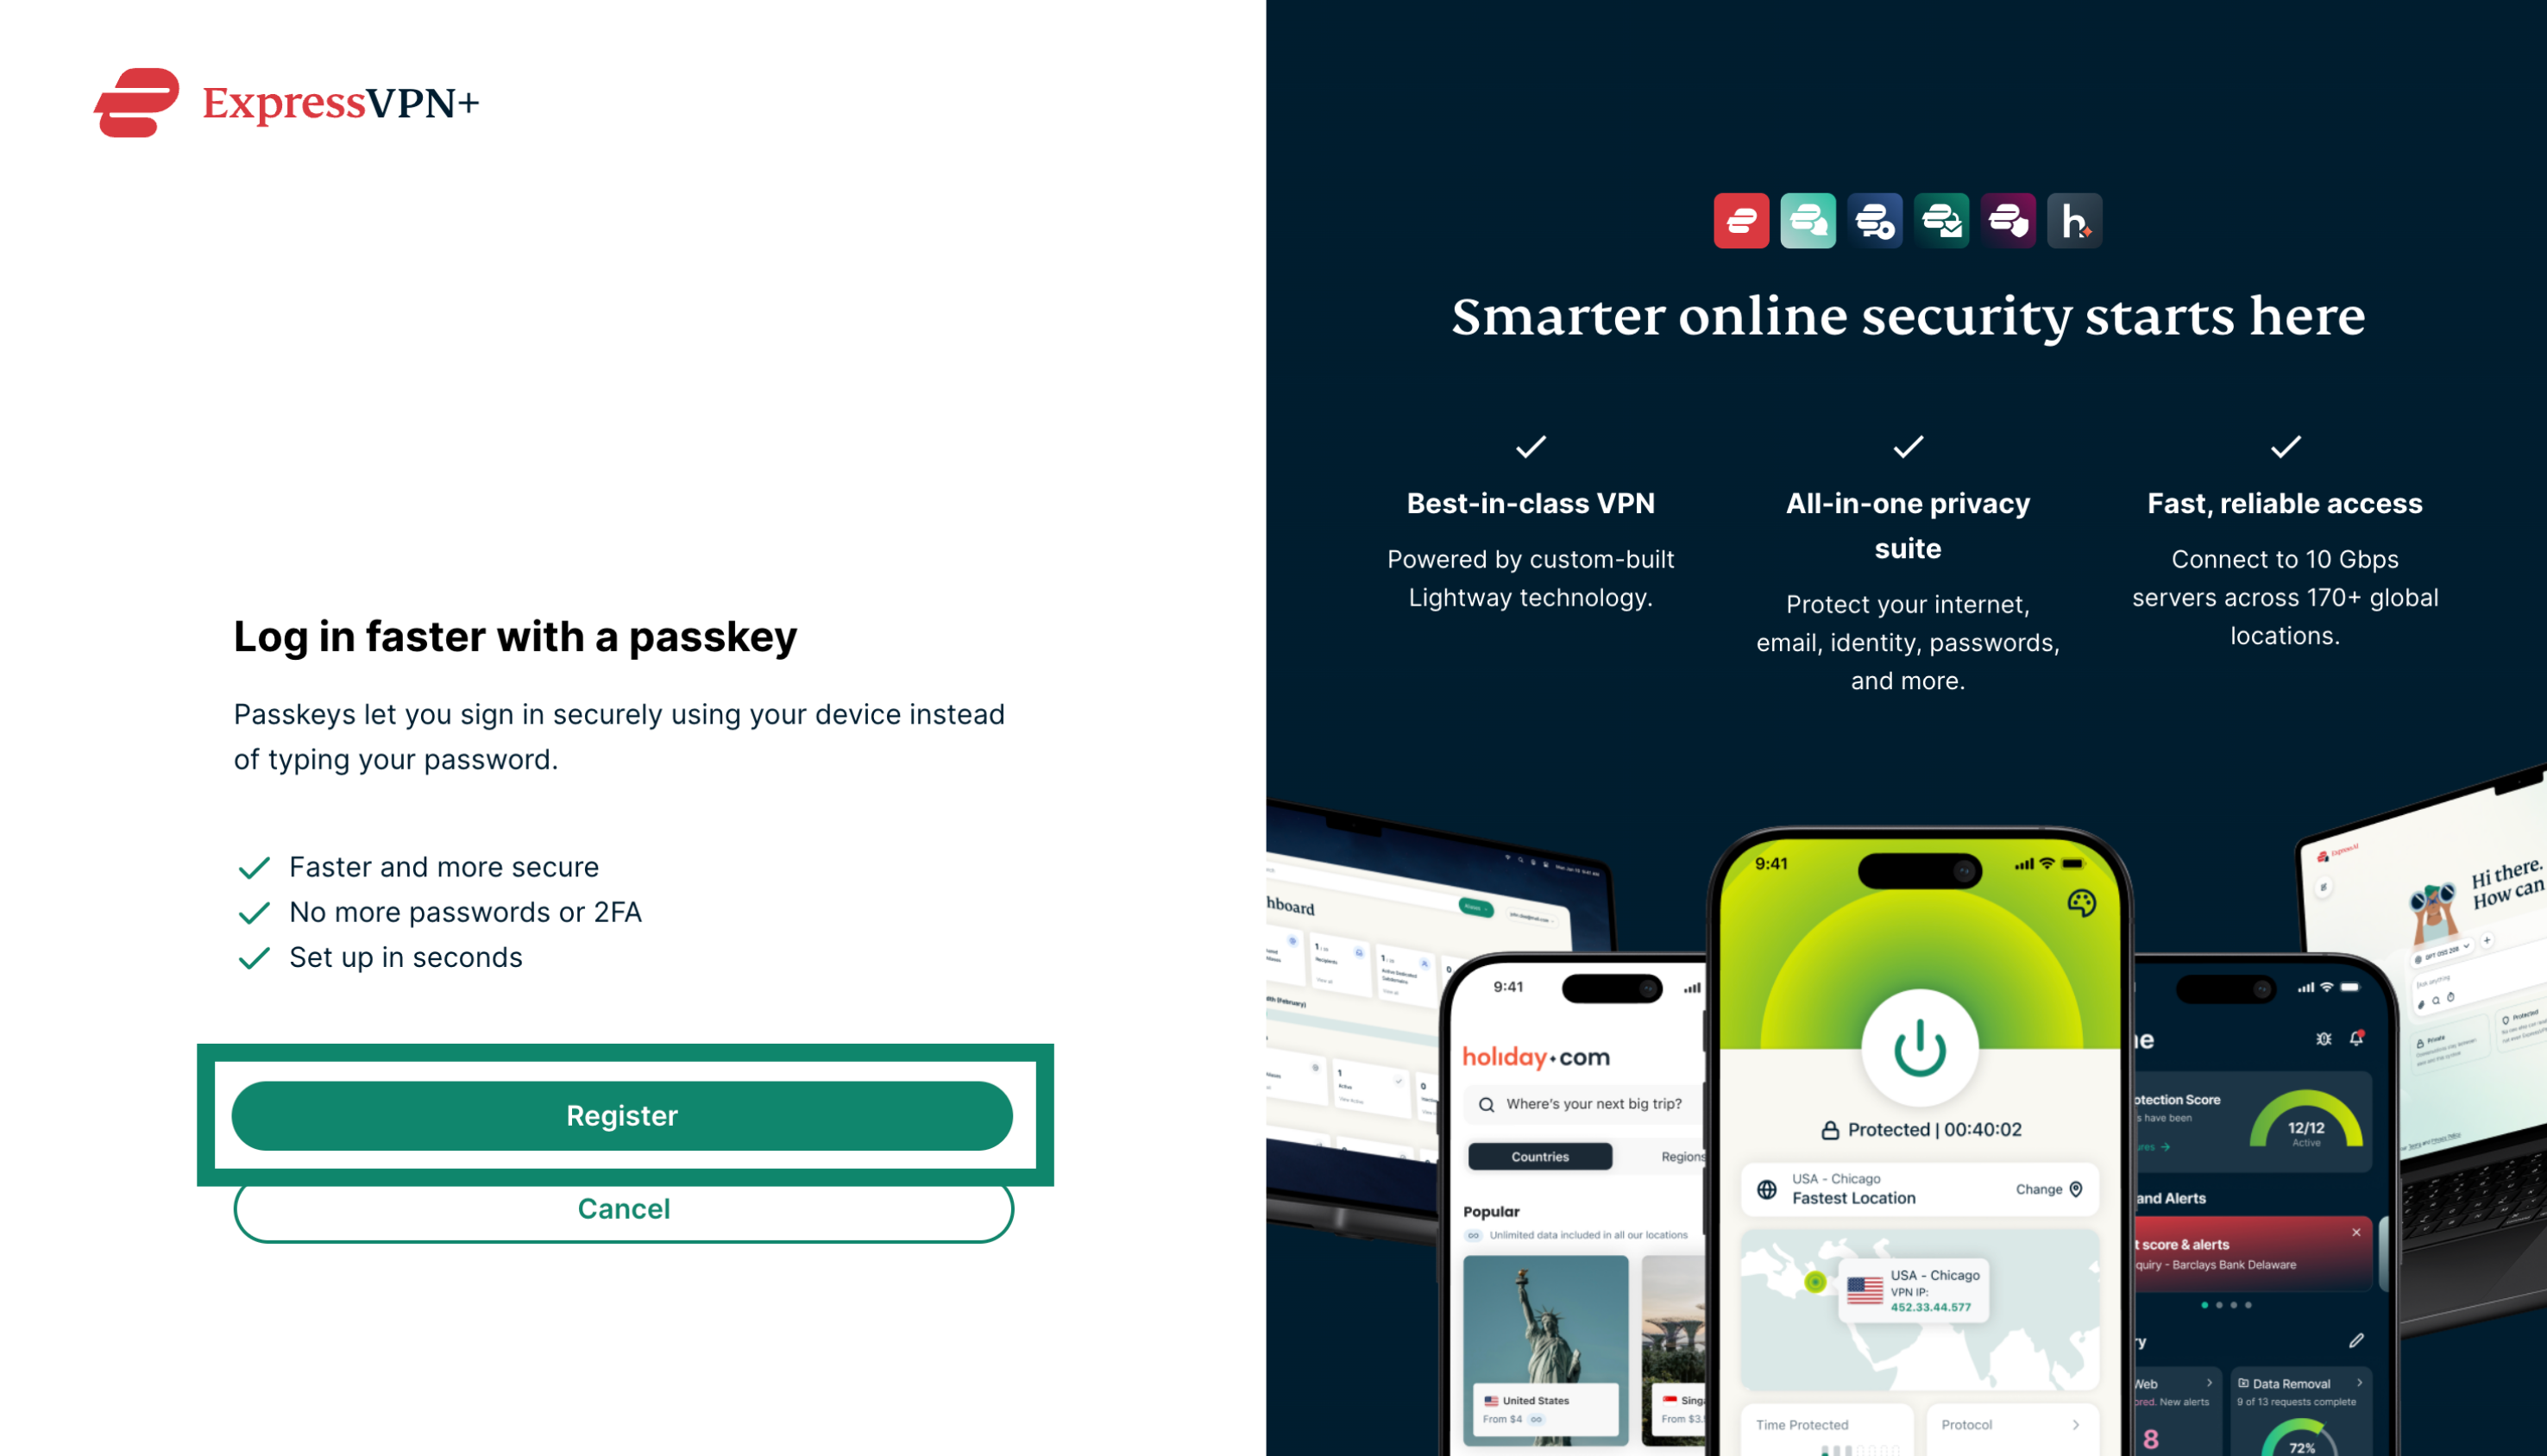
- Select Register on the next page. You may be asked to re-authenticate by entering your password or a verification code sent to your email.
- Follow your device’s prompt to create the passkey.
- Next, name your passkey and select Continue.
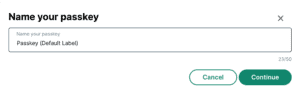
- Once created, you will be taken to your ExpressVPN+ portal.
Need help? Contact the ExpressVPN Support Team for immediate assistance.
Manage passkeys
Add passkeys for additional devices
You can create a separate passkey for each device you use to access the portal; for example, one passkey on your Windows PC and another on your Mac or mobile device.
To create a passkey for a device, you need to go to the ExpressVPN+ portal from it. Log into your account if prompted, and then, follow these steps:
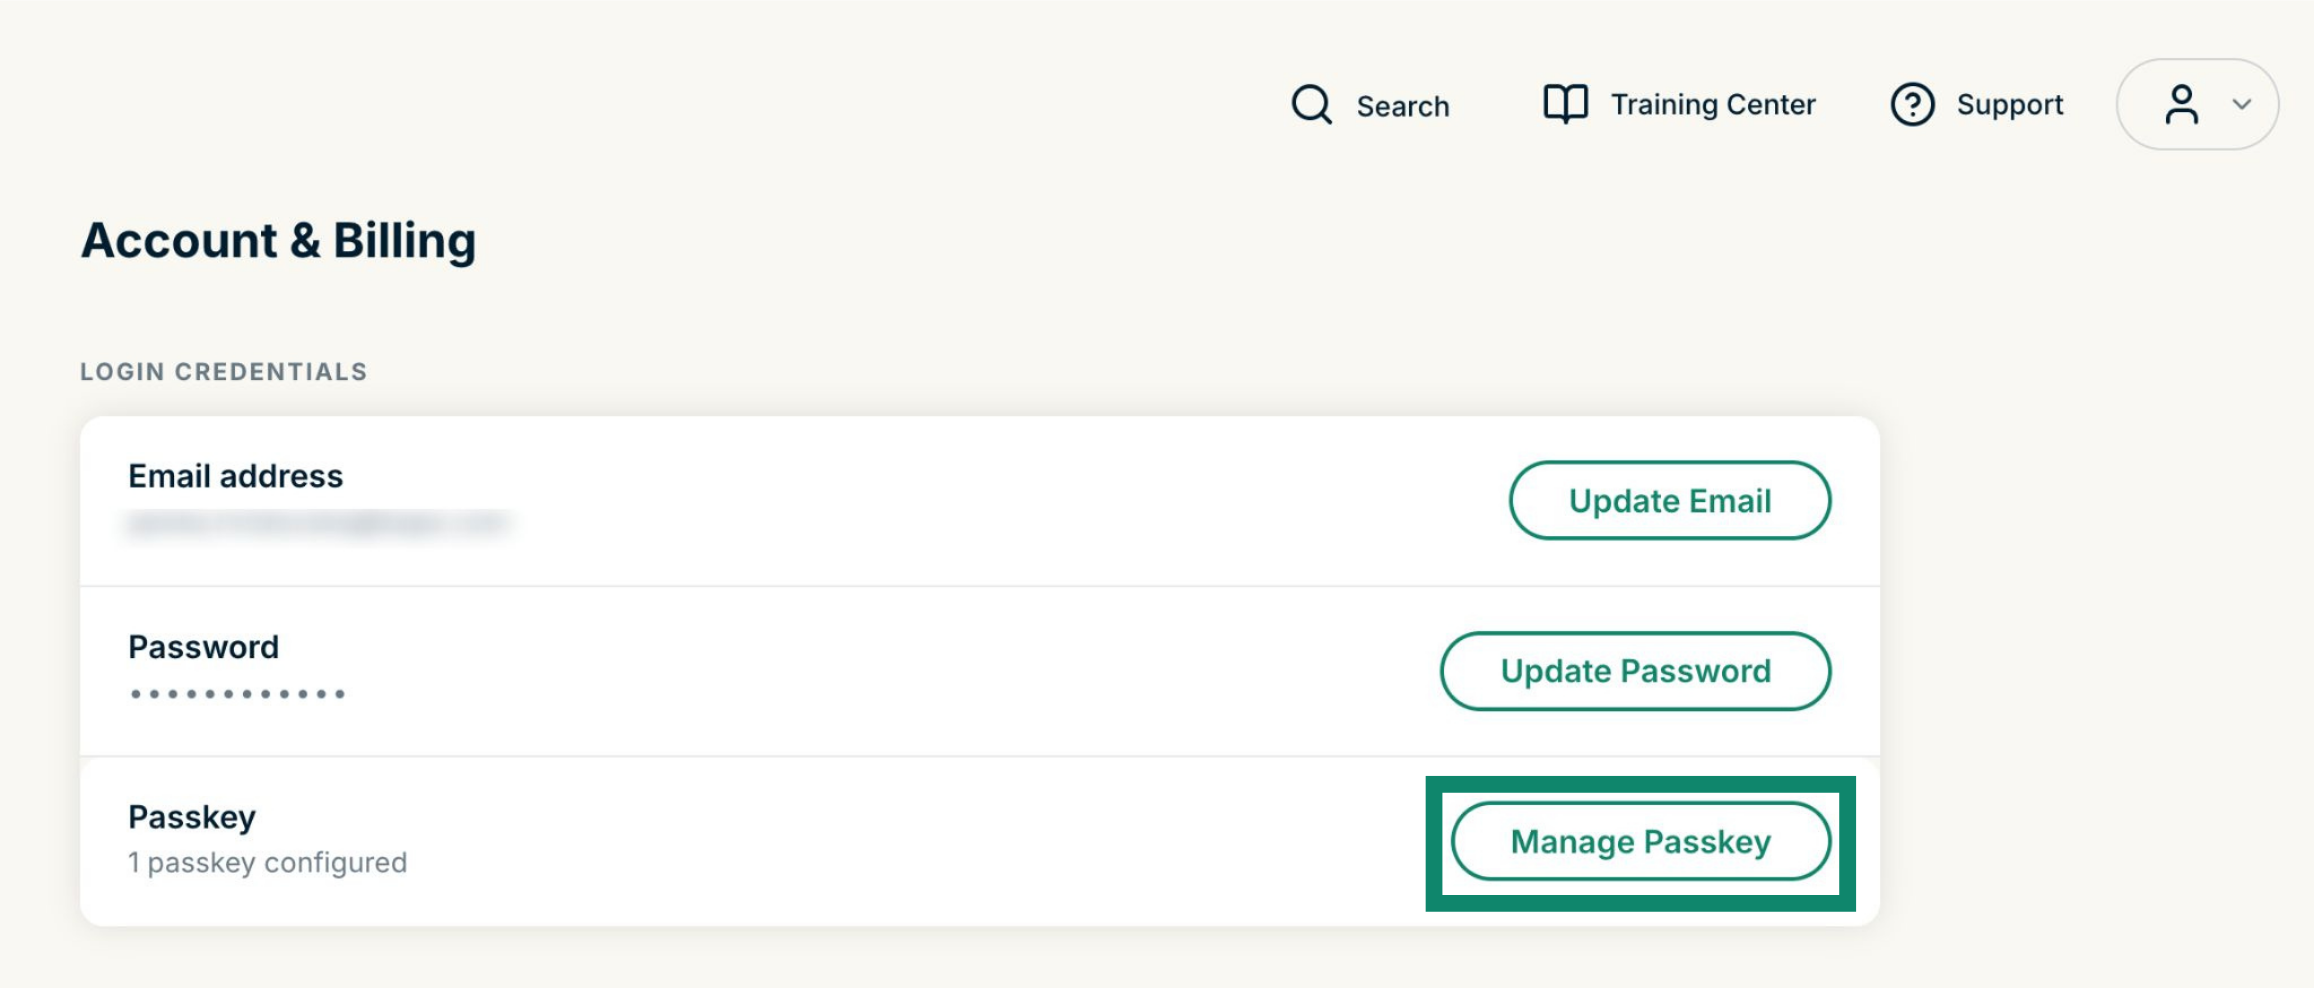
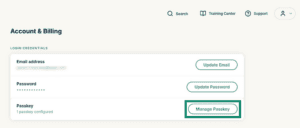
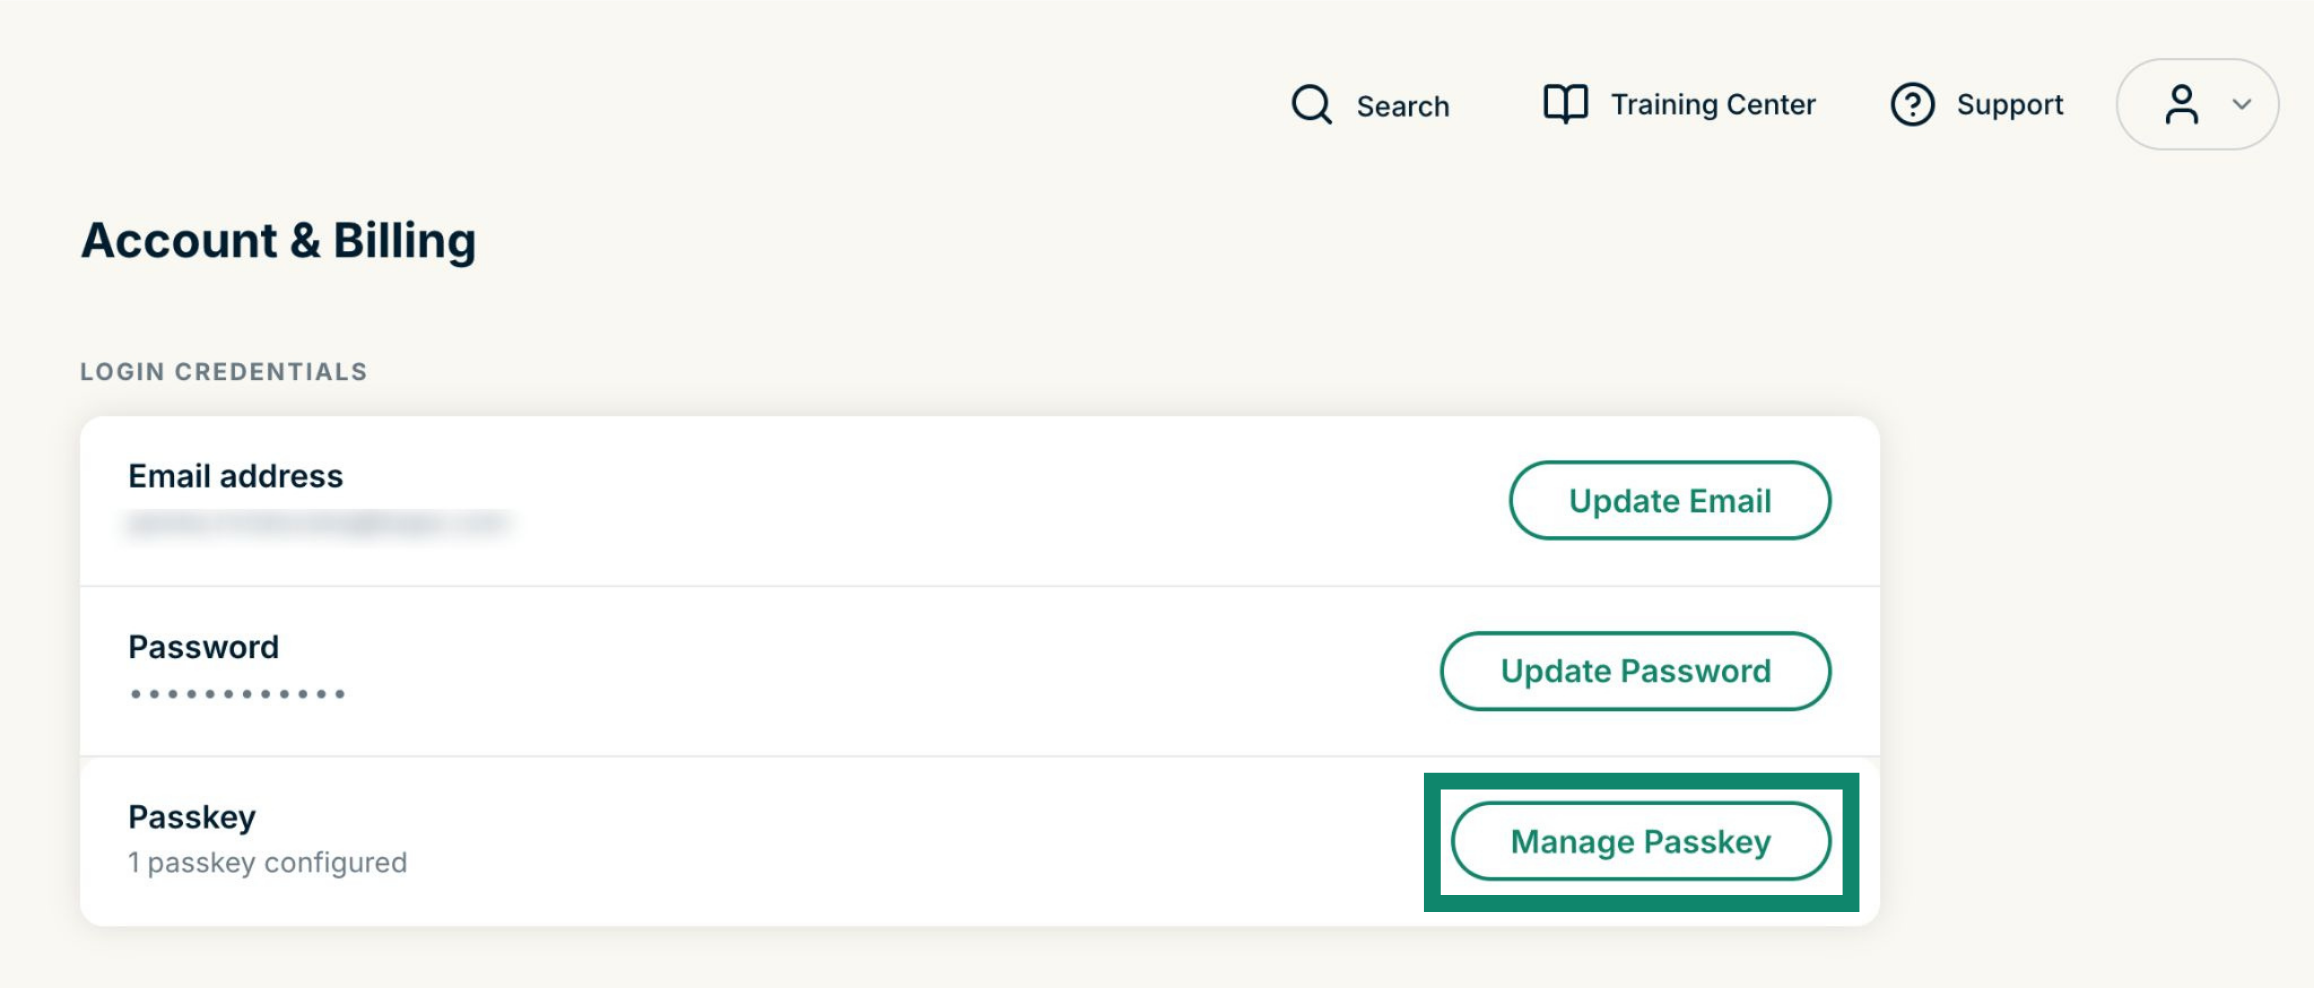
- Select Account & Billing > Manage Passkey.
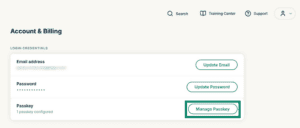

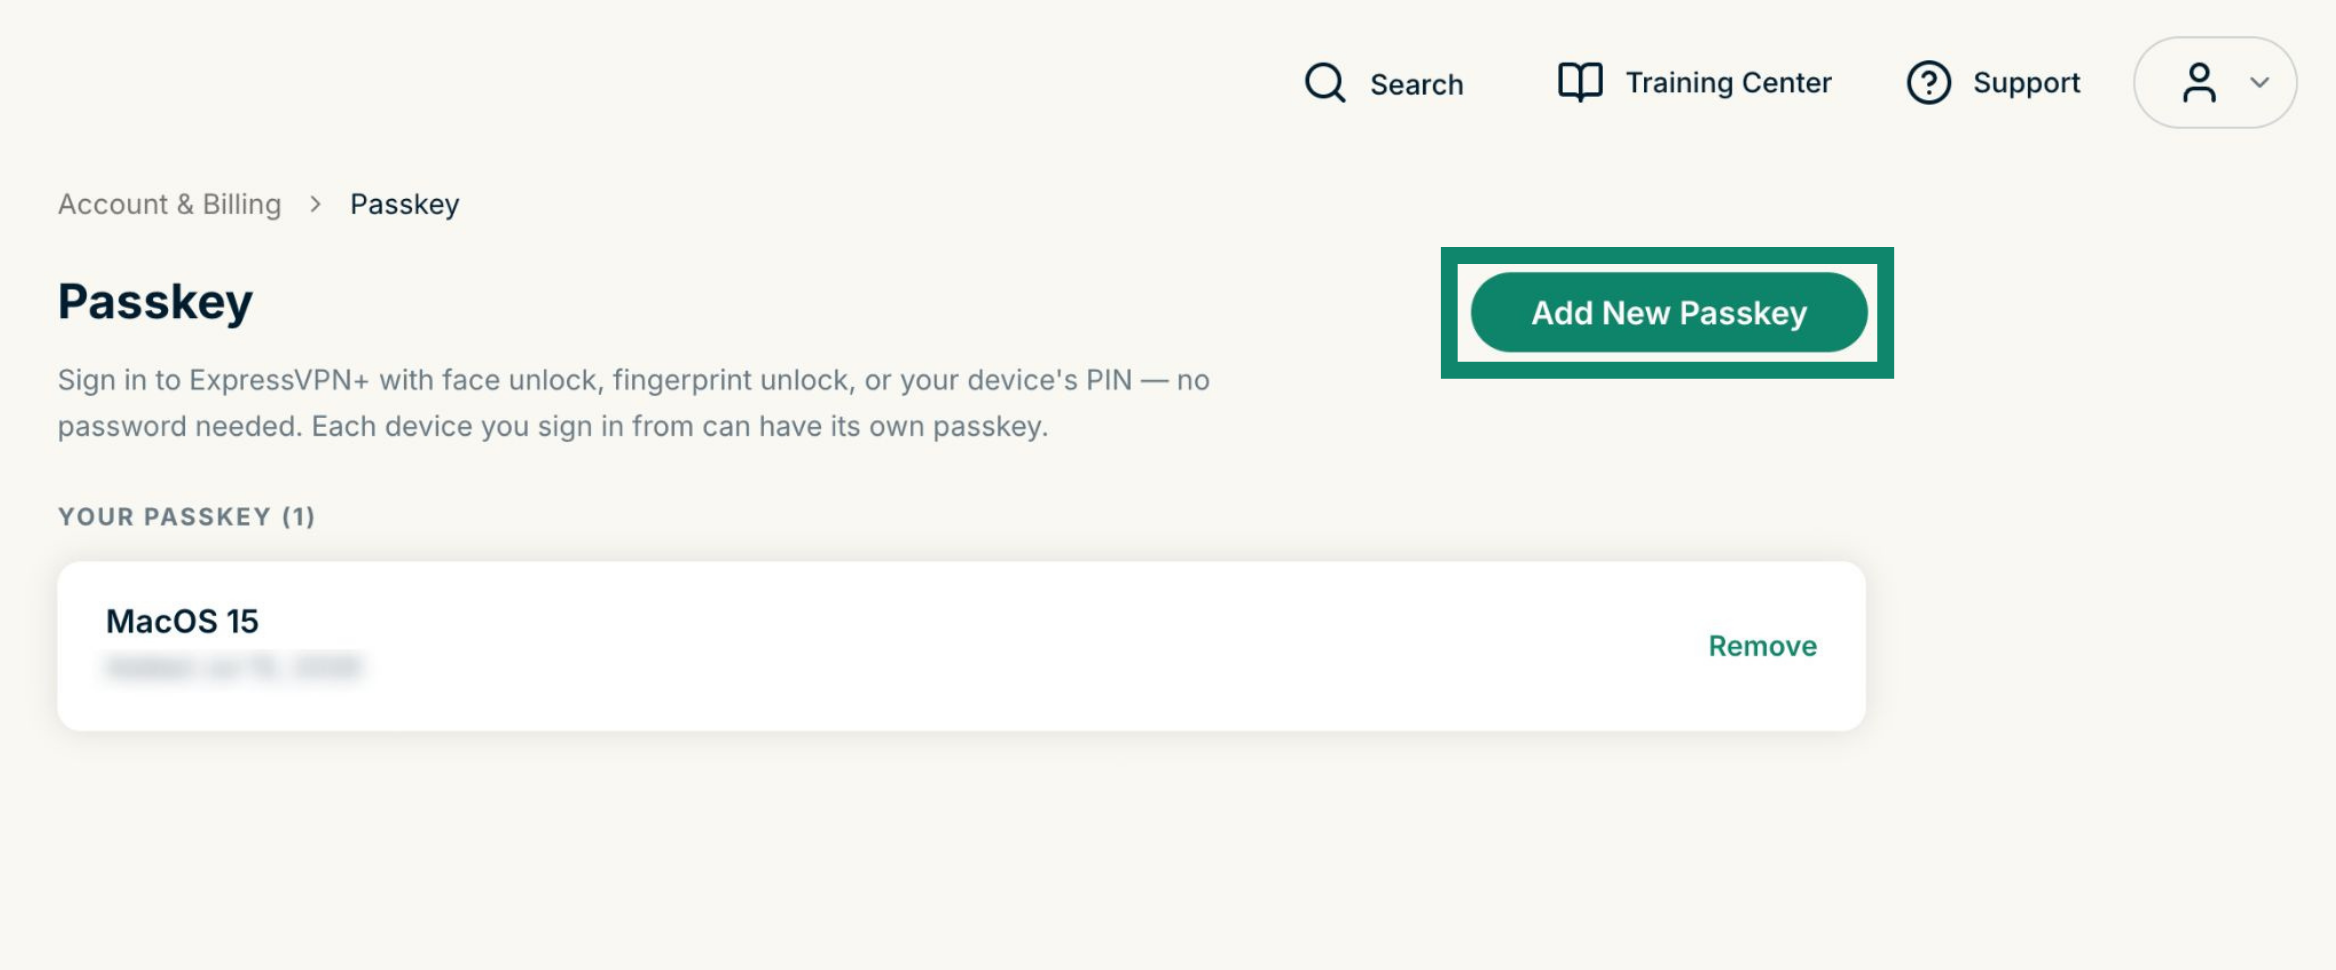
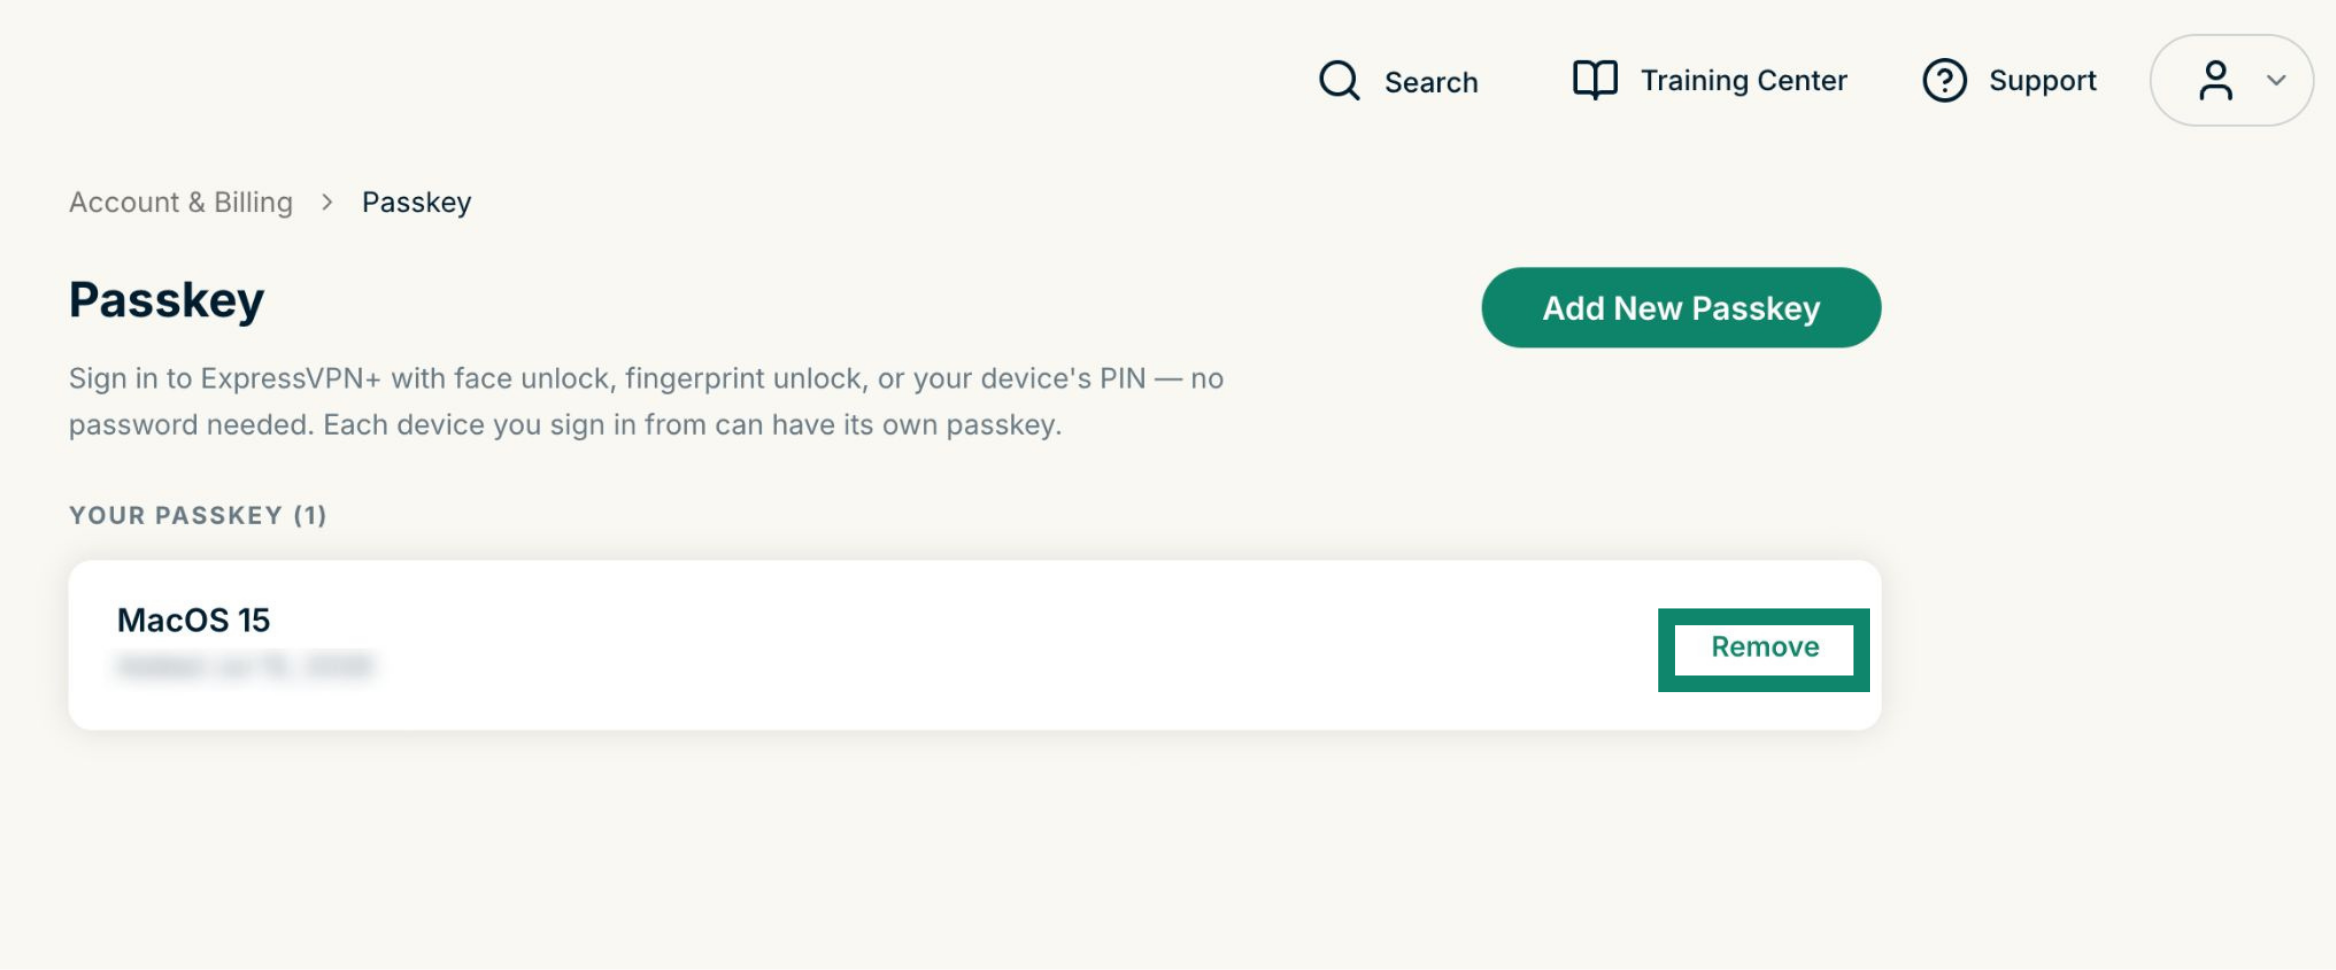
- Select Add New Passkey.
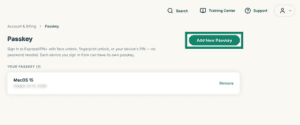

- Next, select Register and complete the prompt on the new device.
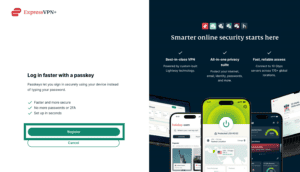
- Name the passkey and select Continue to finish the setup.
Remove passkeys
- Log into your ExpressVPN+ dashboard.
- Select Account & Billing > Manage Passkey.
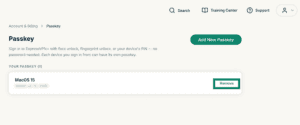
- Next to the passkey you want to remove, select Remove.
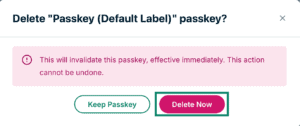
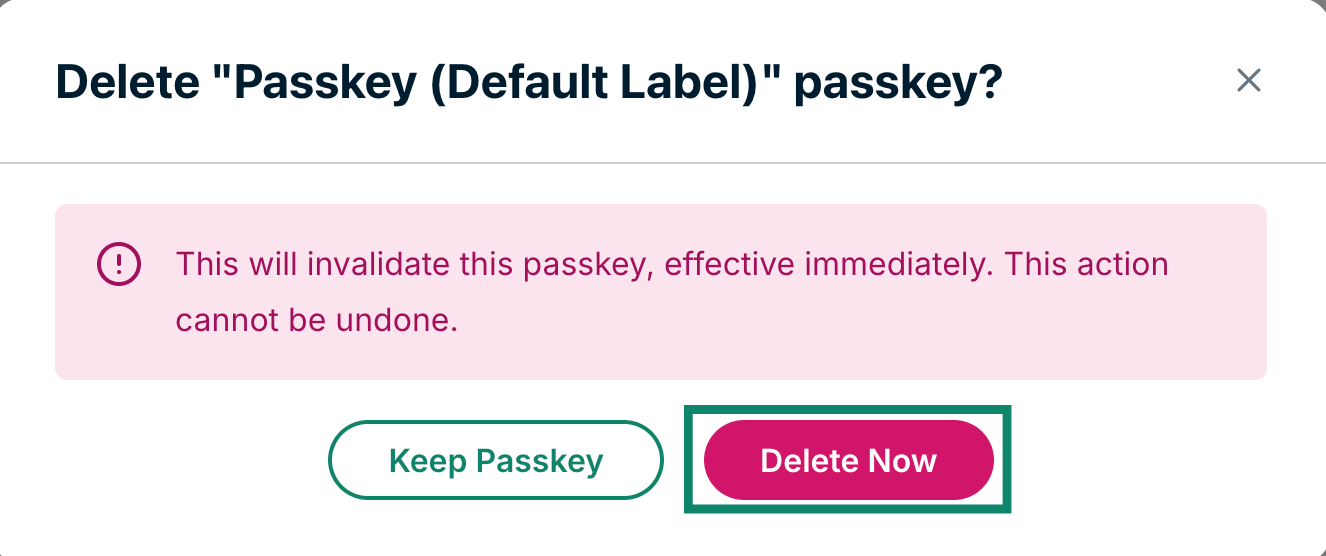
- In the pop-up, select Delete Now.
- Re-authenticate your account with your credentials or passkey, and the passkey will be removed from your account.
Need help? Contact the ExpressVPN Support Team for immediate assistance.