


Data Removal is part of the Identity Defender suite. It searches for your personal information on data brokers and people-search sites and sends deletion or opt-out requests on your behalf. It also continuously monitors these sites to check that the data has been successfully taken down, and if your profiles reappear, it can resubmit removal requests on your behalf.
Jump to…
How to get Data Removal
Currently, Data Removal is included for new and existing ExpressVPN users in the U.S. who purchased an Advanced or Pro subscription.
To subscribe:
- Go to the Order page. Data Removal is included in the Advanced and Pro tiers.
- Select the button on the Advanced or Pro tiers of your choice to proceed.
- Complete your order by entering your email address and payment details.
Need help? Contact the ExpressVPN Support Team for immediate assistance.
How to set up and use Data Removal
You can set up and use Data Removal in the Identity Defender apps for iOS and Android or via your ExpressVPN+ dashboard.
In the Identity Defender app
To set up and use the Data Removal service on your mobile device:
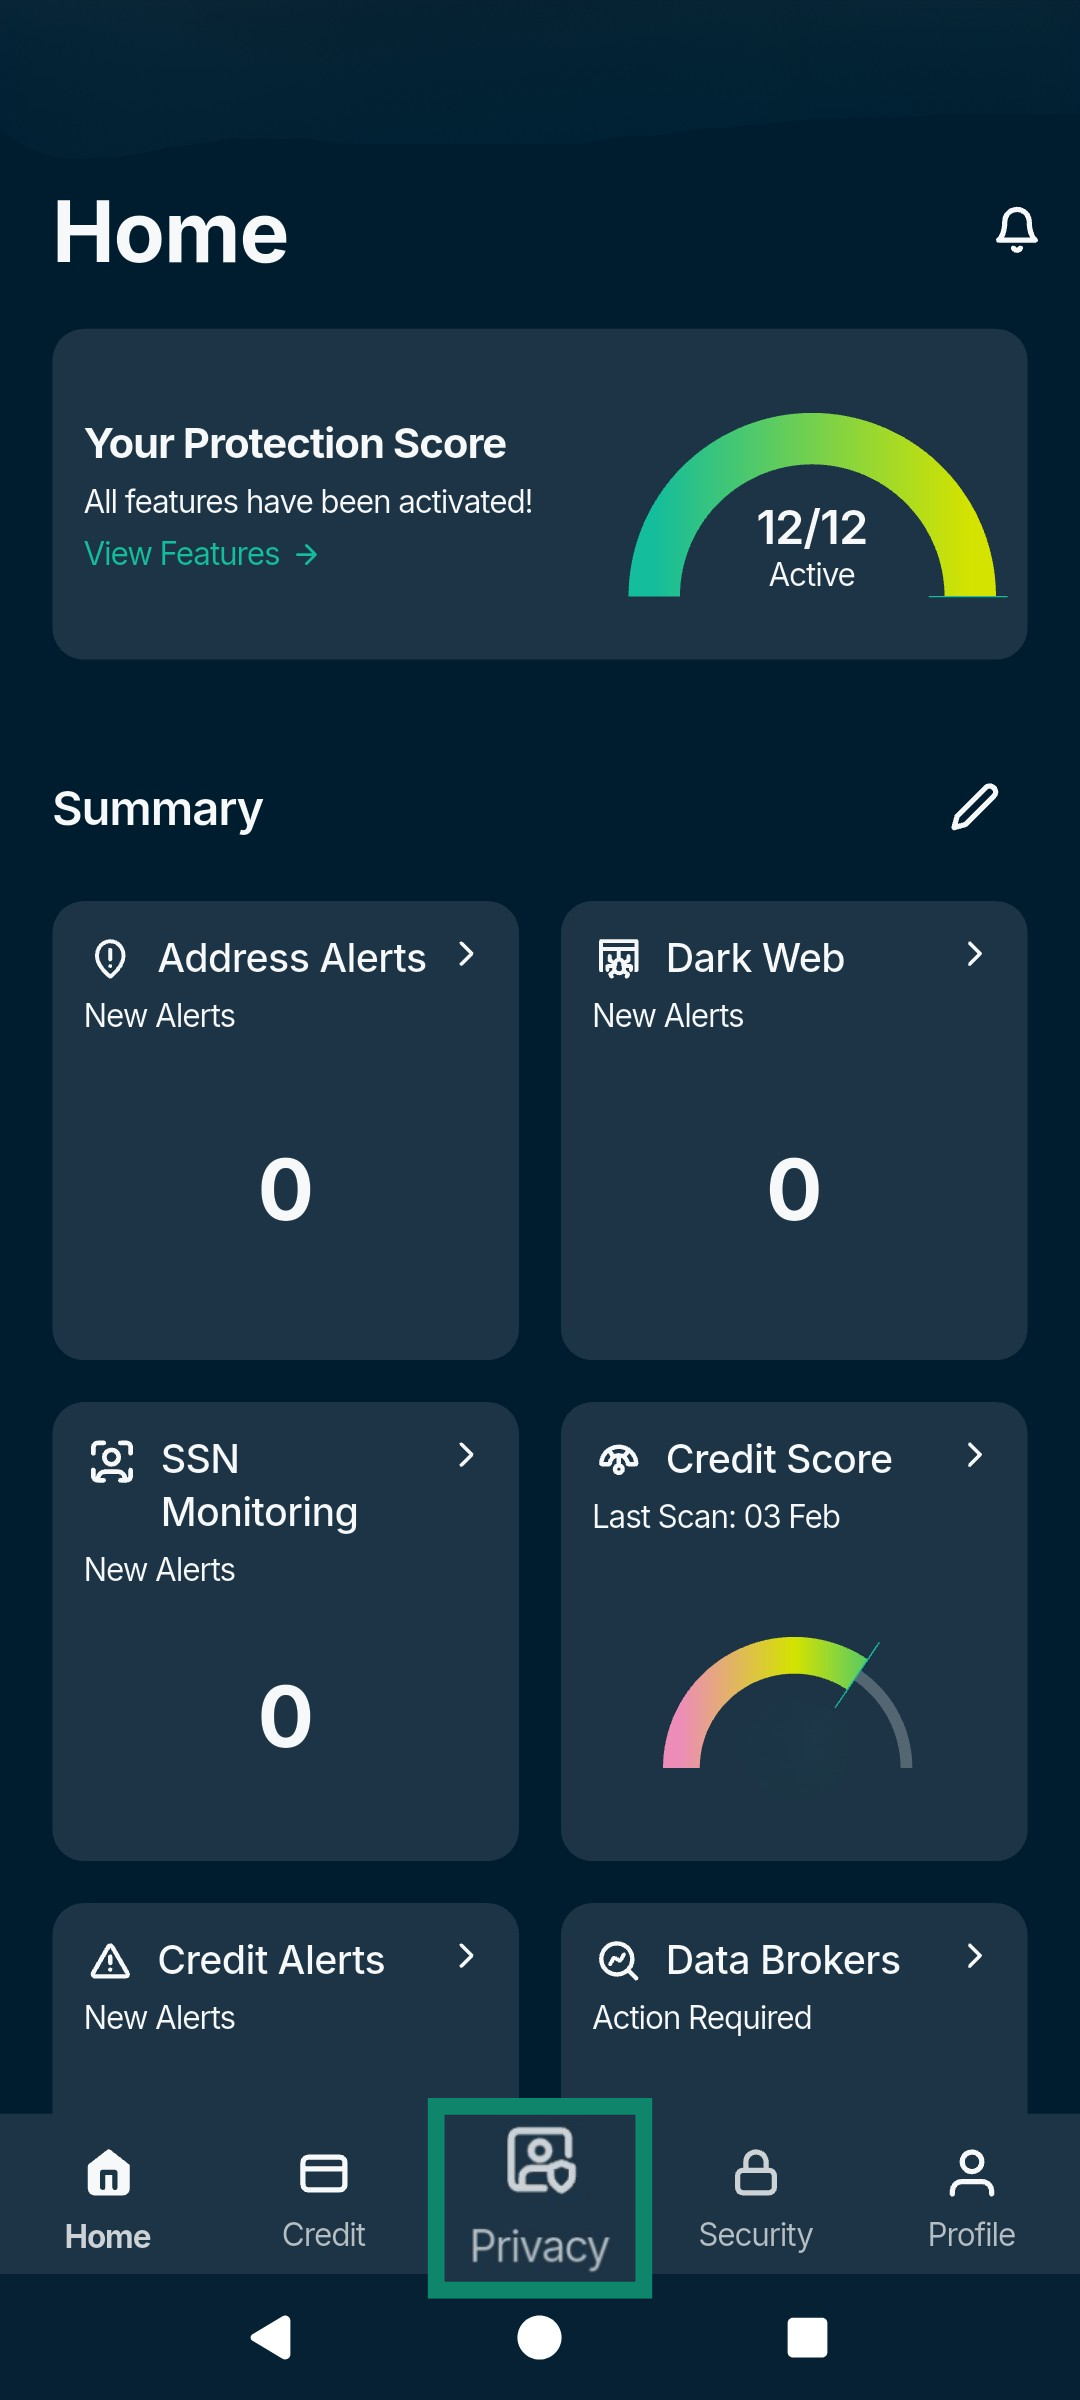
- Open the Identity Defender and tap the Privacy tab.


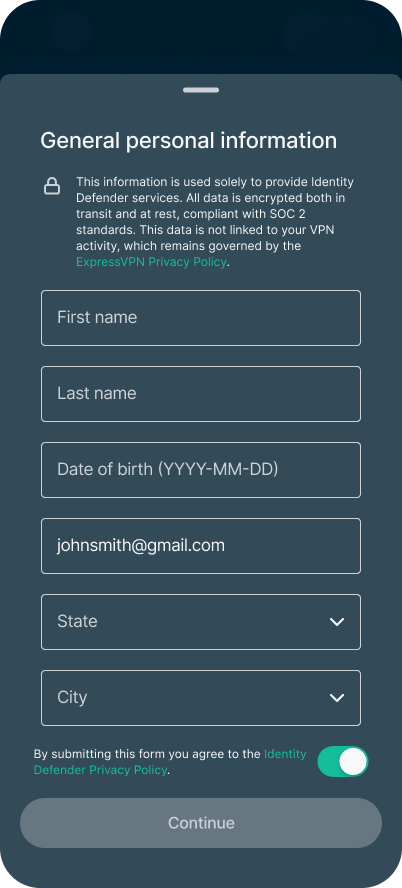
- You will be asked to enter your personal information. If you have previously set up an Identity Defender service, you won’t have to re-enter the same information, but you will need to input your Social Security number and phone number in order for us to monitor your credit details. Select Continue and the app will start the scanning process.


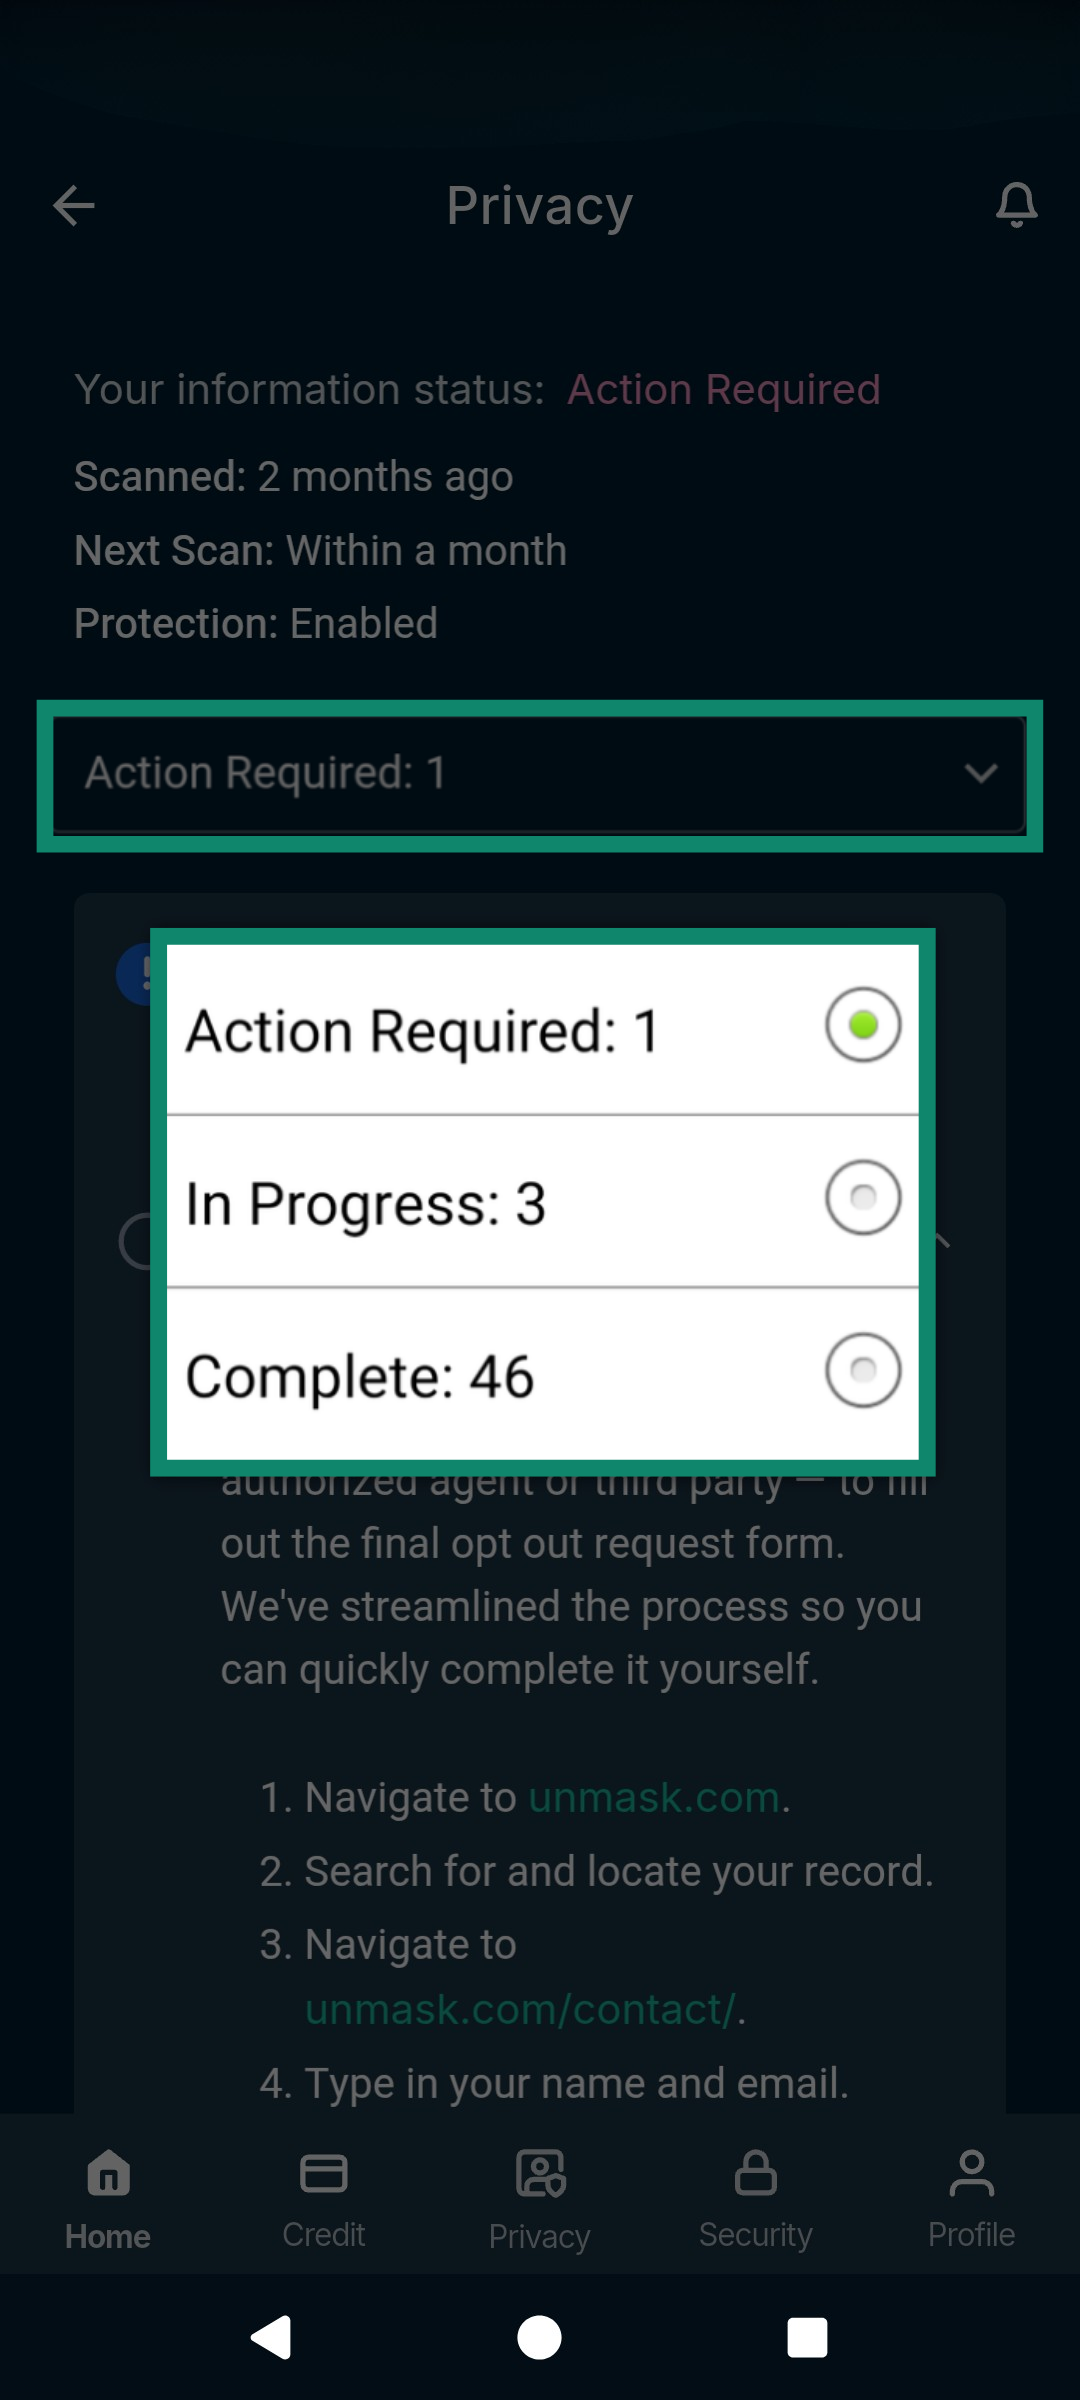
- After scanning is complete, the Data Removal feature splits findings into three places: Complete, In Progress, and Action Required. You can move between each by tapping the dropdown menu.

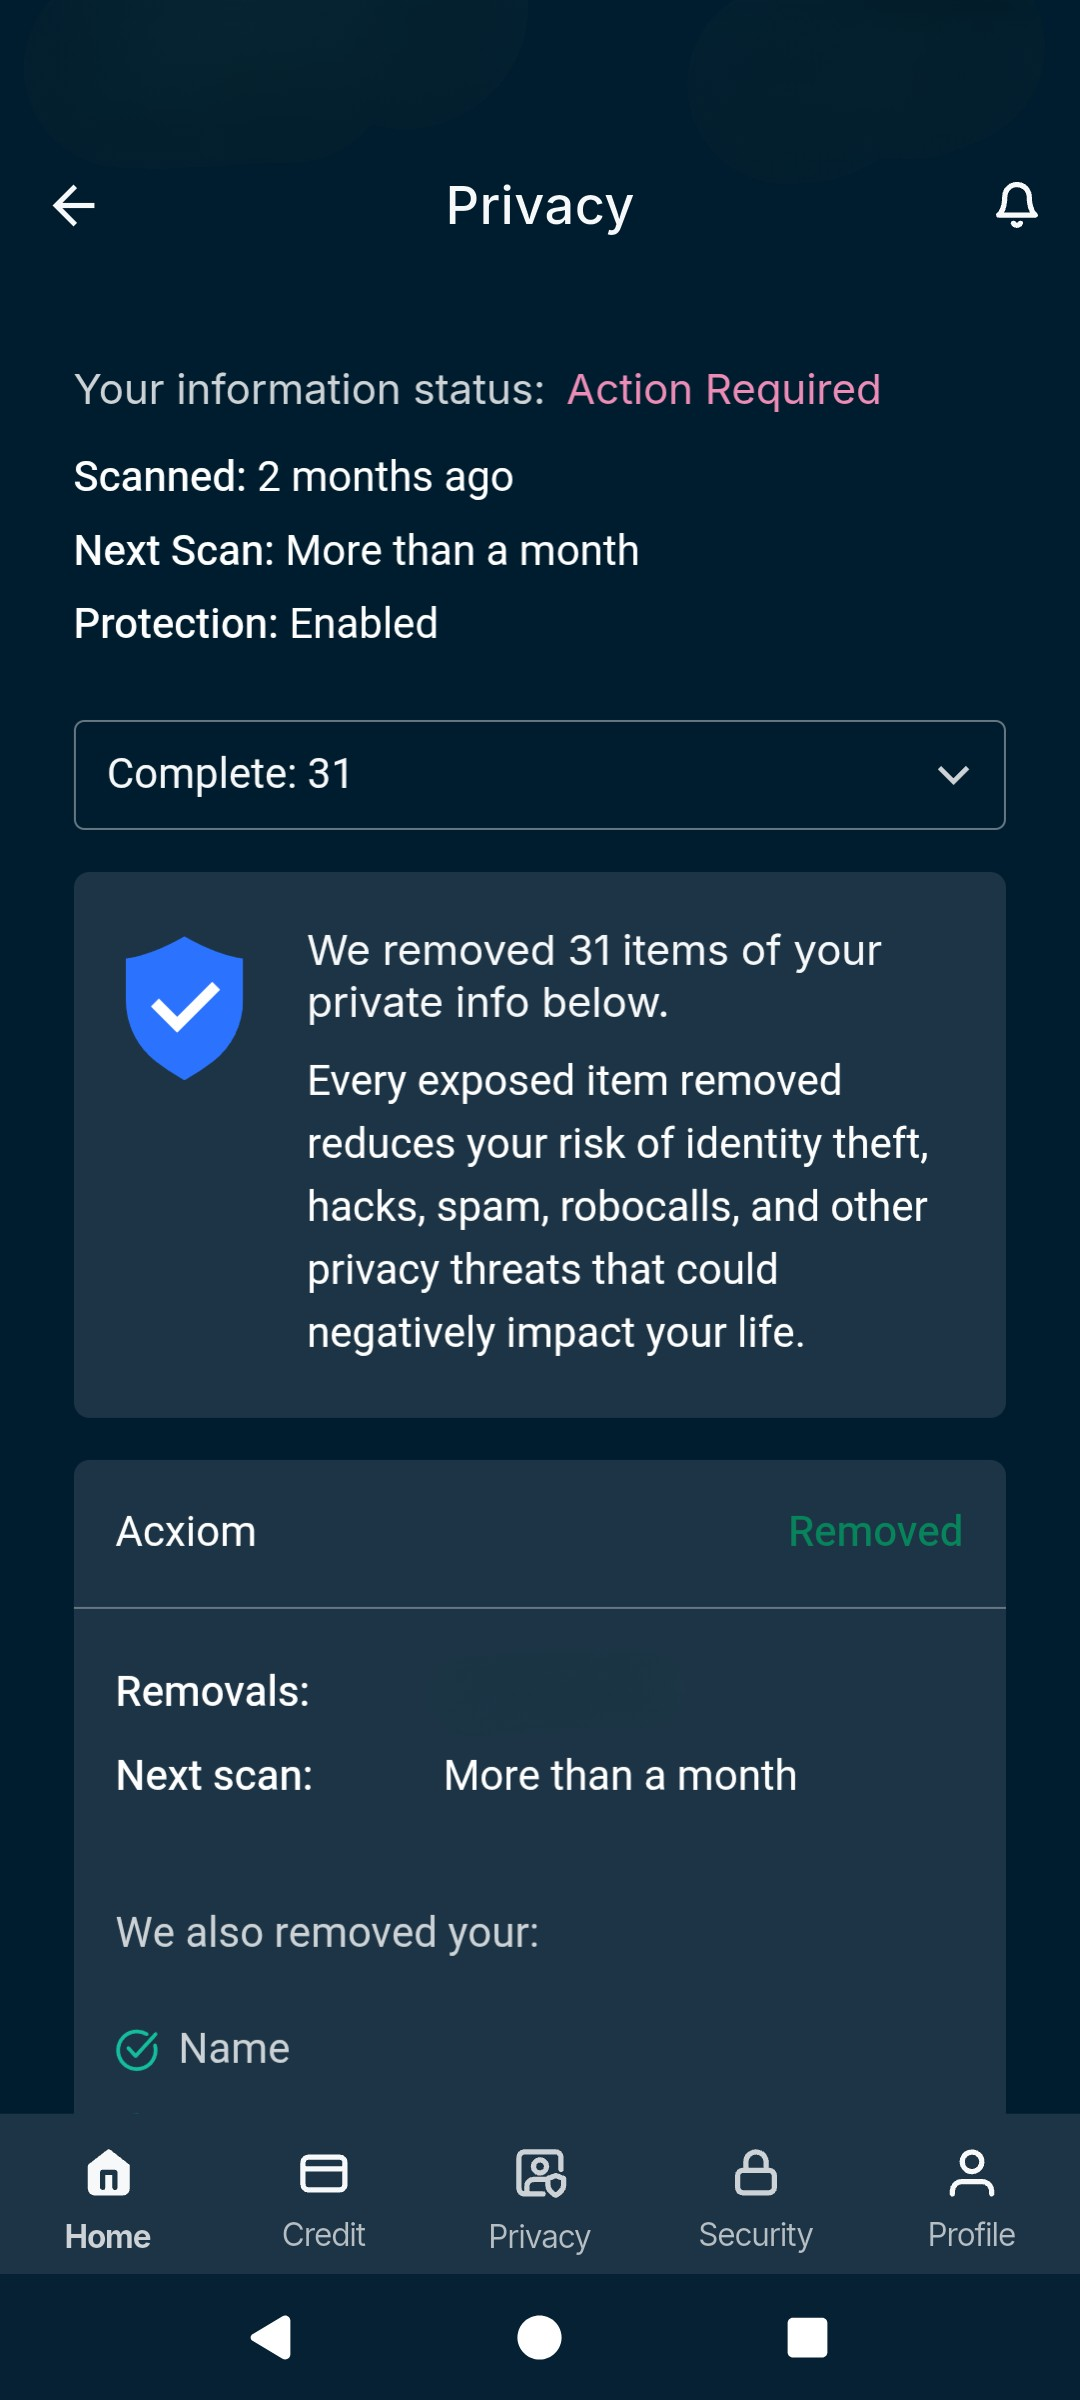
- Complete: This tab shows information that was detected during a scan and has already been successfully removed. You’ll see a record of what was removed and from where and when the next scan is scheduled to check if the data appears again. If it detects your data in that scan, it will send another removal request on your behalf.

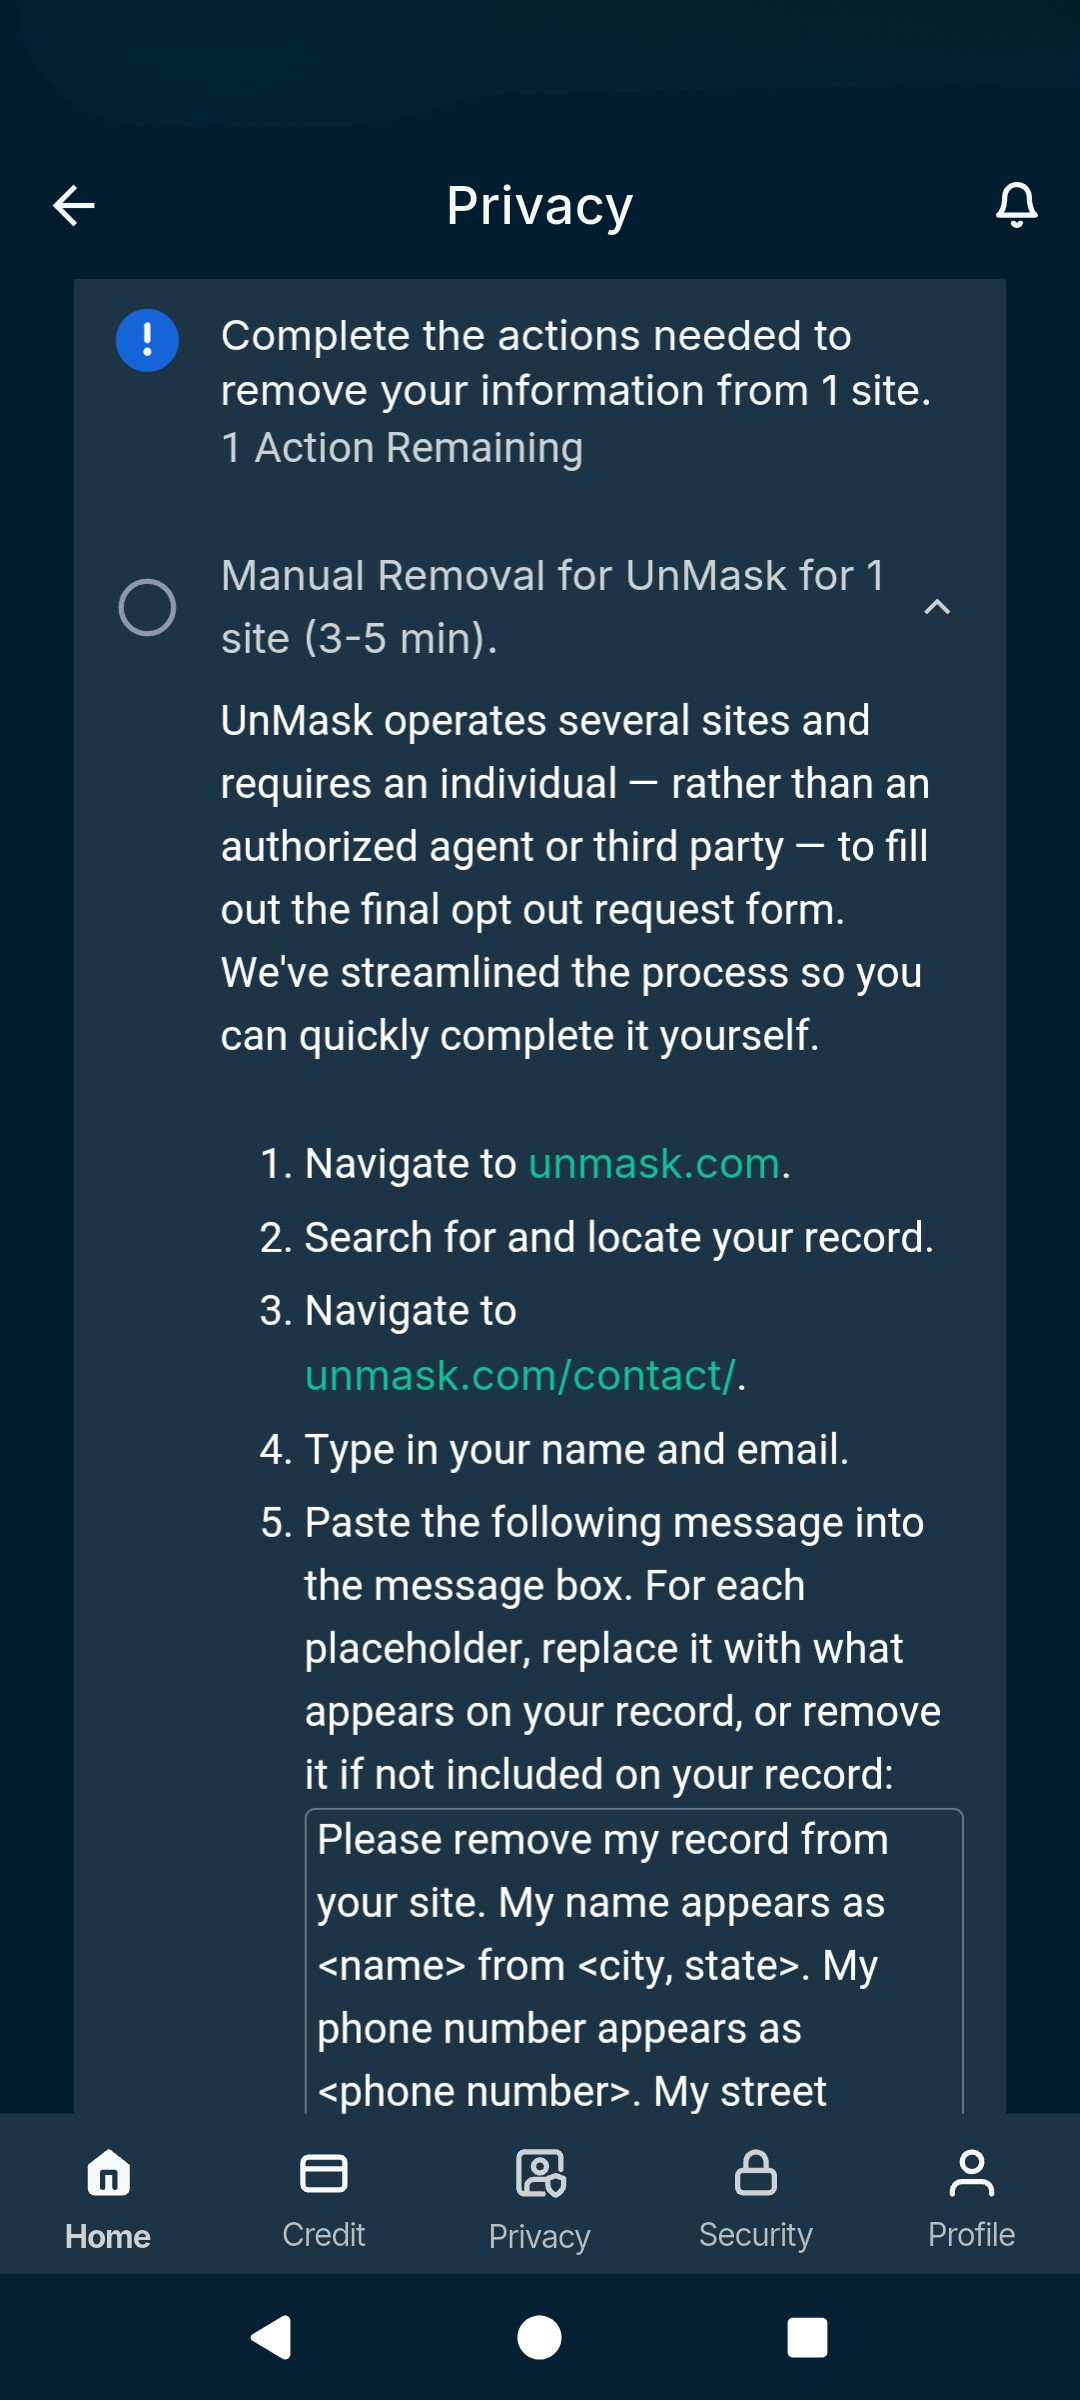
- Action Required: In this tab, you’ll find information that the Data Removal service found but can’t remove on its own, usually because the site doesn’t allow third-party removal services to submit removal requests. The app will offer guidance on how to remove data manually from these sources, including links and step-by-step guides. The exact removal process varies per organization, so follow the Data Removal instructions carefully.

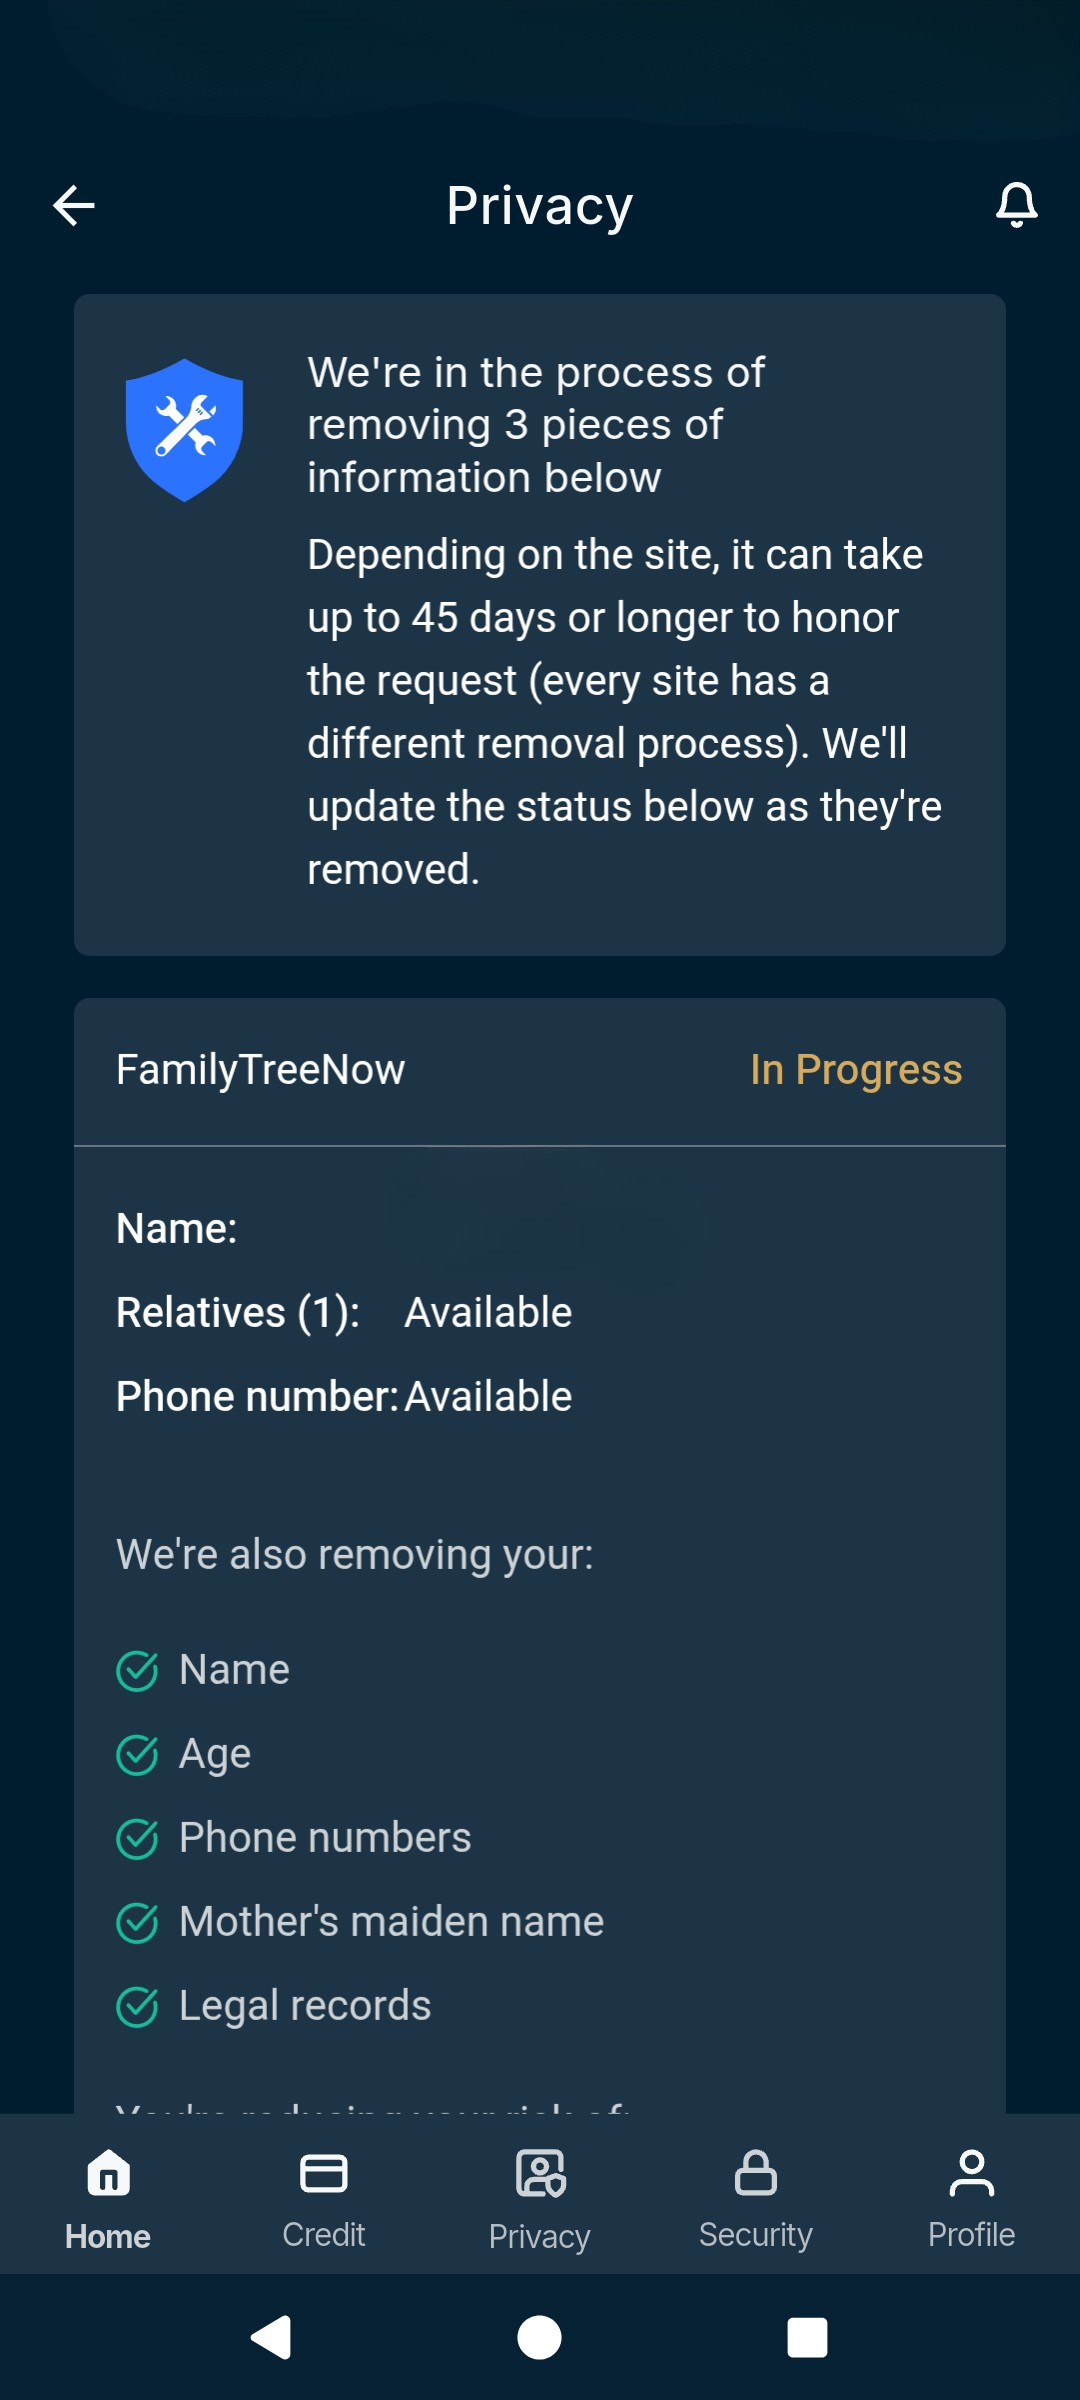
- In Progress: This tab shows information that was detected during a scan and for which the Data Removal tool has sent removal requests, but the process has not been completed yet. This process can take up to 45 days, depending on the site. You’ll receive an alert when ExpressVPN is finished with the removal.

- Complete: This tab shows information that was detected during a scan and has already been successfully removed. You’ll see a record of what was removed and from where and when the next scan is scheduled to check if the data appears again. If it detects your data in that scan, it will send another removal request on your behalf.
In the ExpressVPN+ dashboard
To set up and use the Data Removal service via your ExpressVPN+ dashboard:
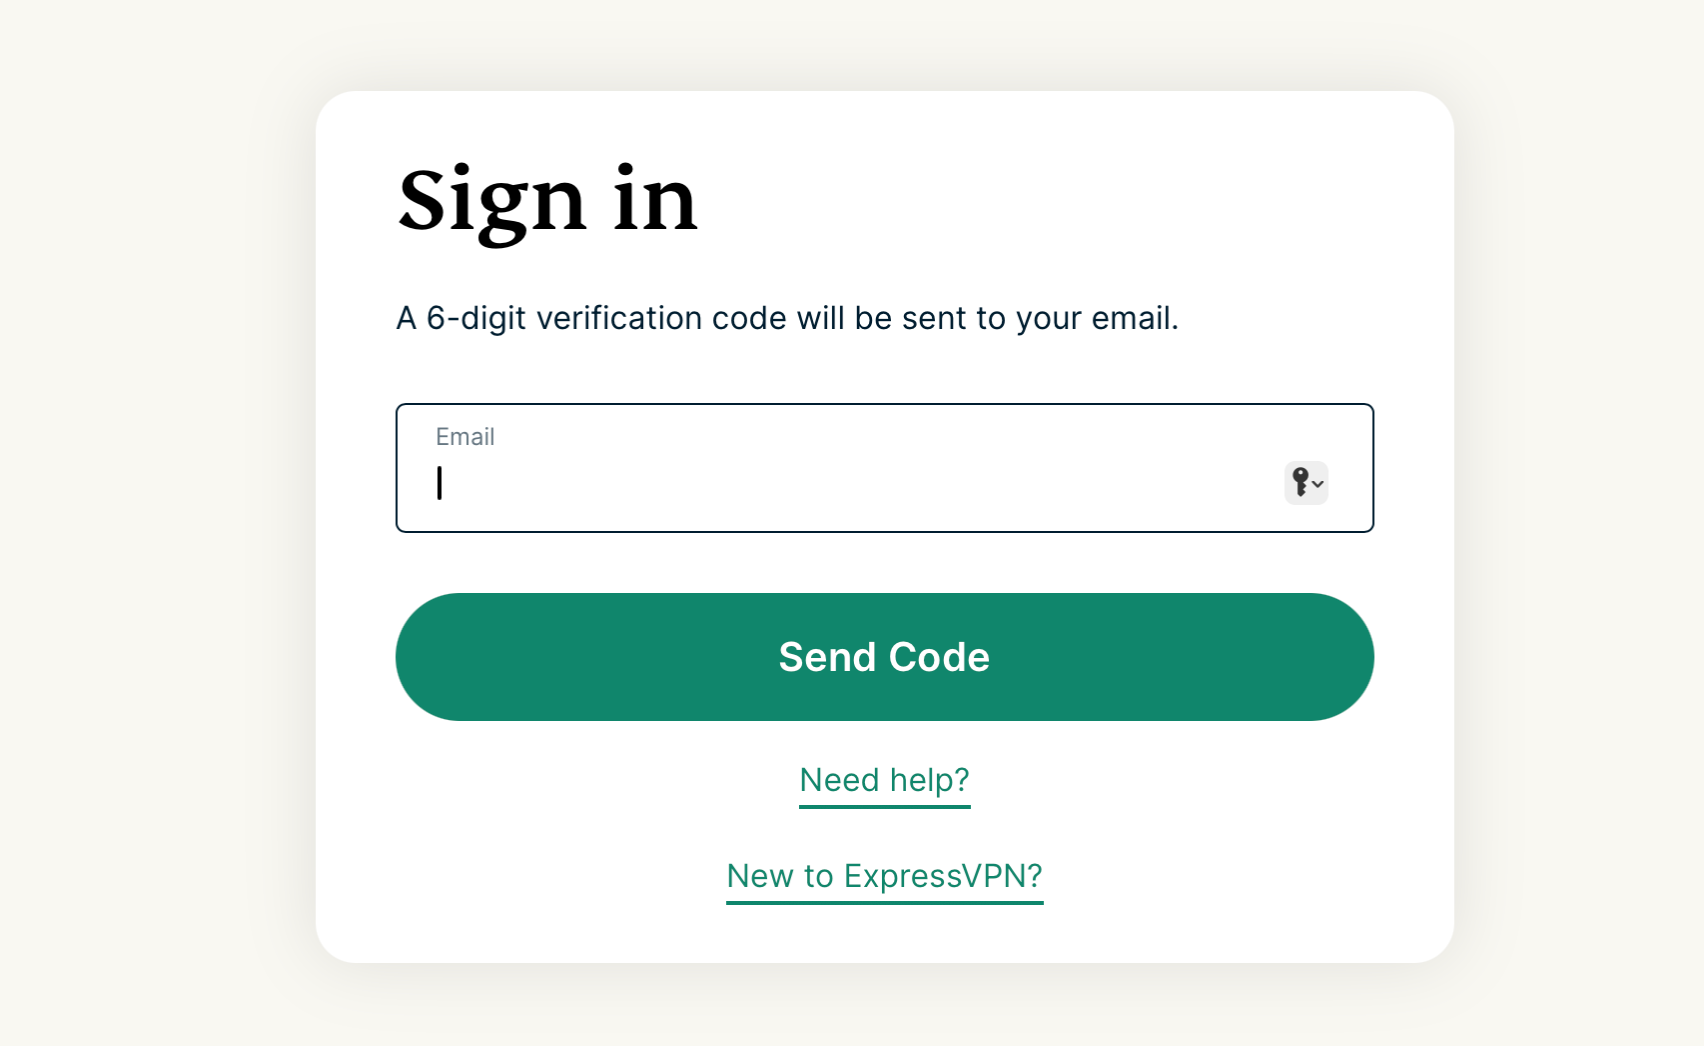
- Visit portal.expressvpn.com. If prompted, enter the email address associated with your ExpressVPN account and click Send Code.


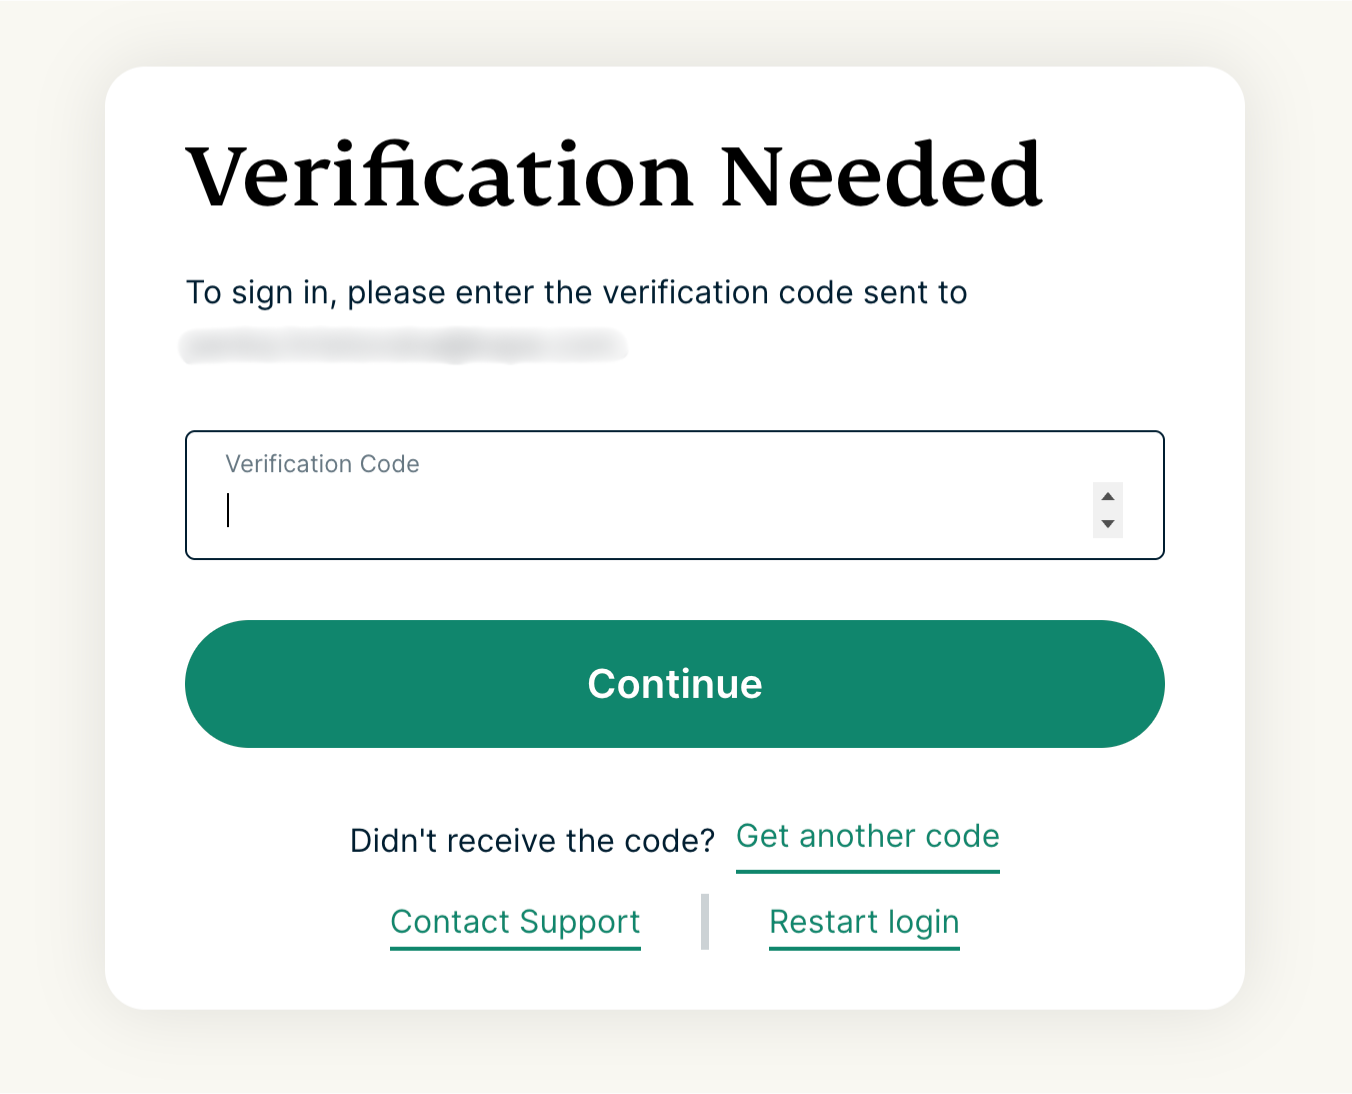
- Check your inbox for the code and enter it. Then click Continue to log into your ExpressVPN+ dashboard.


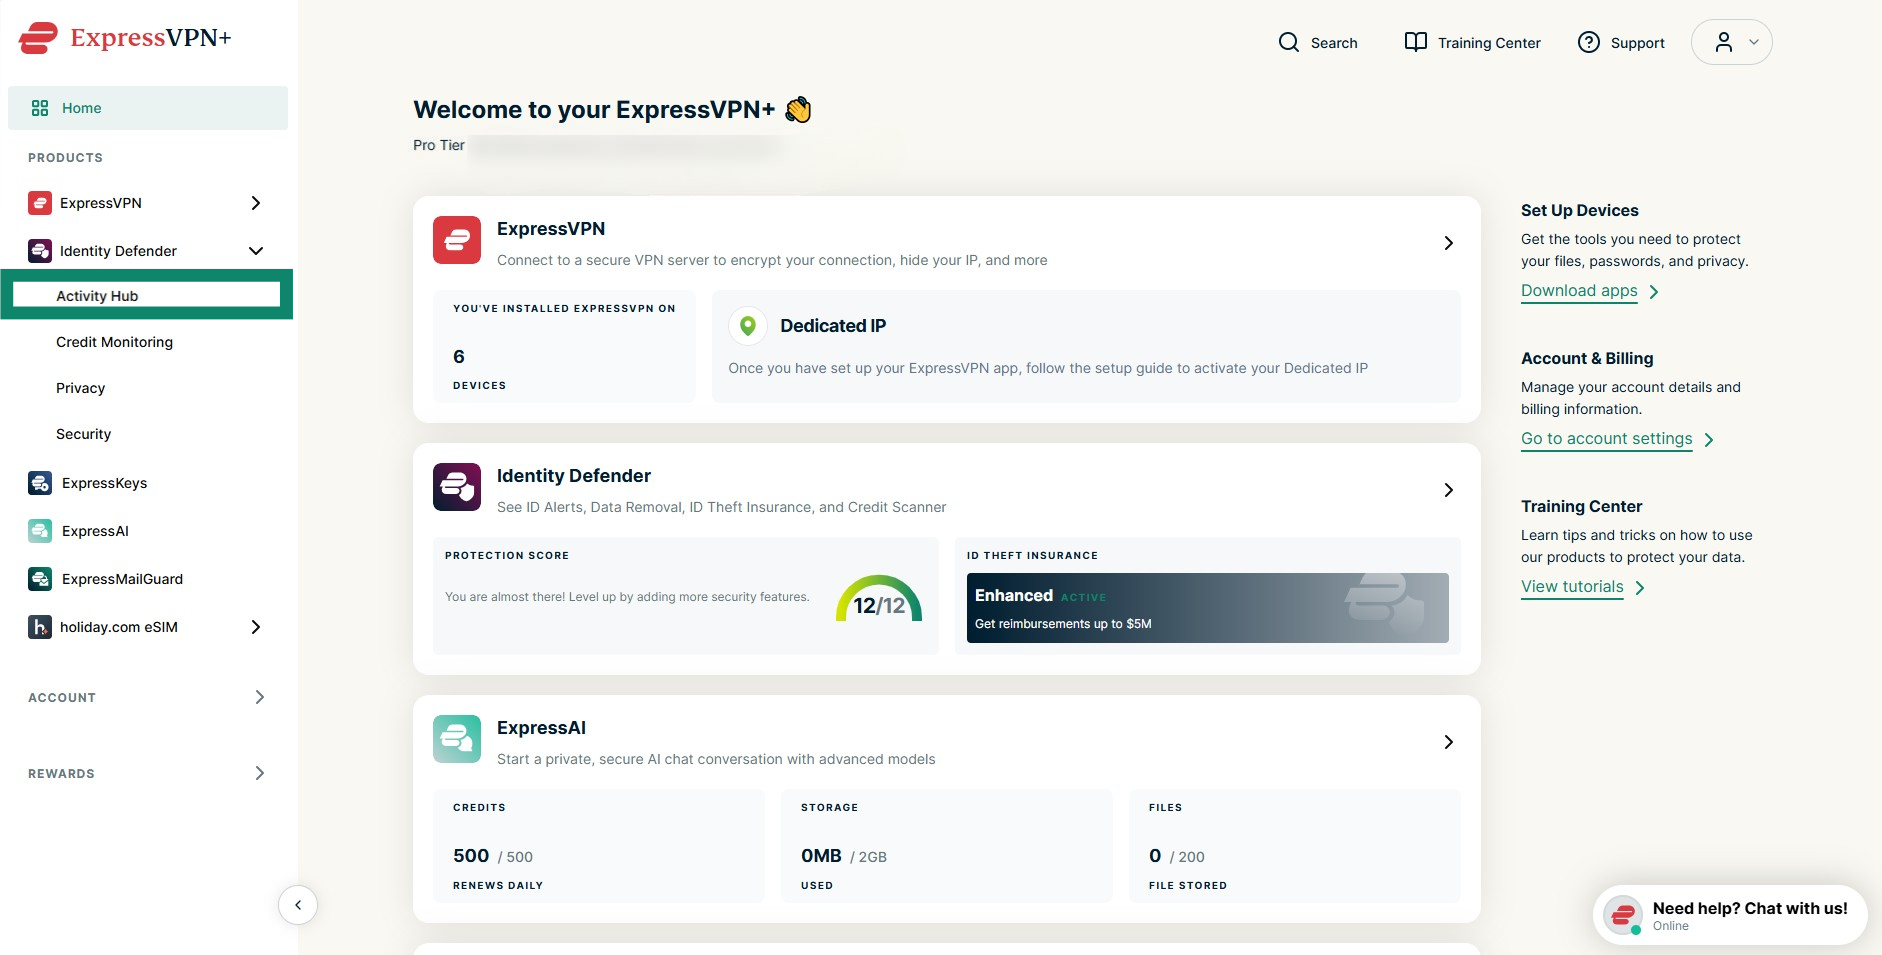
- Once logged in, select Identity Defender from the left-side menu and click Activity Hub.


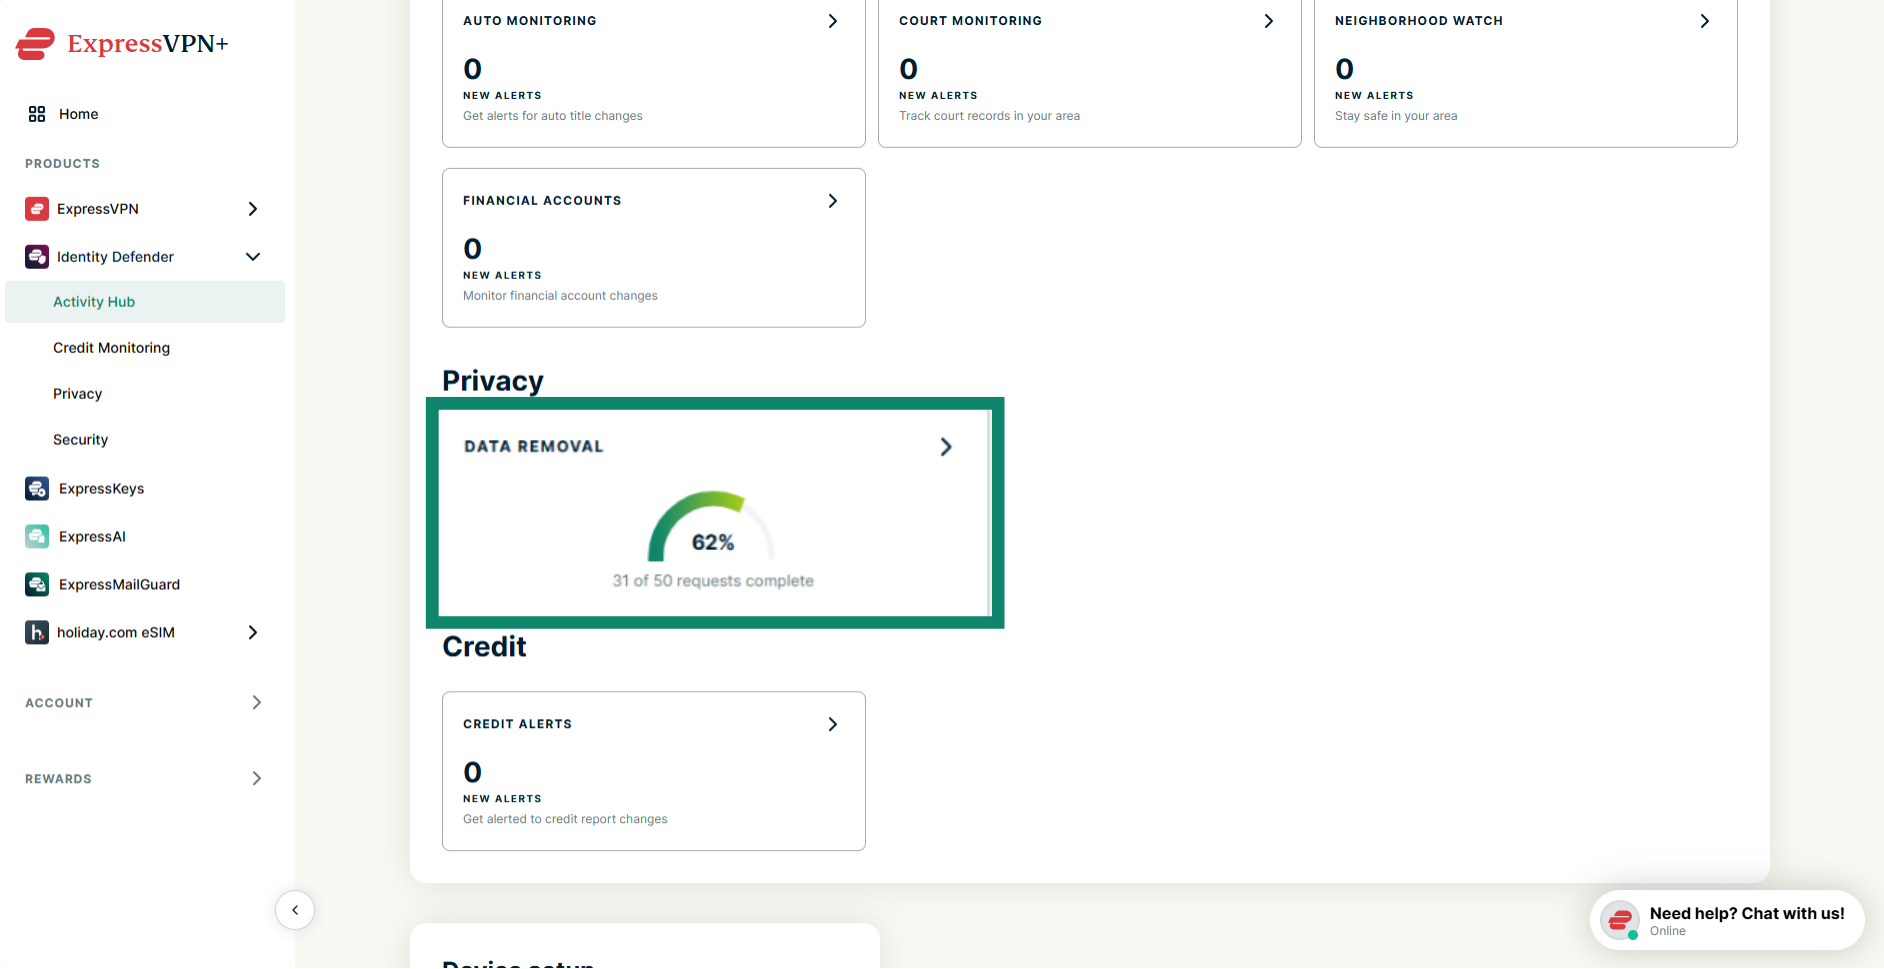
- Scroll down and click Data Removal.


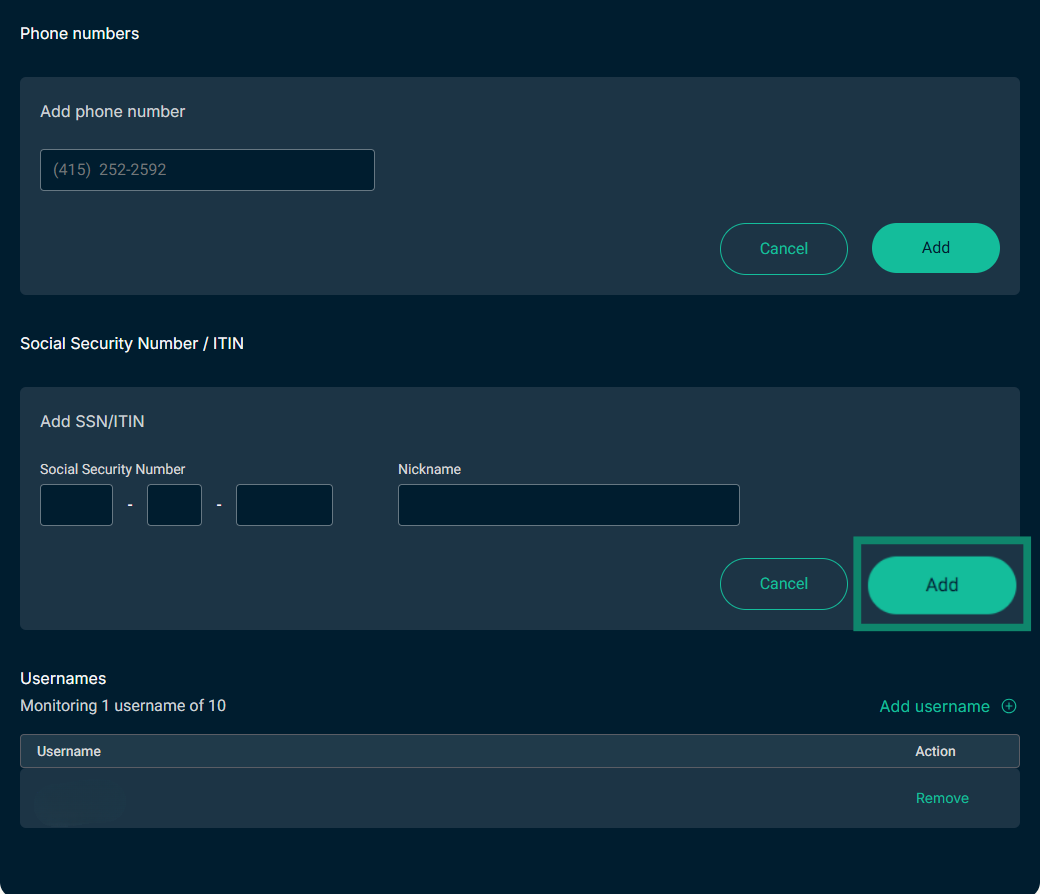
- Next, you will be asked to enter your personal information. If you have previously set up an Identity Defender service, you won’t have to re-enter the same information. Note that you will need to input your Social Security number and phone number if you want Data Removal to monitor your credit details. To do that, click Edit monitored information.


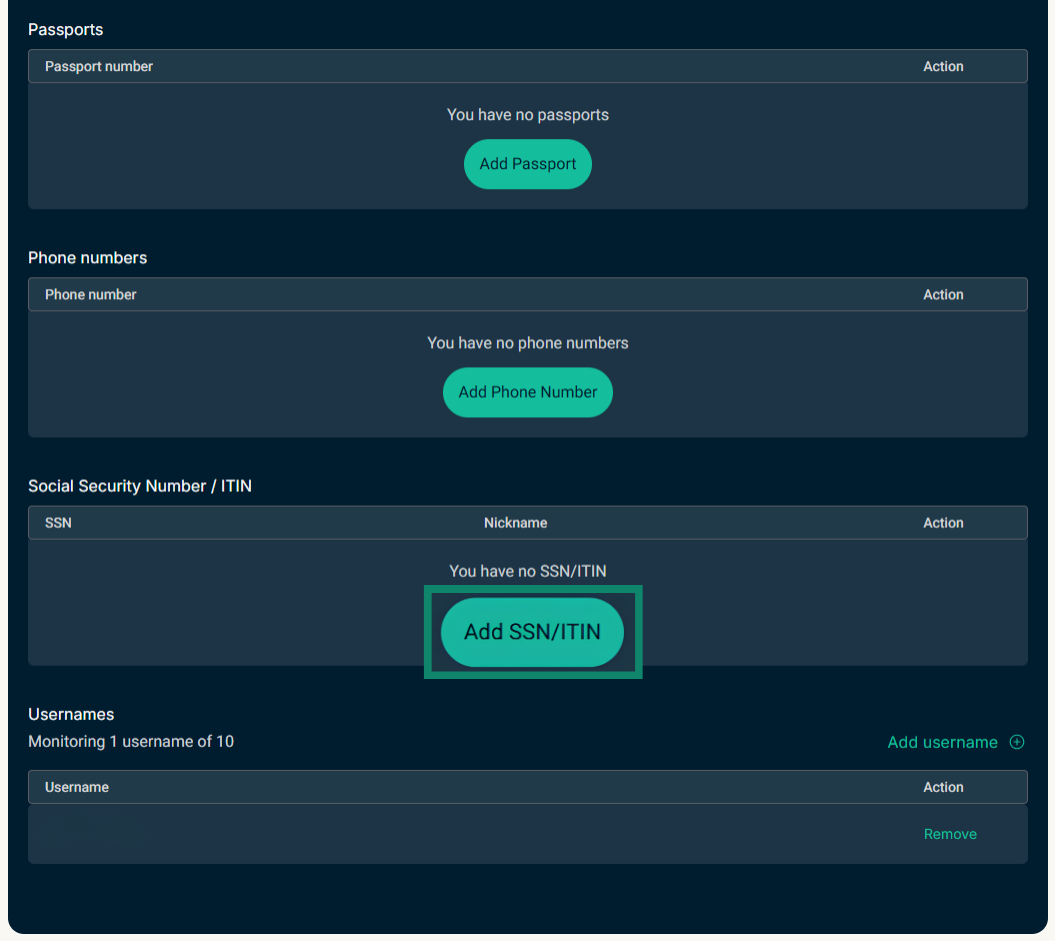
- Find the field you wish to update (i.e., SSN) and click Add [type of information].


- Enter the information and click Add.


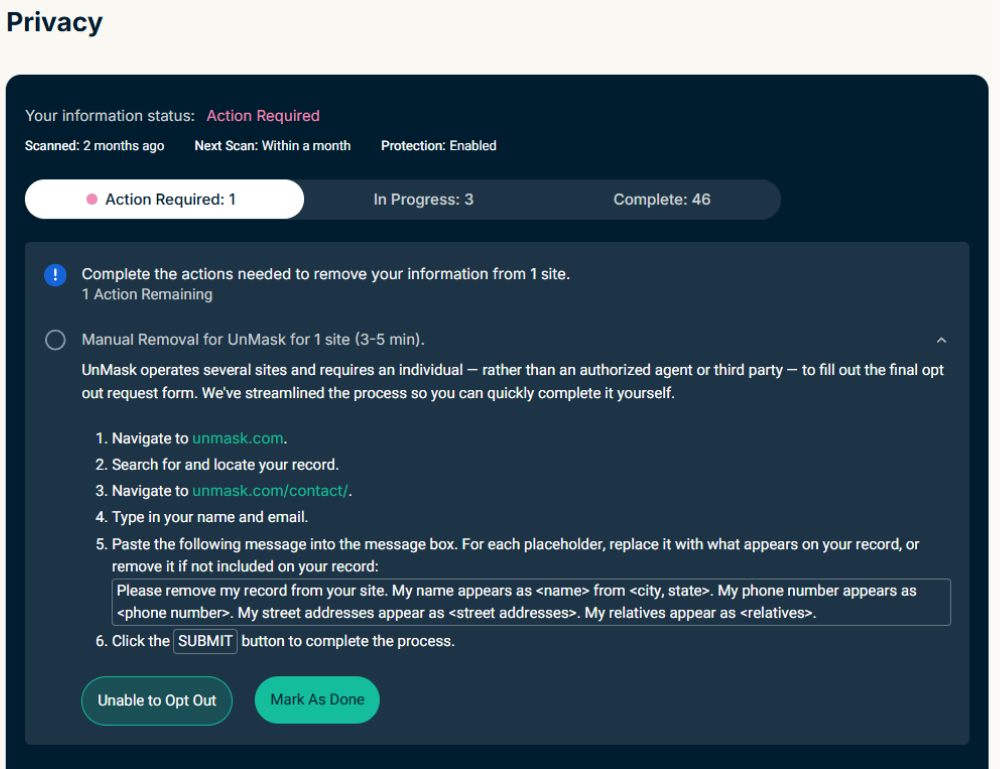
- Once ExpressVPN has all the necessary data, it will automatically run online scans of various data brokerages and other online repositories. When the scan is done, it will provide a report in the Privacy tab.


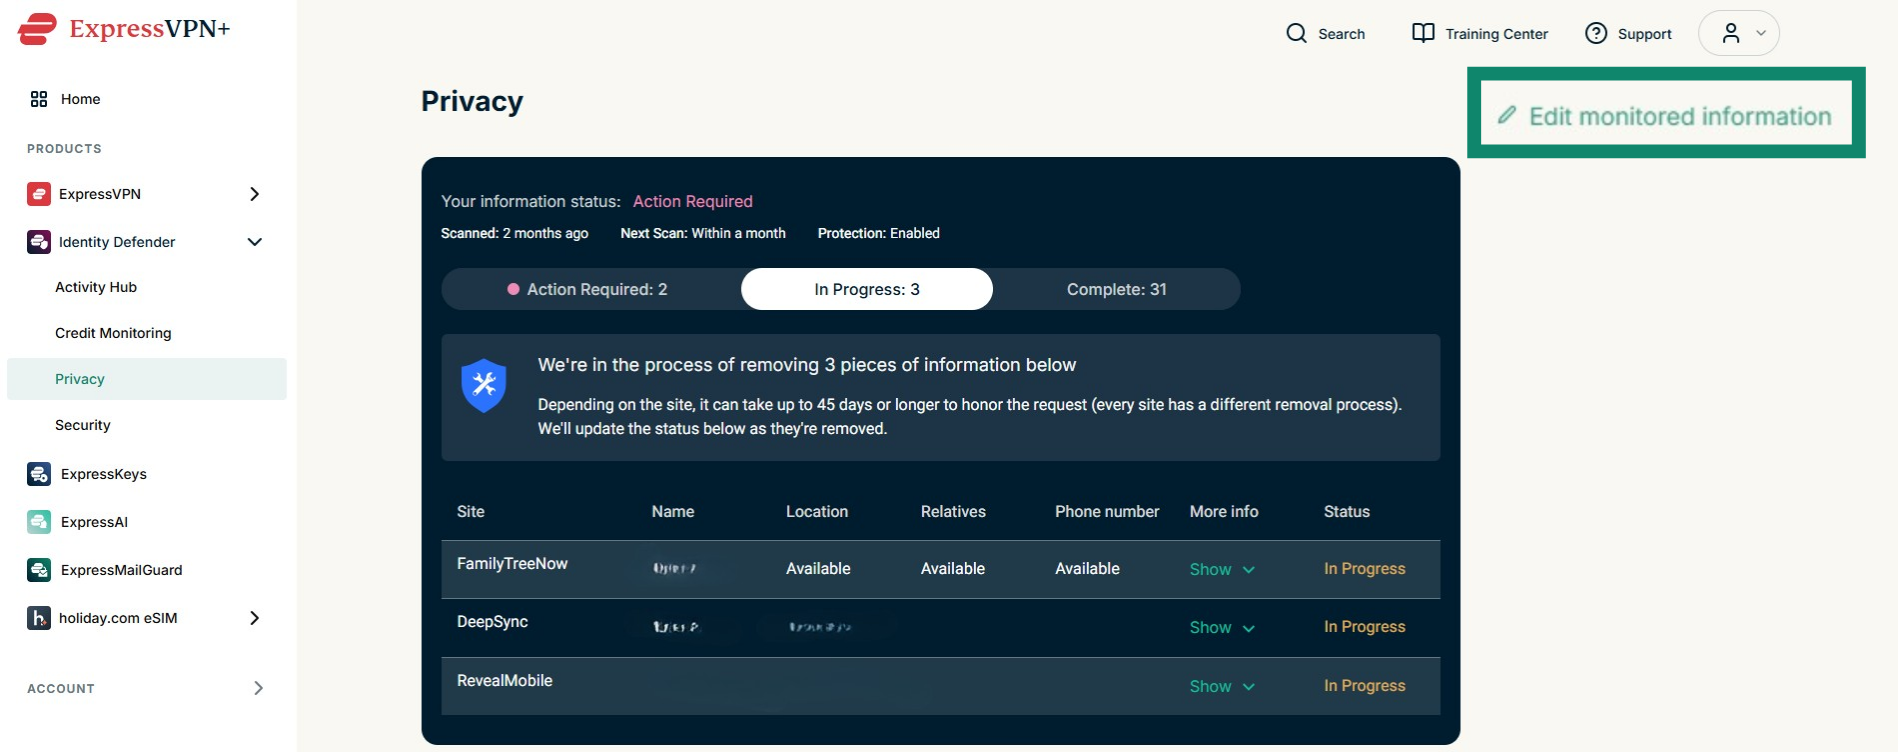
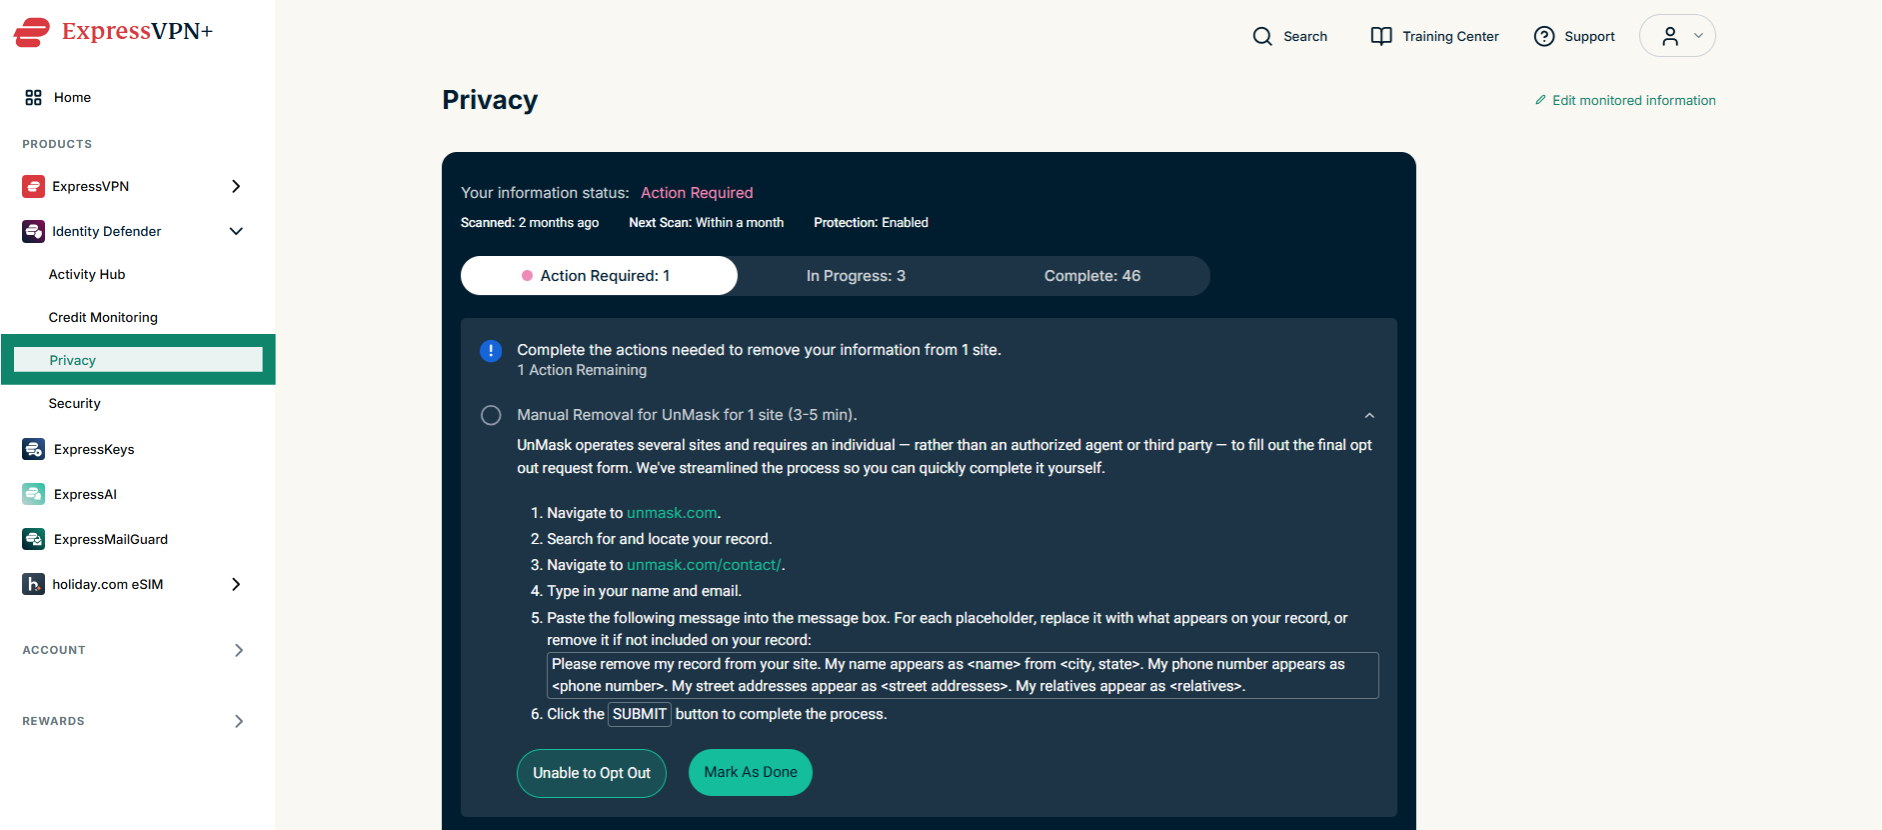
The reports are categorized into three pages:
- Action Required: This page shows sites where Data Removal has detected your personal information but cannot submit a request on your behalf, usually because the site only allows individuals to ask for their data to be removed personally. Here, you’ll find guidance on how to delete the data yourself on each site, including links, step-by-step instructions, and templates for submitting removal requests.


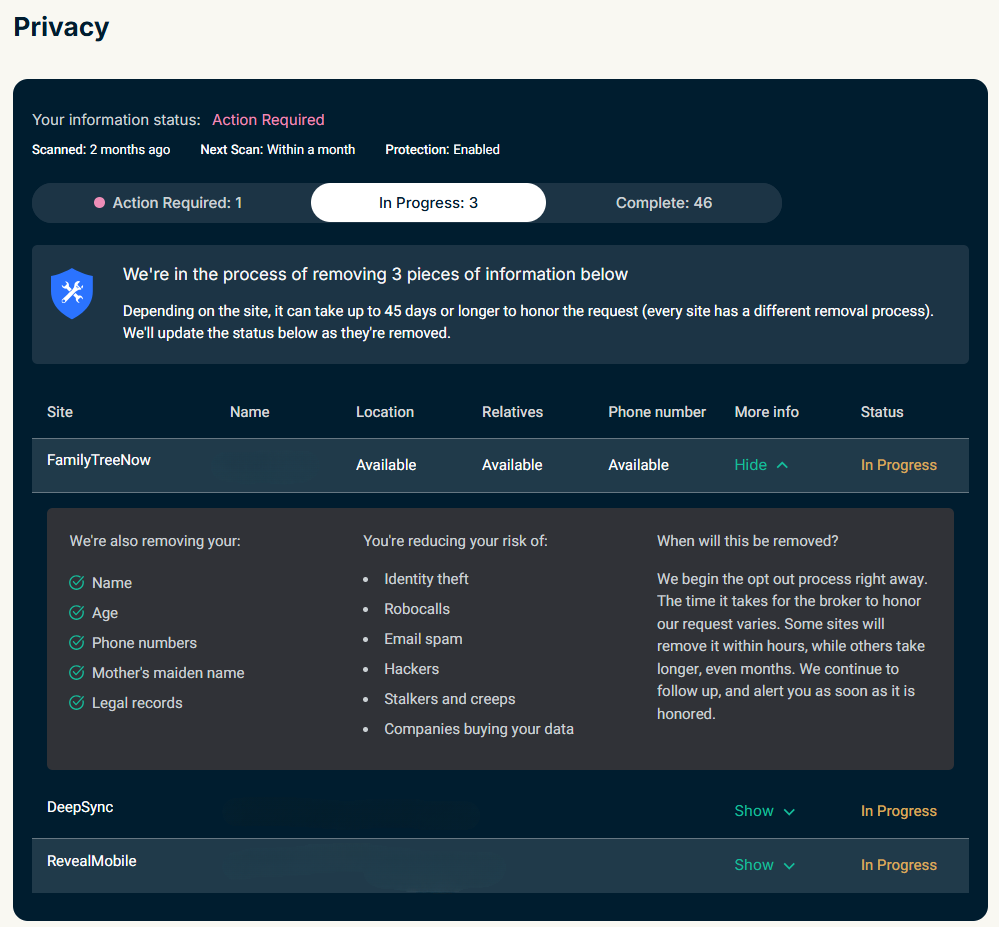
- In Progress: This tab shows websites where Data Removal has already started the automatic removal process. Depending on the site, this can take up to 45 days to complete. Once the removal is finished, you’ll receive a notification confirming what was removed, and the entry will be moved to the Complete tab.


- Complete: This tab logs all finished removals, whether done automatically or manually, so you can review them at any time. It shows what type of information was removed, the benefit of the removal, and when Data Removal will scan the site again to check if your data reappears. If it detects your data in the scan, it will send another removal request on your behalf.
Need help? Contact the ExpressVPN Support Team for immediate assistance.
How to cancel Data Removal
To cancel your Data Removal subscription, turn off auto-renewal of ExpressVPN on the My Subscription page. This cancels all services within your ExpressVPN account, including Data Removal. Your subscription will remain active until the end of your current billing period, after which Data Removal and all other services will stop automatically.
Learn more in our guide on how to cancel your ExpressVPN subscription.
Need help? Contact the ExpressVPN Support Team for immediate assistance.